Avery Labels Not Aligned Decision Tree Overlay Test Guide
Stop wasting label sheets. Use a plain-paper overlay test and a simple decision tree to diagnose template, scaling, driver, PDF viewer, or text overflow issues.
You load a fresh sheet of labels, hit Print, and suddenly everything is shifted: names ride the edges, barcodes clip, or the whole page drifts down and right. If you’ve searched for Avery labels not aligned fixes, you’ve probably seen a dozen contradictory tips.
Here’s a better approach: a plain-paper overlay test plus a simple decision tree to pinpoint the real cause. Misalignment usually comes from one of five buckets:
Template mismatch (wrong label number, wrong margins, wrong sheet size)
Scaling (Fit to page, shrink, borderless, “helpful” print options)
Driver/printer behavior (tray choice, paper type, borderless, duplex, “labels” mode)
PDF viewer quirks (browser printing, viewer auto-scaling, page size substitution)
Text overflow (your content pushes itself out of the label boundary)
Follow this guide top to bottom and you’ll end up with a clear diagnosis and a repeatable fix, not guesswork.
Goal: Turn “labels printing off center” into a specific, provable cause you can fix in minutes.
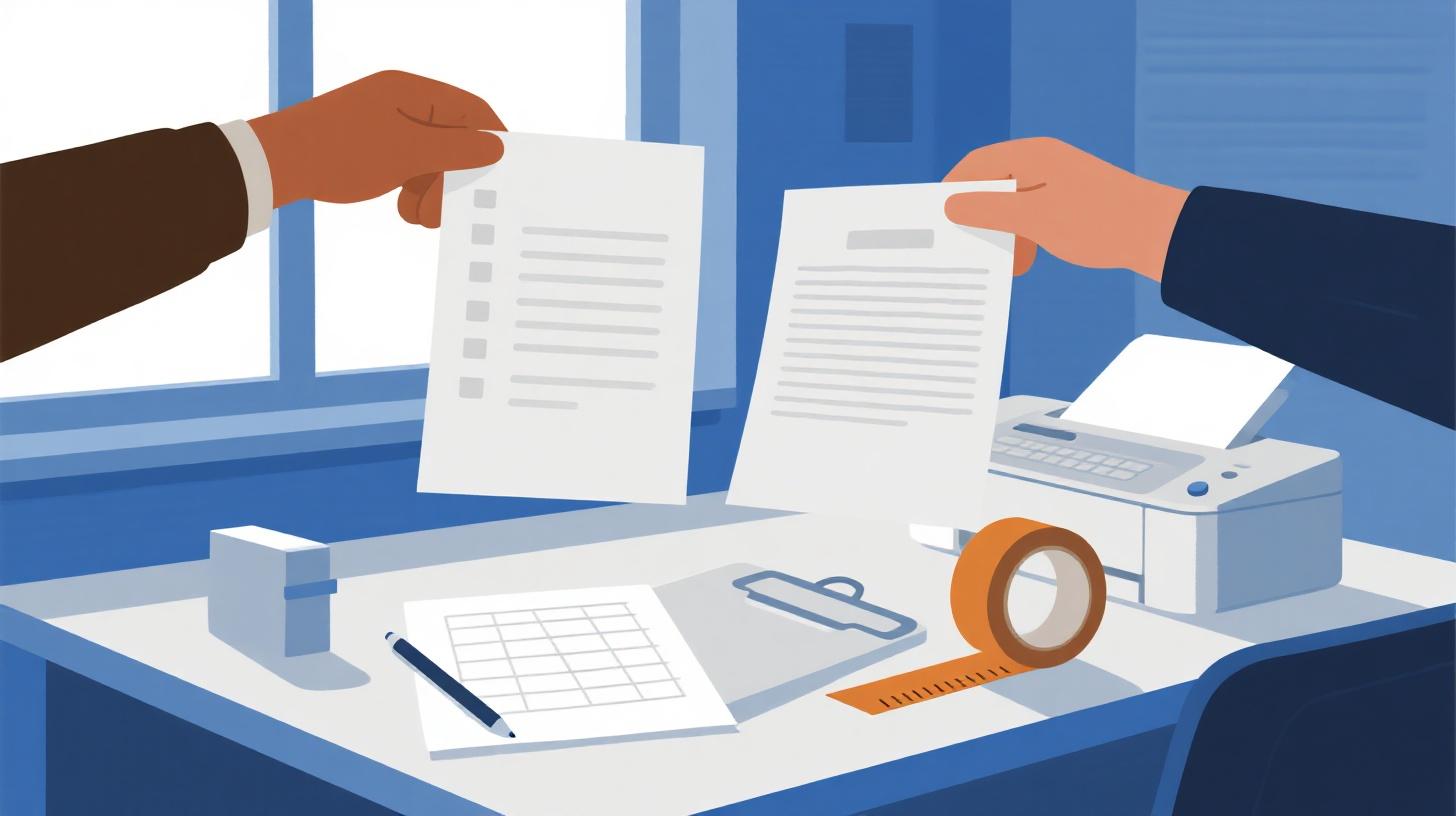
The plain-paper overlay test that tells the truth
The overlay test is the fastest way to separate “my printer is drifting” from “my file is wrong.” You’ll print your label layout on plain paper, then physically compare it to the label sheet by holding them together against light.
What you need
1 sheet of plain printer paper
1 sheet of your labels (do not print on it yet)
A bright window, lamp, or phone flashlight
Optional: two small pieces of tape
Step-by-step overlay test
Print your labels onto plain paper first.
Use the exact same file you planned to print on labels.
Choose the same printer, same tray, same settings.
Let the ink/toner settle for a few seconds.
Smudges can look like alignment problems, especially with small text.Place the printed plain paper on top of the label sheet.
Align the corners carefully.
Tape one edge lightly if needed so it doesn’t slip.
Hold both sheets up to a light source.
You should see the label cut lines through the paper.Check four spots, not just one:
Top-left label
Top-right label
Bottom-left label
Bottom-right label
Record what you see using these four patterns:
Pattern A: Everything is shifted the same amount (uniform shift).
Example: every label is 2 mm too far right and 3 mm too low.
Usually a template or margin issue, sometimes a printer setting.
Pattern B: Top is OK, bottom is off (drift down the page).
Example: first row perfect, last row noticeably low.
Usually scaling or a page size substitution issue.
Pattern C: Left is OK, right is off (drift across).
Example: left column good, right column creeps.
Often scaling, sometimes driver “borderless” or incorrect printable area.
Pattern D: Some labels look fine, others don’t, with weird breaks or clipped lines.
Often text overflow, line wrapping, or an object anchored oddly in Word/Docs.
Why this test works
Printers can be inconsistent, but they’re also consistent in a specific way. When you see uniform shift, you’re dealing with coordinate systems (margins and offsets). When you see progressive drift, you’re dealing with scaling or page size changes. When you see only certain labels failing, content and formatting are usually the culprit.
Quick takeaway
Uniform shift points to template/margins or a driver setting.
Progressive drift almost always points to scaling or page size mismatch.
Spotty errors point to text overflow or formatting behavior.
Decision tree diagnosis by symptom and overlay results
Use the overlay result you observed and follow the matching branch. Each branch includes a “prove it” check and a practical fix.
Branch 1: Uniform shift (template vs margins vs tray)
Symptoms
You search “Avery 5160 not printing correctly” and notice every label is off by the same amount.
The content is clean and not clipped, just not centered.
Prove it
In the overlay test, top-left and bottom-right are off by the same amount.
The gap between labels looks consistent, but the whole grid is “parked” in the wrong place.
Most likely causes
Wrong template number (5160 vs 8160 vs 5260 look similar but margins differ).
Document page size mismatch (Letter vs A4 or custom).
Tray mismatch (rear feed vs main tray can change printable area on some printers).
Driver mode applying hidden offsets (borderless, photo mode, booklet, duplex).
Fix steps
Confirm the label product and layout.
Check the box for the exact Avery code.
If you’re using a downloaded template, verify it matches the code and sheet size.
Confirm page size is correct and stable.
Letter labels must print on Letter page size.
If your file is a PDF, confirm it is Letter and not being converted.
Lock down the tray and paper type.
Pick one tray and keep it consistent.
Choose a plain paper setting for the test, then switch to labels if your printer recommends it.
Turn off special driver features.
Disable borderless.
Disable “scale to fit” at the driver level.
Avoid duplex for labels.
Case scenario: The “everything is 2 mm low” problem
A small business prints address labels and every line is slightly low, cutting off the bottom of the ZIP code. Overlay shows a uniform 2 mm downward shift. They discover they used a template for a similar label with a different top margin. Switching to the correct template fixes all rows instantly.
Takeaway
Uniform shift is good news. It’s usually a single correction: the right template, correct margins, and consistent tray settings.
Branch 2: Progressive drift (scaling or page size substitution)
Symptoms
First row looks OK, last row is way off.
People often describe this as “it starts fine then gets worse.”
You might also see “Chrome print PDF labels wrong size.”
Prove it
Overlay shows top row nearly perfect, bottom row shifted down or compressed.
The distance between rows on paper doesn’t match the label sheet by the bottom.
Most likely causes
Scaling (even tiny scaling like 99% or 101% can ruin labels by the bottom row).
Printing a PDF through a browser that silently fits to printable area.
Page size substitution (viewer prints Letter PDF onto A4, or vice versa).
Fix steps
Print at actual size.
In the print dialog, choose 100% or Actual size.
Disable “Fit,” “Shrink,” “Fill,” and any auto-scaling.
Avoid browser PDF printing when diagnosing.
Download the PDF and print from a dedicated viewer.
Confirm the paper size in three places:
The PDF file properties
The print dialog page size
The printer driver paper size
If you’re specifically seeing “PDF labels printing wrong size even at 100%,” follow this deeper walkthrough: PDF Labels Printing Wrong Size at 100% Fix Guide.
Case scenario: The “Chrome made it worse” problem
A nonprofit prints volunteer labels from a PDF. Chrome prints the first row close enough, but by row 6 names sit on the cut lines. Overlay shows increasing drift down the page. They print the same PDF from a dedicated viewer at Actual size and the drift disappears. Root cause: Chrome applied a tiny “fit to printable area” adjustment.
Takeaway
If it gets worse as it goes, treat it as scaling until proven otherwise. Labels don’t forgive even small scaling changes.
Branch 3: Spotty failures (text overflow and formatting behavior)
Symptoms
Some labels look fine, others clip.
A long street address breaks differently on different labels.
You might be doing Word mail merge labels misaligned, where merged fields change length and layout.
Prove it
Overlay shows the grid itself is aligned, but specific labels have text crossing boundaries.
The “bad” labels correlate with longer names, longer company lines, or extra commas.
Most likely causes
Text overflow (font too big, line spacing too large, too many lines).
Hidden characters in merged data (extra spaces, line breaks).
Auto-resize behavior in tables or text boxes.
Anchored objects (logos or barcodes shifting with text flow).
Fix steps
Create a “worst-case” test label.
Use your longest name, longest street, and a 5+4 ZIP. If that one fits, most will.Make space before changing printers.
Drop font size by 0.5 to 1 pt.
Reduce line spacing slightly.
Tighten top and bottom padding in table cells.
Normalize your merge data.
Remove double spaces.
Remove trailing spaces.
Replace hard line breaks with a consistent separator.
Lock layout elements.
If using a table, keep fixed column widths.
If using text boxes, avoid “resize to fit content.”
Case scenario: The mail merge chaos story
A real estate office merges 300 contacts into address labels. Short addresses are fine, but longer ones push city/state into the next line, clipping the bottom. Overlay proves the template grid is aligned. The fix is not printer-related: they reduce font from 11 to 10, tighten line spacing, and standardize the address format in the source list. The entire batch prints cleanly.
Takeaway
When only certain labels fail, stop chasing printer settings. Fix the content and formatting rules so long entries behave predictably.
Fix playbook for common apps and print pipelines
Once you’ve identified the branch, this playbook helps you apply the fix where it actually matters: the app, the viewer, or the printer driver.
When your template is the problem
Template problems show up as uniform shift or “the grid is wrong.” The safest approach is to start from a template that is already matched to the exact label product.
Do this:
Rebuild the document using the correct label layout.
Keep page size consistent from the start.
Run the overlay test before printing on labels.
Avoid this:
Copy-pasting a label table from an old document with unknown settings.
Mixing page sizes (Letter content pasted into A4 doc).
When scaling is the problem
Scaling can be applied in multiple layers:
The app print dialog (Word, Docs, Pages)
The PDF viewer (browser, desktop viewer)
The printer driver (advanced settings)
Practical rule: if any layer is doing “helpful fitting,” labels lose.
Do this:
Use Actual size or 100%.
Turn off “Fit to printable area.”
Confirm the document is truly Letter if you’re using Letter labels.
Real-world tip:
Even if you see “100%,” check for a second checkbox like “Fit” or “Scale to printable area.” Some dialogs show both, and the checkbox wins.
When the printer driver is the problem
Drivers can apply offsets, rotate content, or adjust printable area depending on media type.
Do this:
Turn off borderless.
Turn off duplex.
Choose the correct tray and keep it fixed.
Set paper type to a stable option (plain paper for the overlay test, label stock if recommended for final).
If you suspect feed skew:
Print the overlay test twice and compare the two plain-paper pages.
If the two prints differ noticeably, the issue is mechanical or feed-related. Try a different tray or reduce stack pressure.
When the PDF viewer is the problem
Browsers are convenient, but they are frequent culprits for “PDF looks right, print is wrong.”
Do this:
Download the PDF.
Print from a dedicated viewer with Actual size.
Double-check that the viewer is not substituting paper sizes.
Do not do this (when diagnosing):
Print directly from a browser PDF tab.
When text overflow is the problem
Your printer can’t keep text inside a label if the layout rules let it spill out.
Do this:
Establish a max character count for each line.
Create a “longest entry” test case.
Reduce font size slightly and standardize formatting.
Do not do this:
Rely on auto-fit and hope it behaves the same across all entries.
Takeaway
Once you know whether the problem is template, scaling, driver, viewer, or overflow, fixes become simple. The overlay test keeps you from wasting label sheets while you experiment.
Your step-by-step label alignment checklist and next move
If you want a single routine you can repeat anytime labels go sideways, use this checklist. It’s written to cover the most common searches and issues like labels printing off center, Avery labels not aligned, and “why does it look fine on screen?”
The repeatable checklist
Print your file on plain paper using your real print settings.
Run the overlay test at four corners.
Classify the pattern:
Uniform shift (template/margins/tray)
Progressive drift (scaling/page size)
Spotty failures (text overflow/formatting)
Apply the matching fix:
Confirm exact label template number
Set Actual size or 100%, disable Fit and Shrink
Disable borderless and duplex, fix the tray
Print PDFs from a dedicated viewer, not a browser
Tighten typography and clean merge data
Re-run the overlay test before using label sheets.
A practical “one-sheet rule”
Keep one labeled plain-paper test print in your workspace. When you change anything, print one more plain page and compare it. If it doesn’t match, don’t touch the label stock yet.
Call to action
If you’re tired of hunting for the right file format or second-guessing margins, use FoxyLabels to start from a label layout that matches the sheet you have, then run the overlay test once to confirm your print pipeline is behaving.
Ready to create your labels?
Get started with Foxy Labels and create perfectly aligned labels in minutes.
Install Foxy Labels