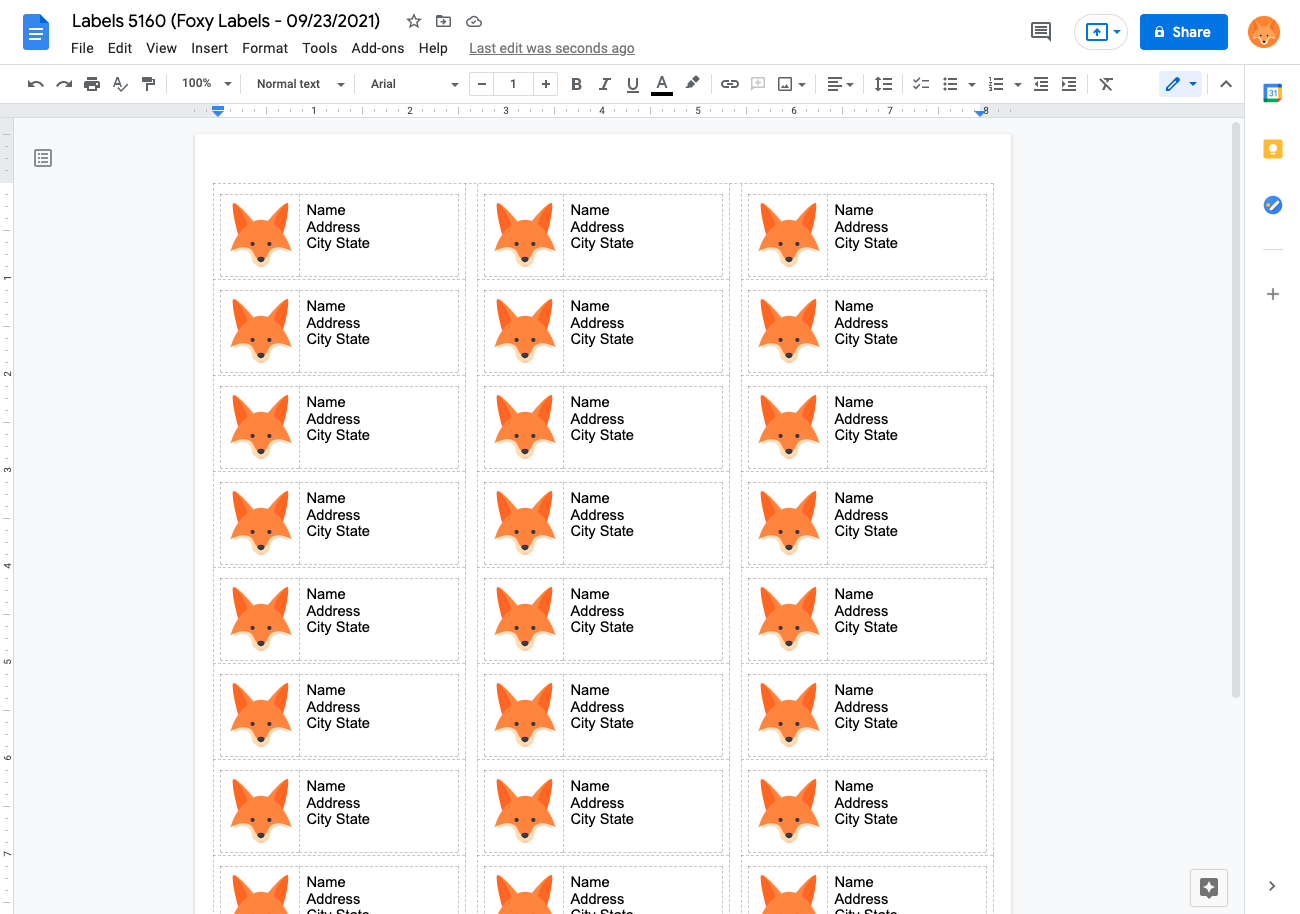
This tutorial describes how to add images to labels with and without text.
Eager to learn more? When you’re done, check out our other guides for more on making professional-looking, creative labels:
- How to print labels in Google Docs
- How to print labels from Google Sheets
- How to merge images and QR codes
How to add images to labels without text
1. Open a blank Google Document
Start with the blank document on which you want to print your labels
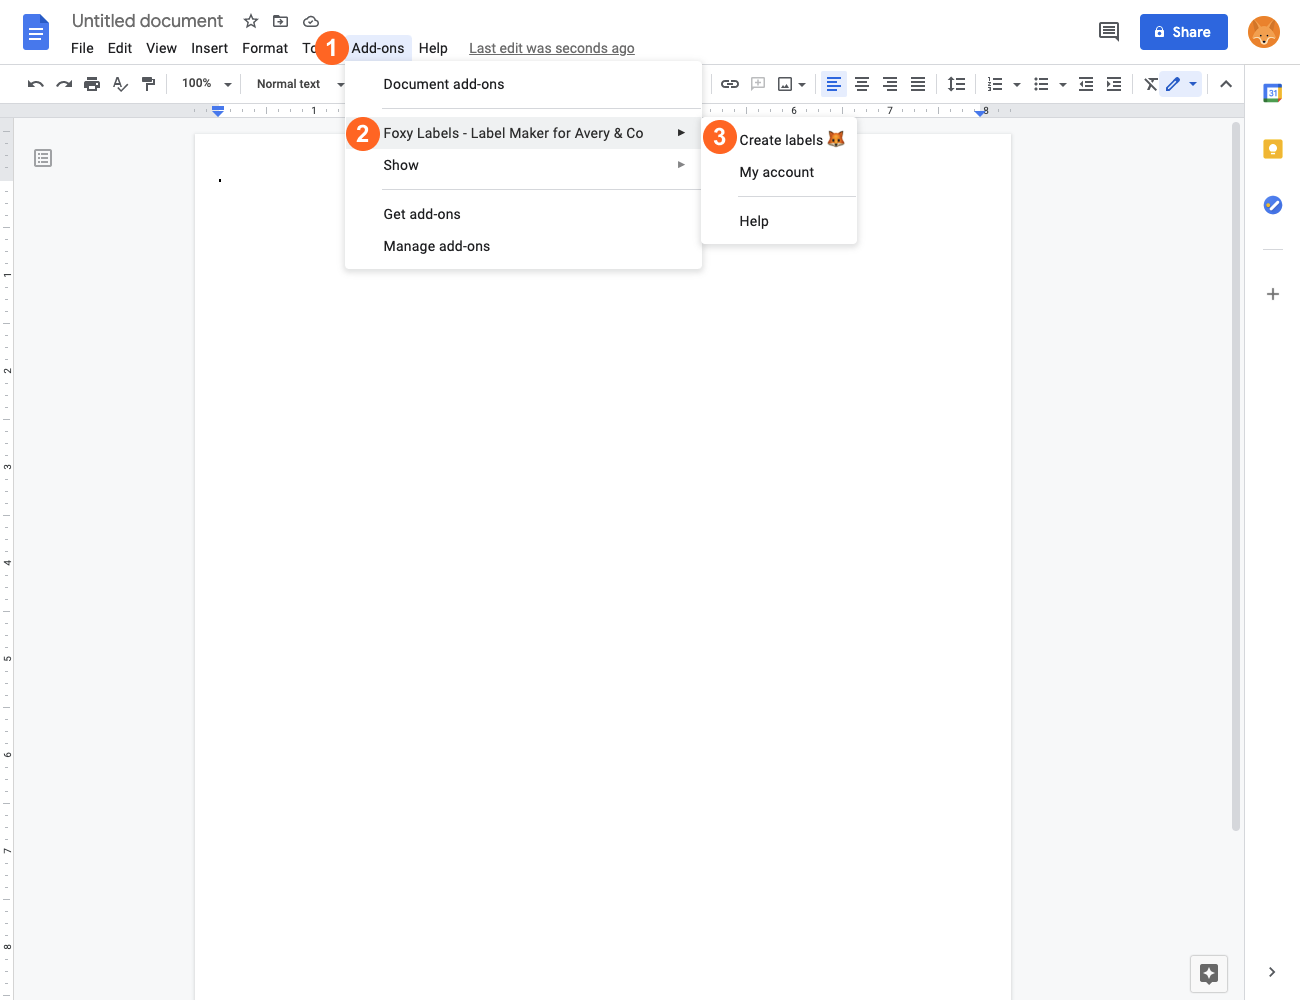
2. Open the Foxy Labels add-on
Click "Extensions" (previously named "Add-ons") (1), then "Foxy Labels" (2), and then "Create labels" (3) to open the Foxy Labels add-on. If you don’t see the add-on in the list, install the add-on first.
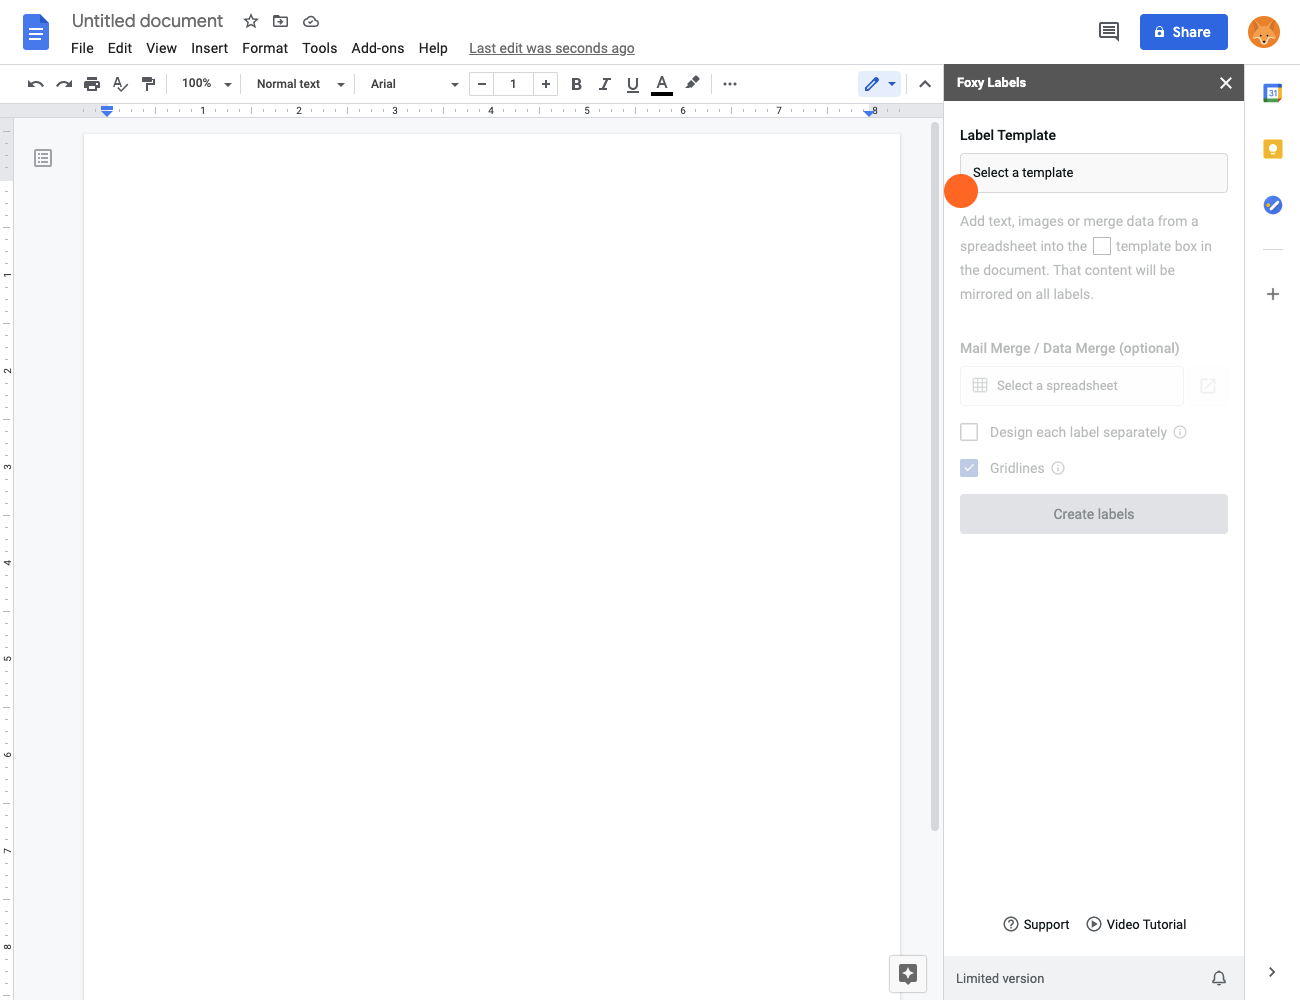
3. Select a template
In the Foxy Labels sidebar, click the “Label Template” button, which will open a dialog window with the templates catalog.
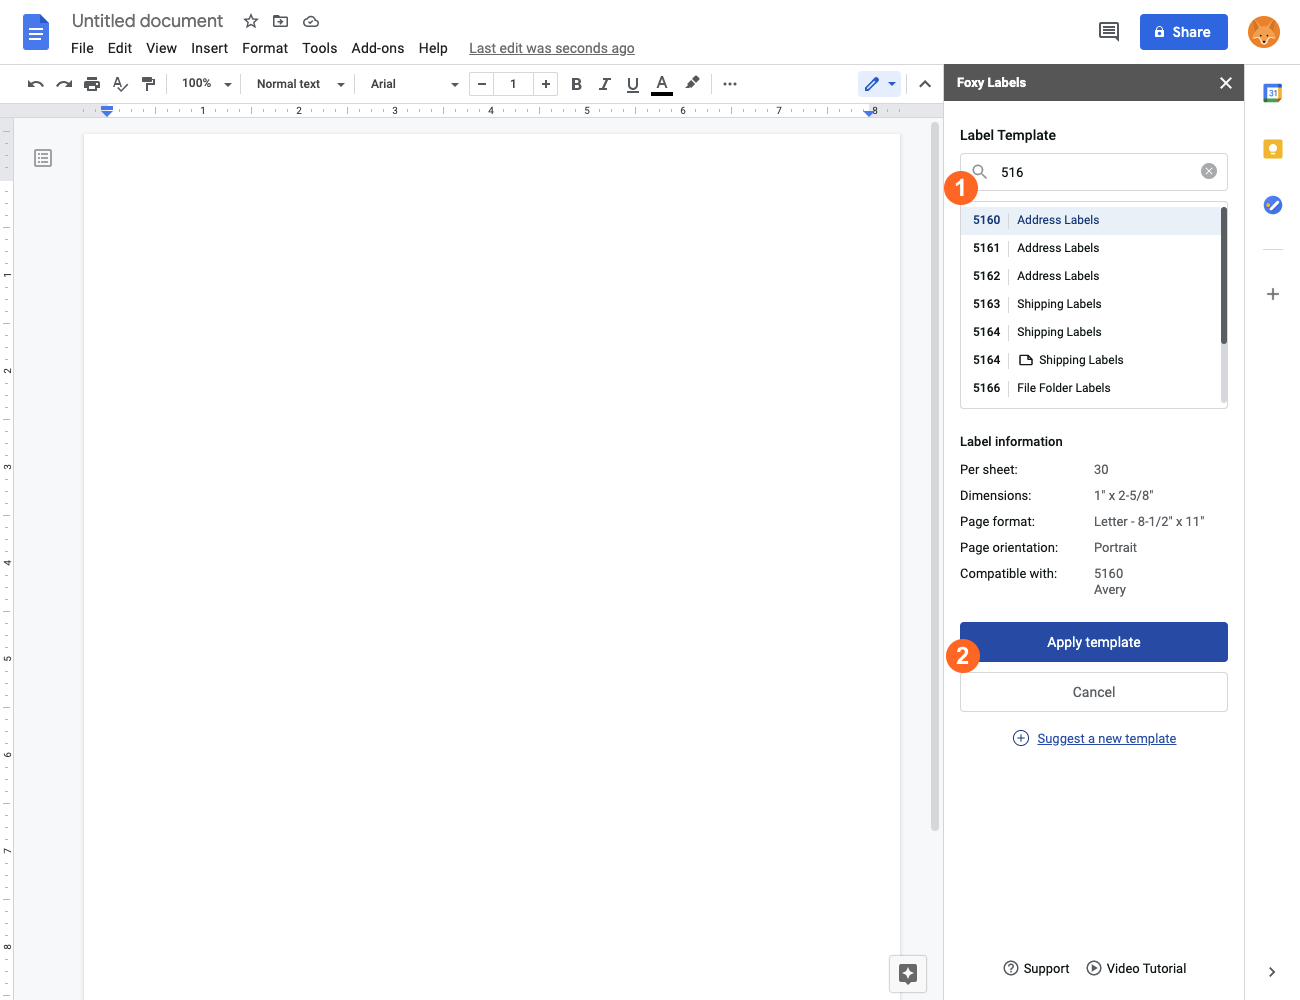
Use search (1) to locate the desired template. We support templates compatible with Avery, OnlineLabels, and other providers. After you select the template, the label information will be displayed at the bottom. Click “Apply template” (2).
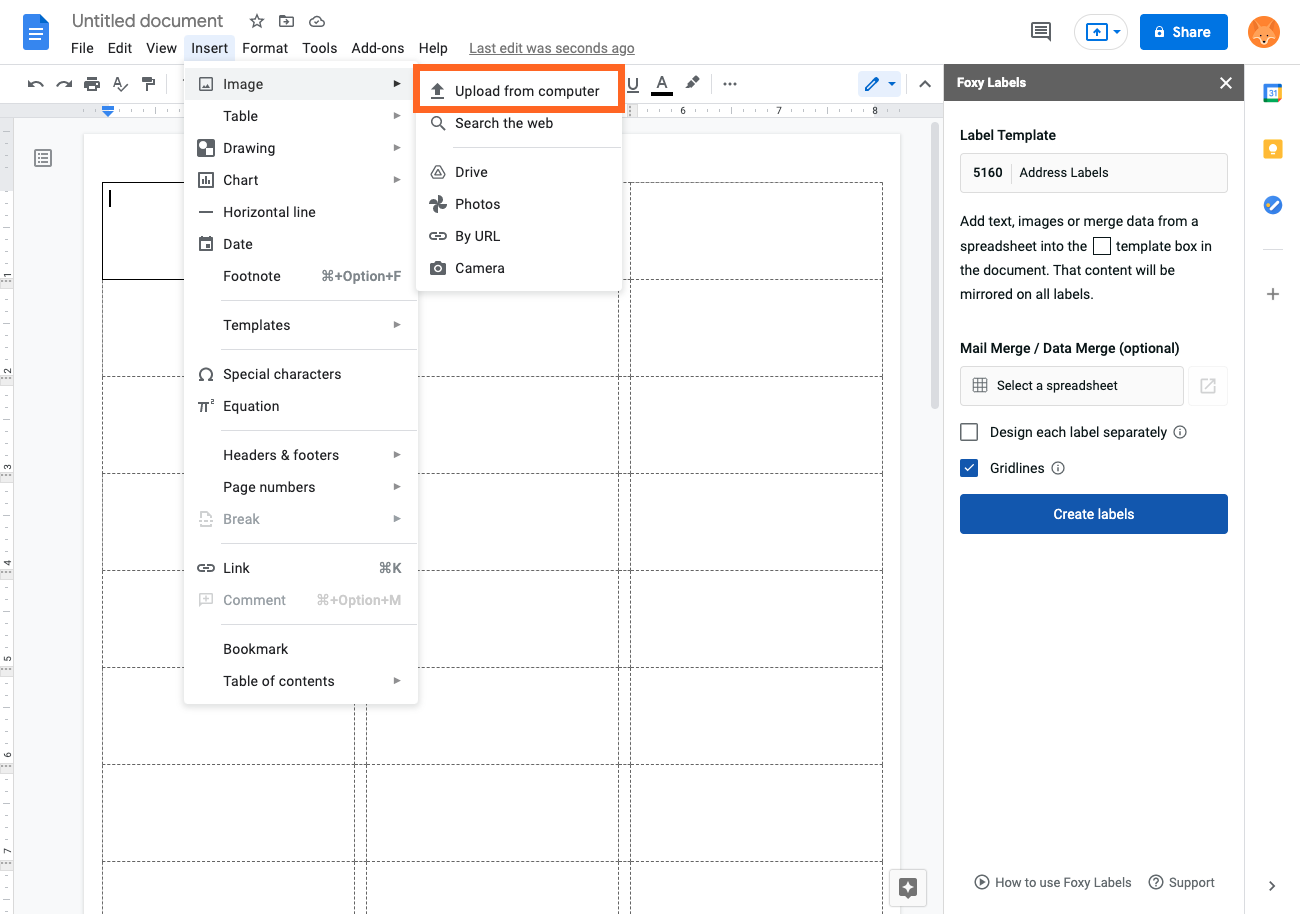
4. Add an image
Click “Insert” → “Image" → “Upload from computer" or choose another option to insert an image into a cell.
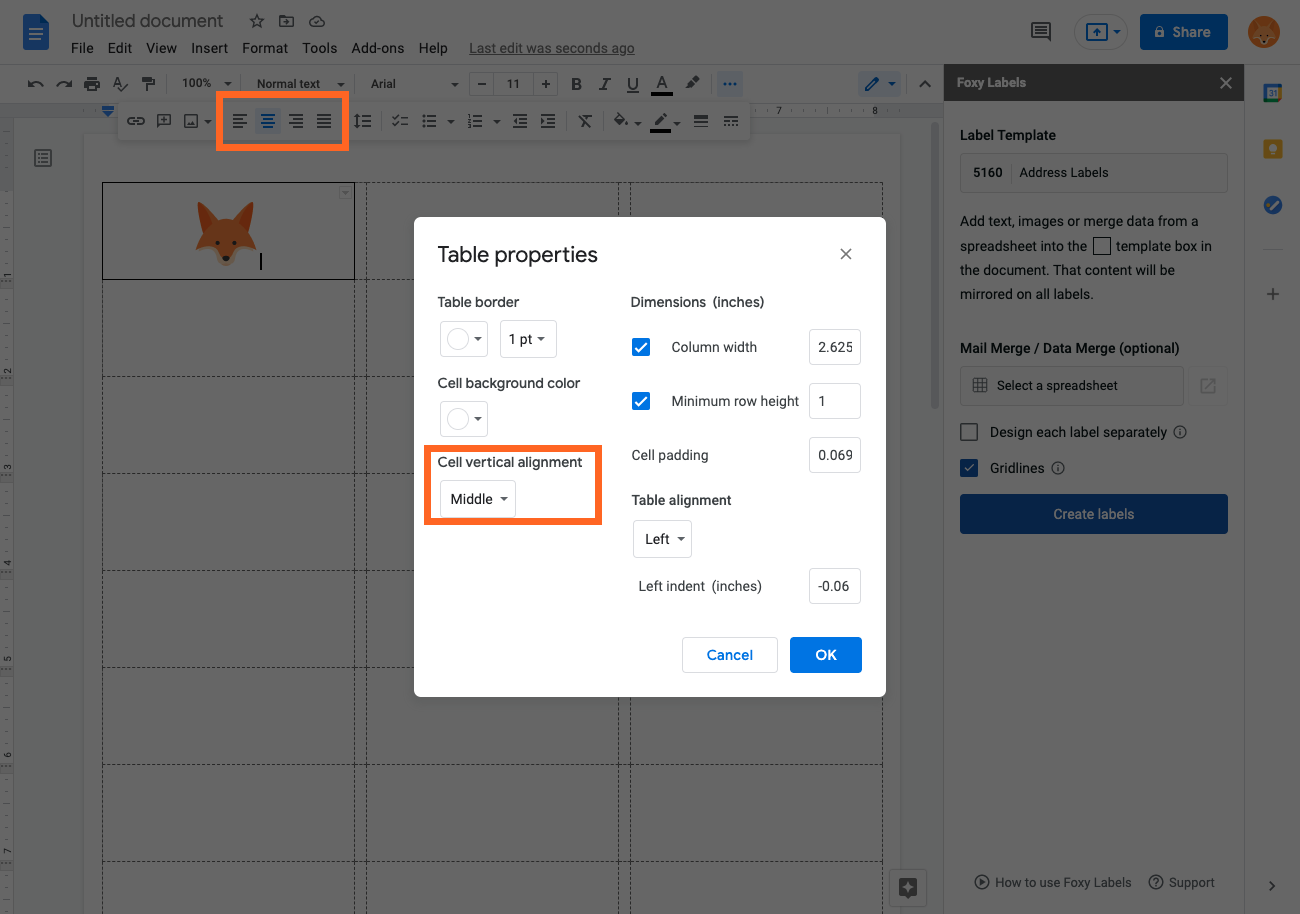
5. Align an image
You can format an image in many different ways. For instance, you can change the dimensions of the image by dragging its borders or align the image horizontally in the center by clicking the “Position options” button. You can also align the image vertically by right-clicking on the table, then clicking "Table properties" and selecting “Middle” from the “Cell vertical alignment” drop-down bar.
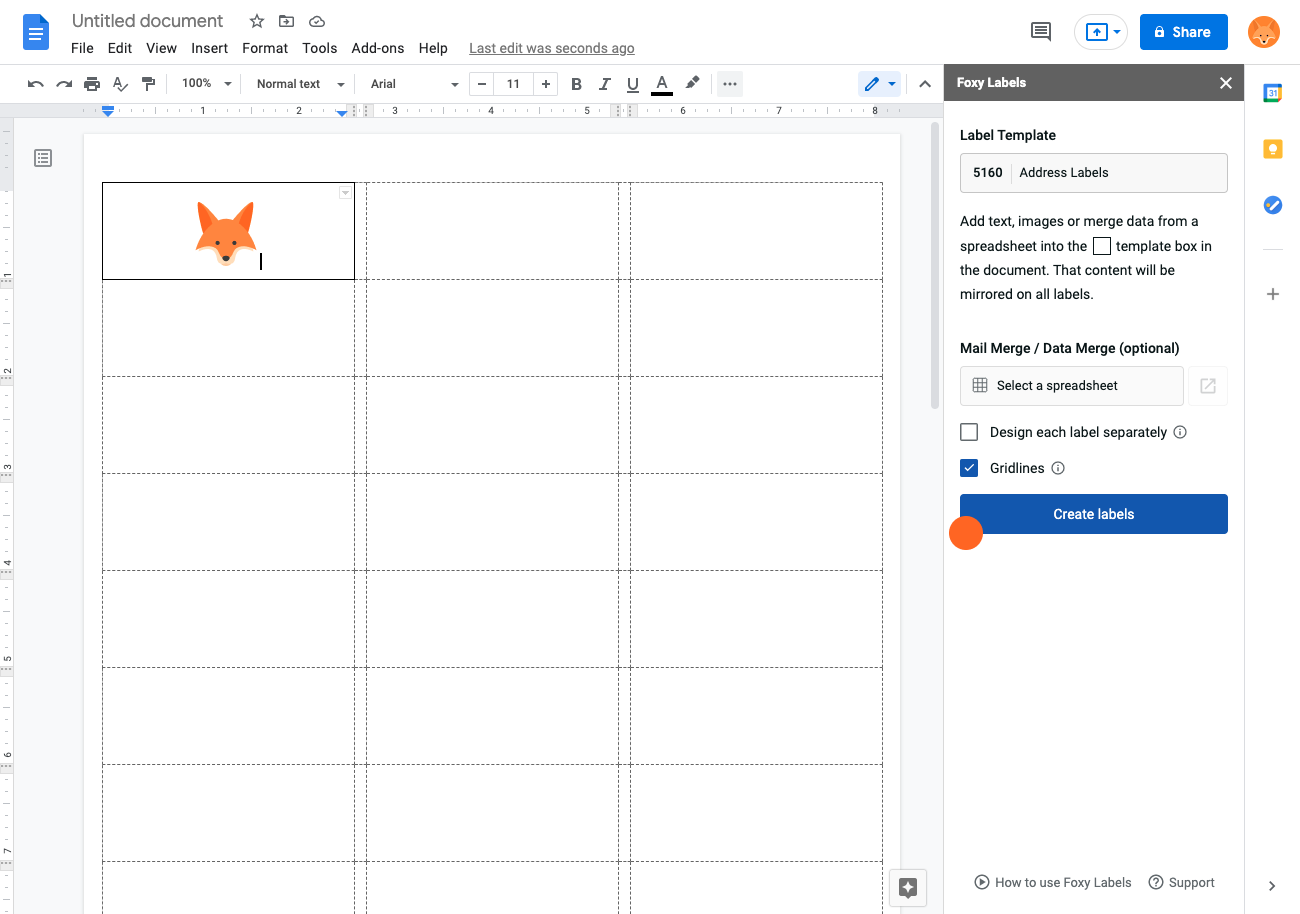
6. Create a final document
After you have finished formatting your labels, click "Create labels". Wait for the new document to generate. Then, click "Open".
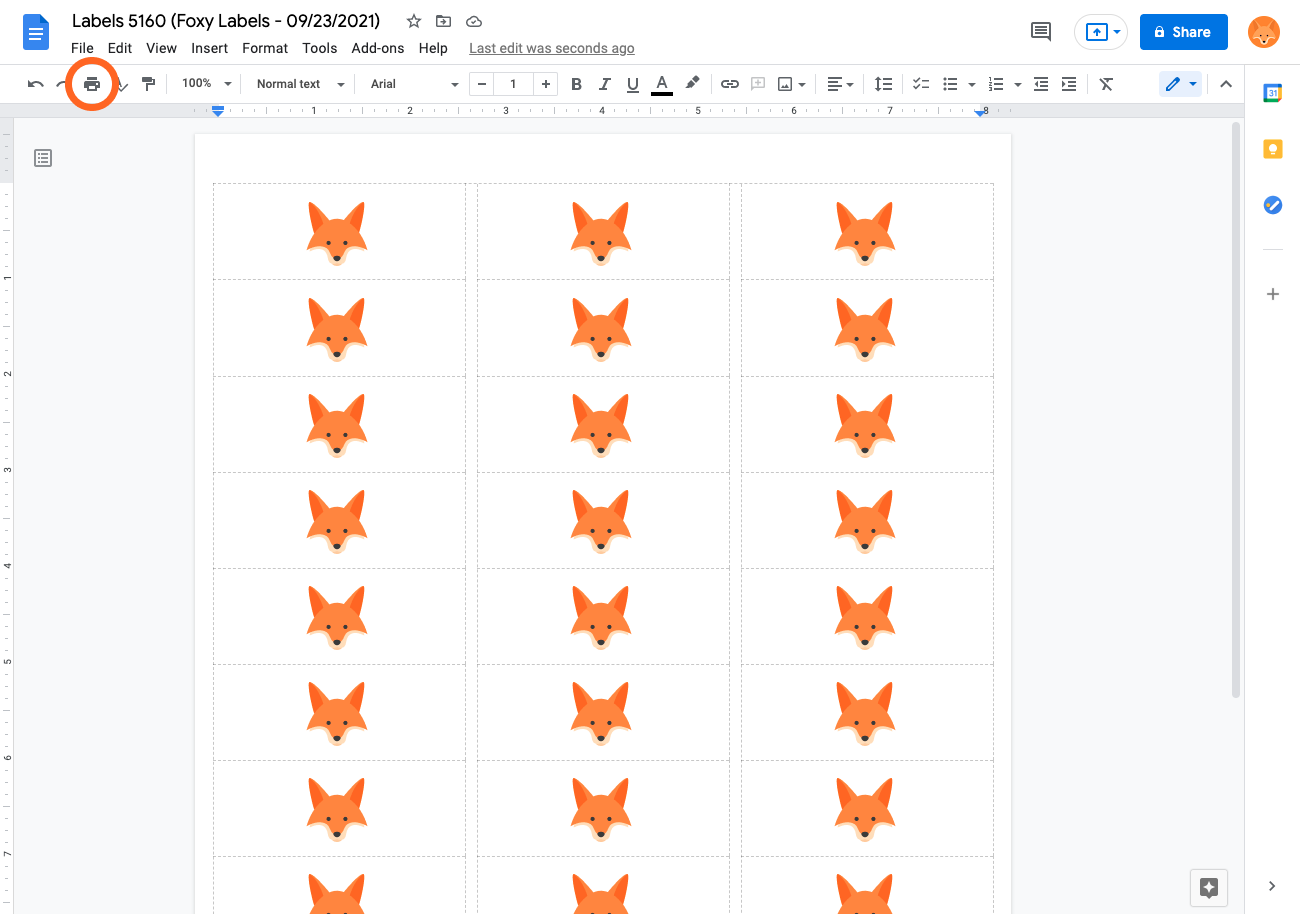
7. Print labels
Before printing the document, put the appropriate label paper in the printer. To print the document, click “Print”. In the new dialog window, make sure that margins are set to “none”.
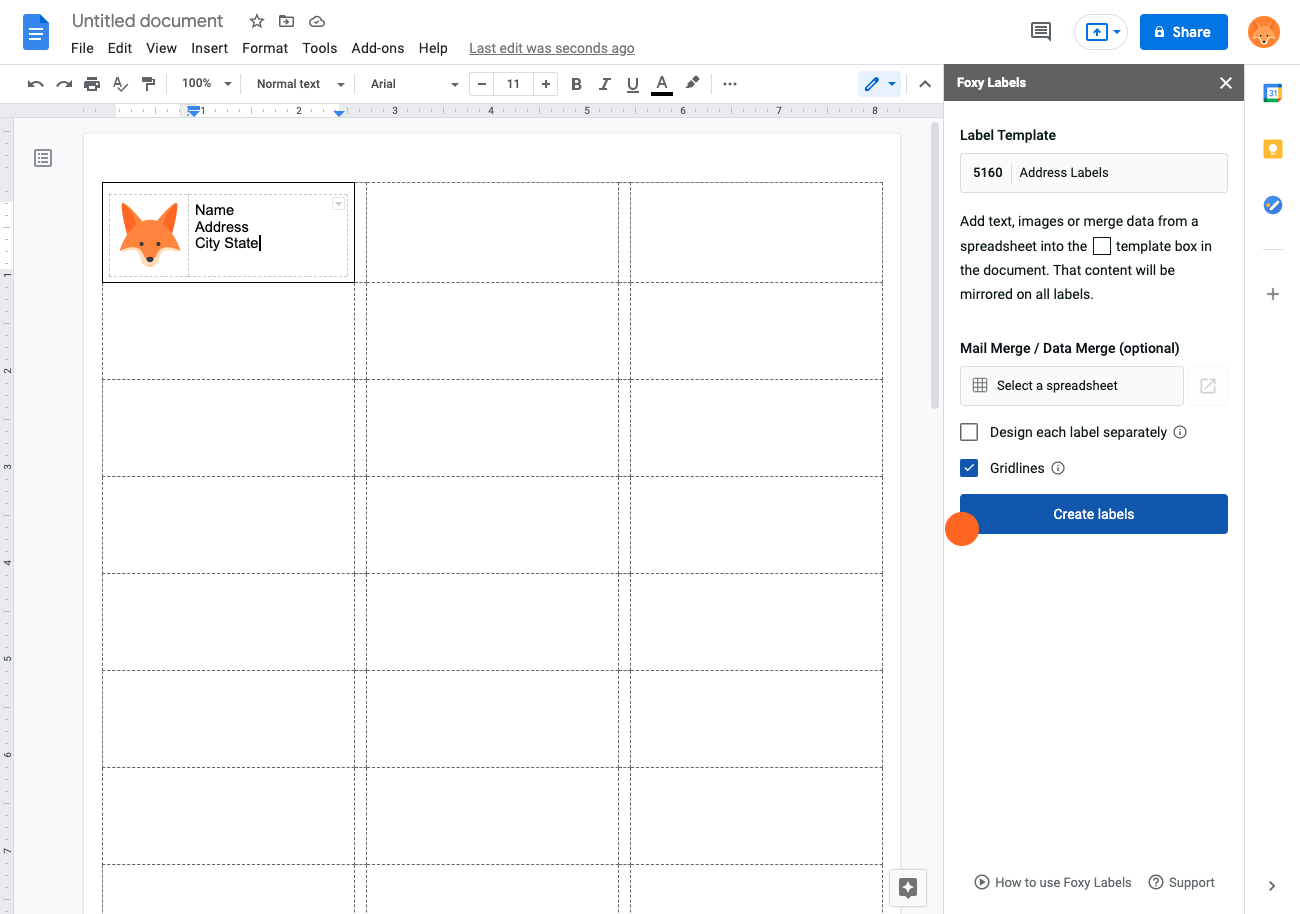
How to add text with images to labels
In case you want to add text with images, you will need to take a few extra steps to insert additional table into the cell.
1. Insert a table into a cell
First, click on the cell and change font size to 1.
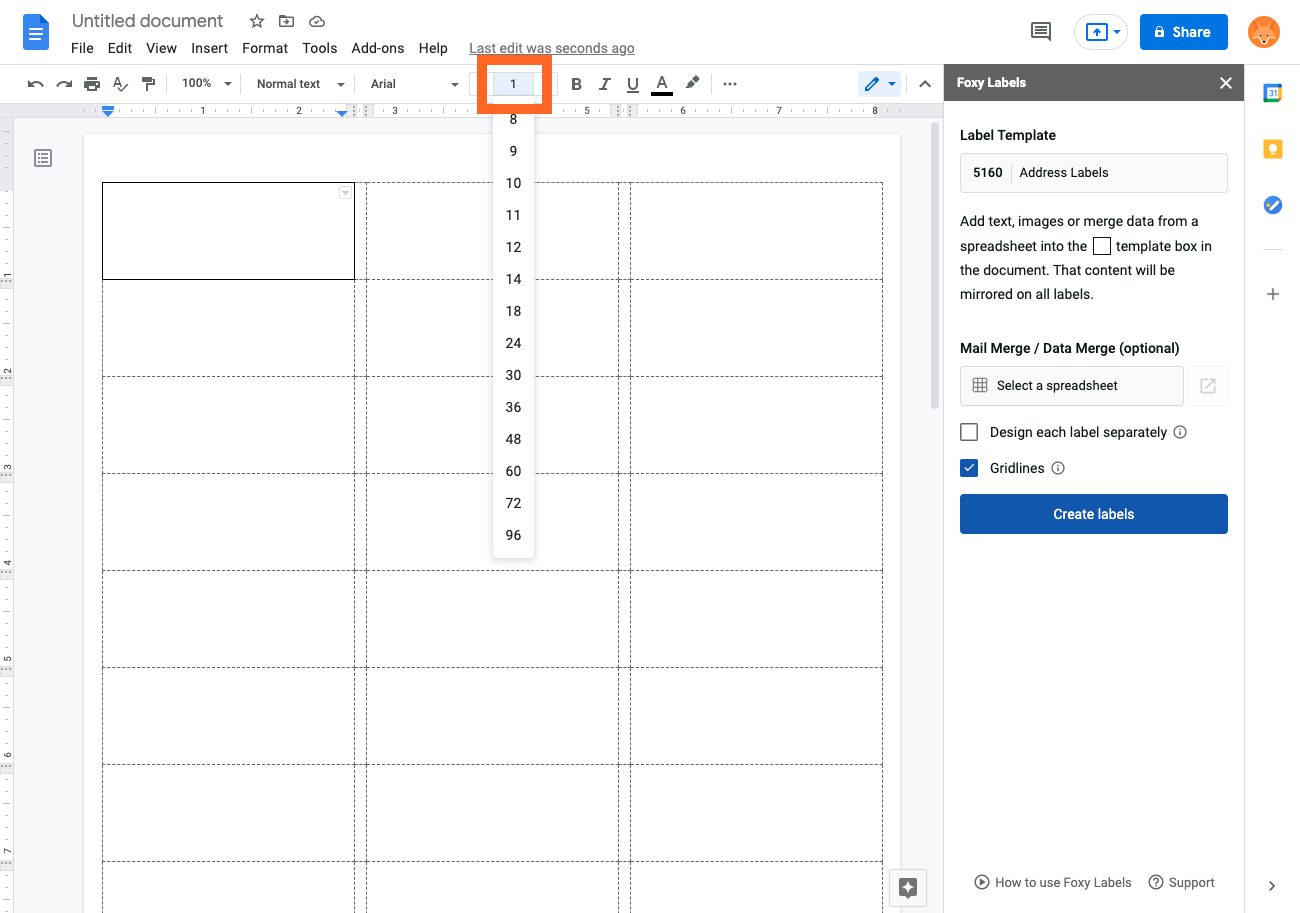
Click “Insert” → “Table” → “2x1 table”.
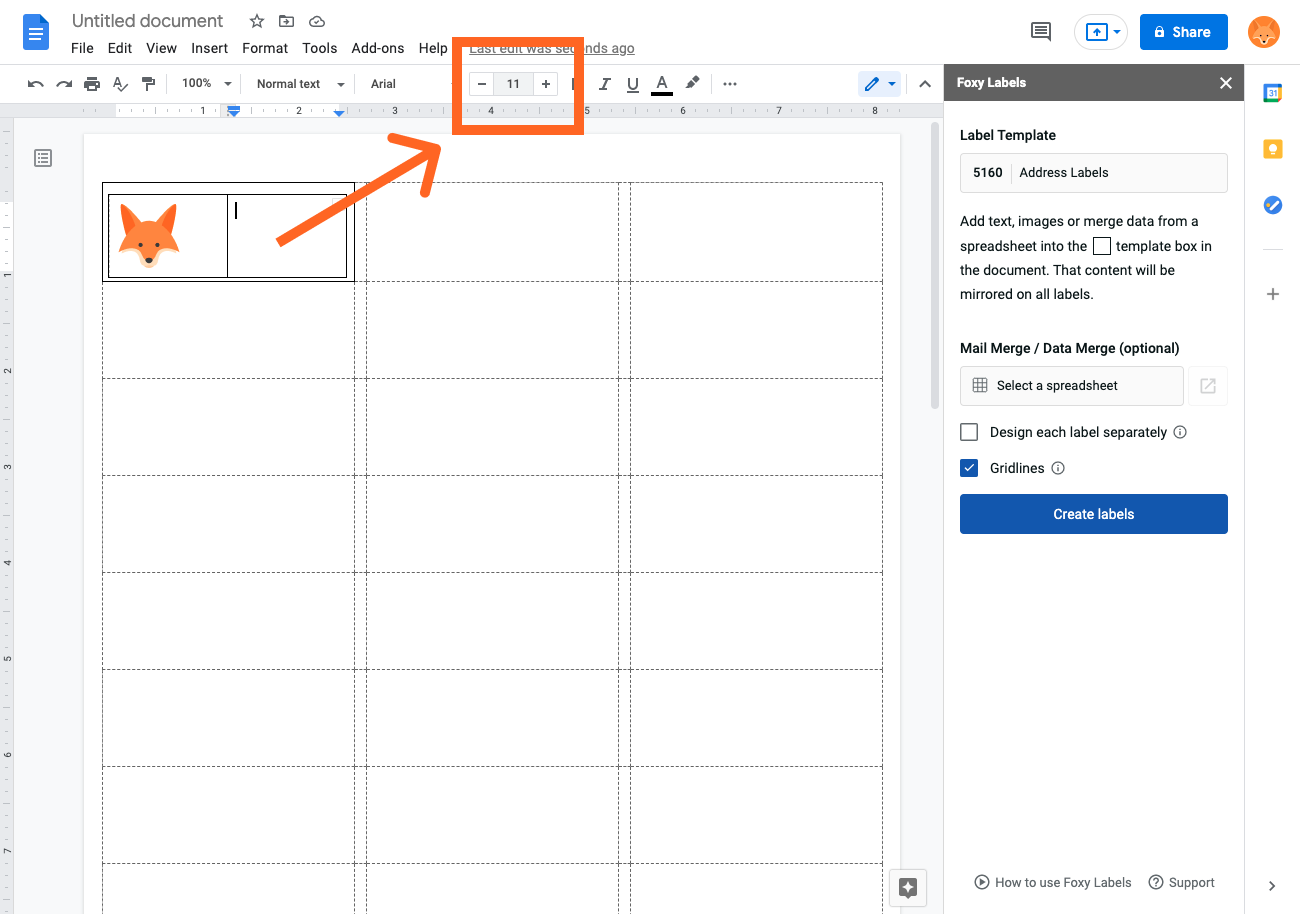
2. Add an image to a cell
Select the cell in the newly created table and click “Insert” → “Image” → “Upload from computer
“ to put an image on the label.
3. Add text to a label
Click on the cell where you want to enter text and select the appropriate font size. After that, you can enter your text. You can also personalize each label by merging data from Google Sheets.
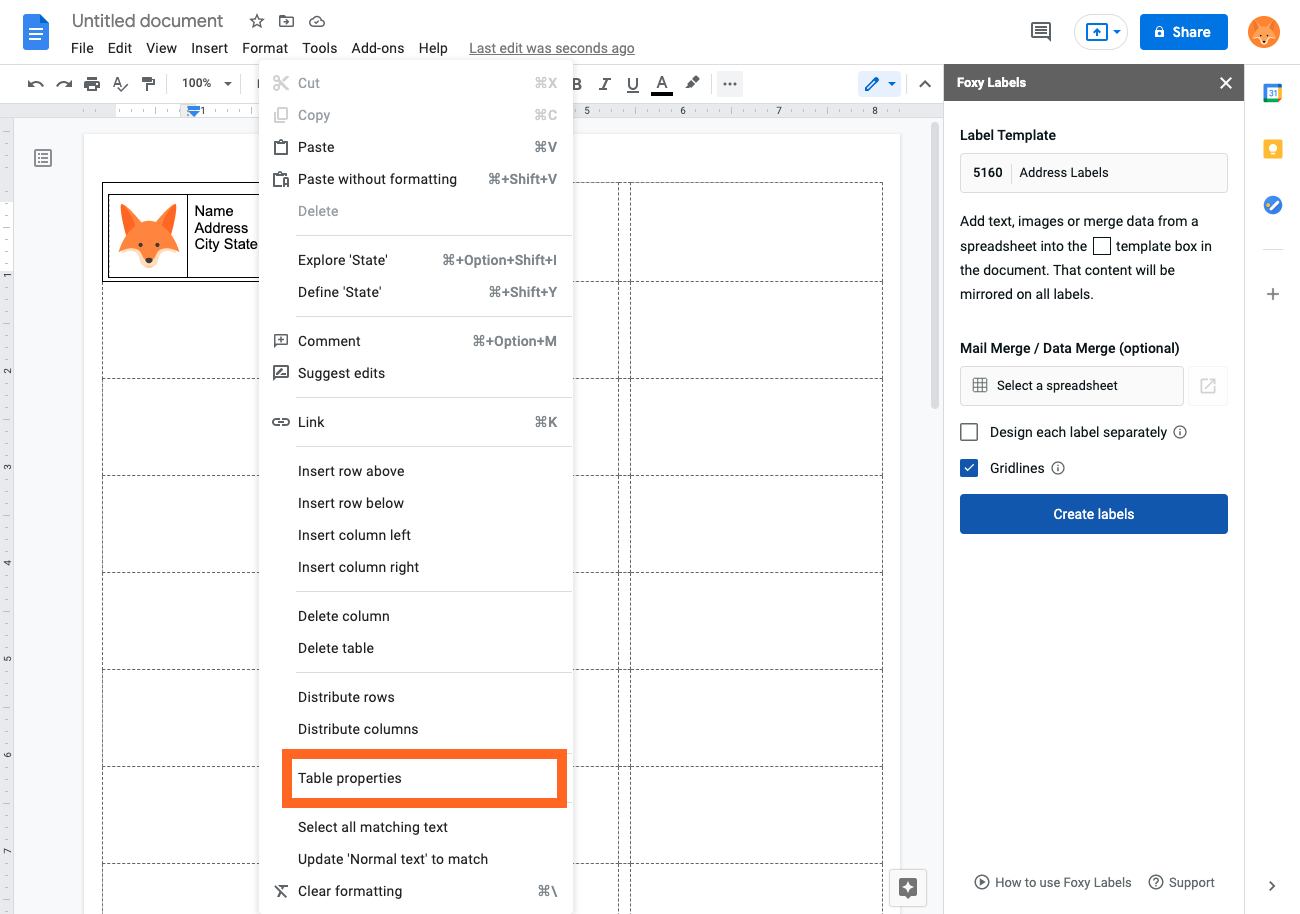
4. Remove border from added table
Right-click on the inner table and select "Table properties".
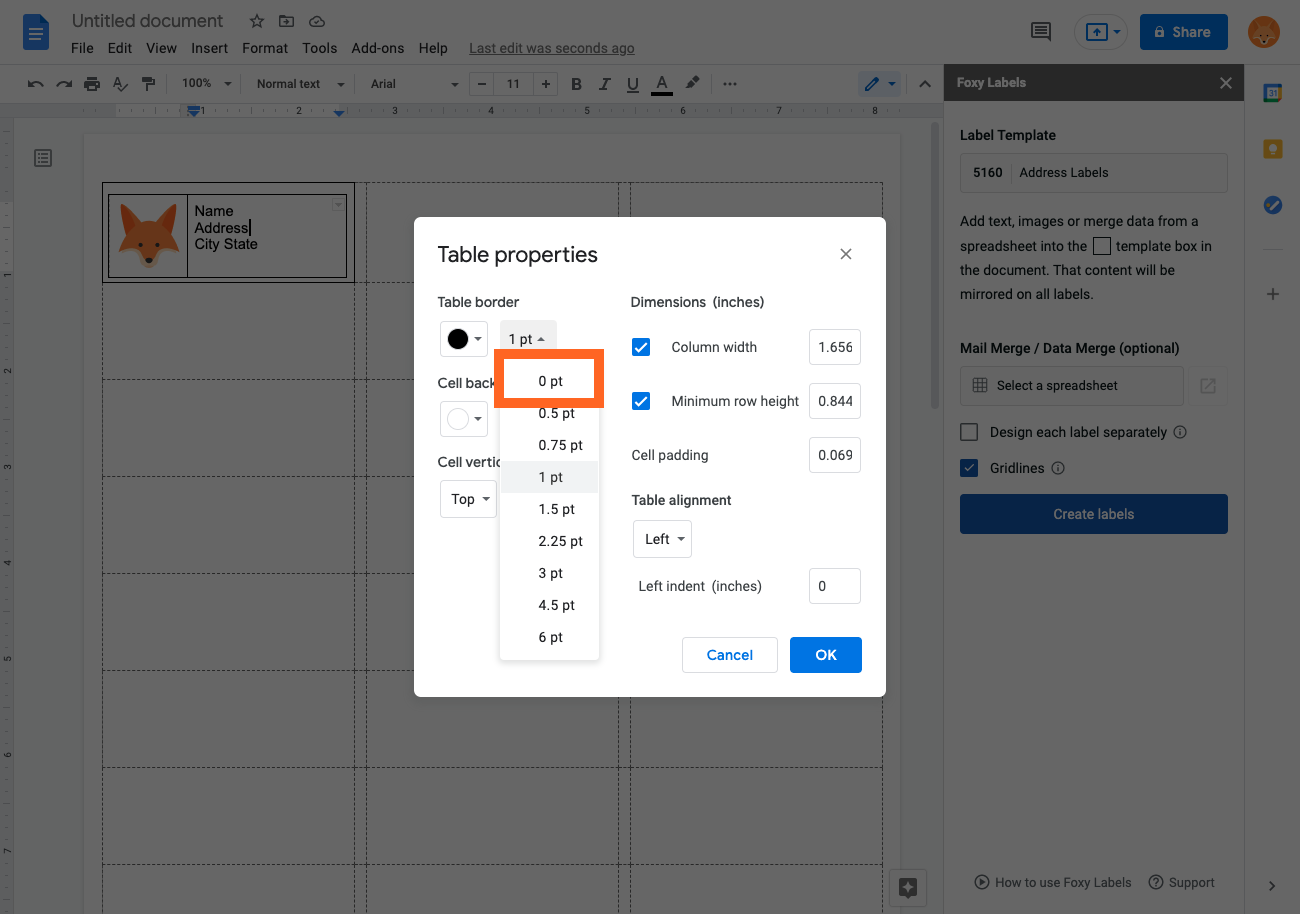
In the "Table border" section, select "0 pt" to remove the border. Now, click "OK".
5. Create a final document
After you have finished formatting your labels, click "Create labels". Wait for the new document to generate, then click "Open".
7. Print labels
Before printing the document, put the appropriate label paper in the printer. To print the document, click “Print”. In the new dialog window, make sure that margins are set to “none”.