If you have landed on this website, chances are you’re wondering how to create and print personalized envelopes for your personal or business correspondence. Whether you need an envelope for single use or you want to have multiple recipients, the "Foxy Labels" extension to Google Docs has what it takes to do the job.
This guide explains how to create and print envelopes in Google Docs, regardless of whether you're an individual or a legal entity. Here is the summary of this tutorial:
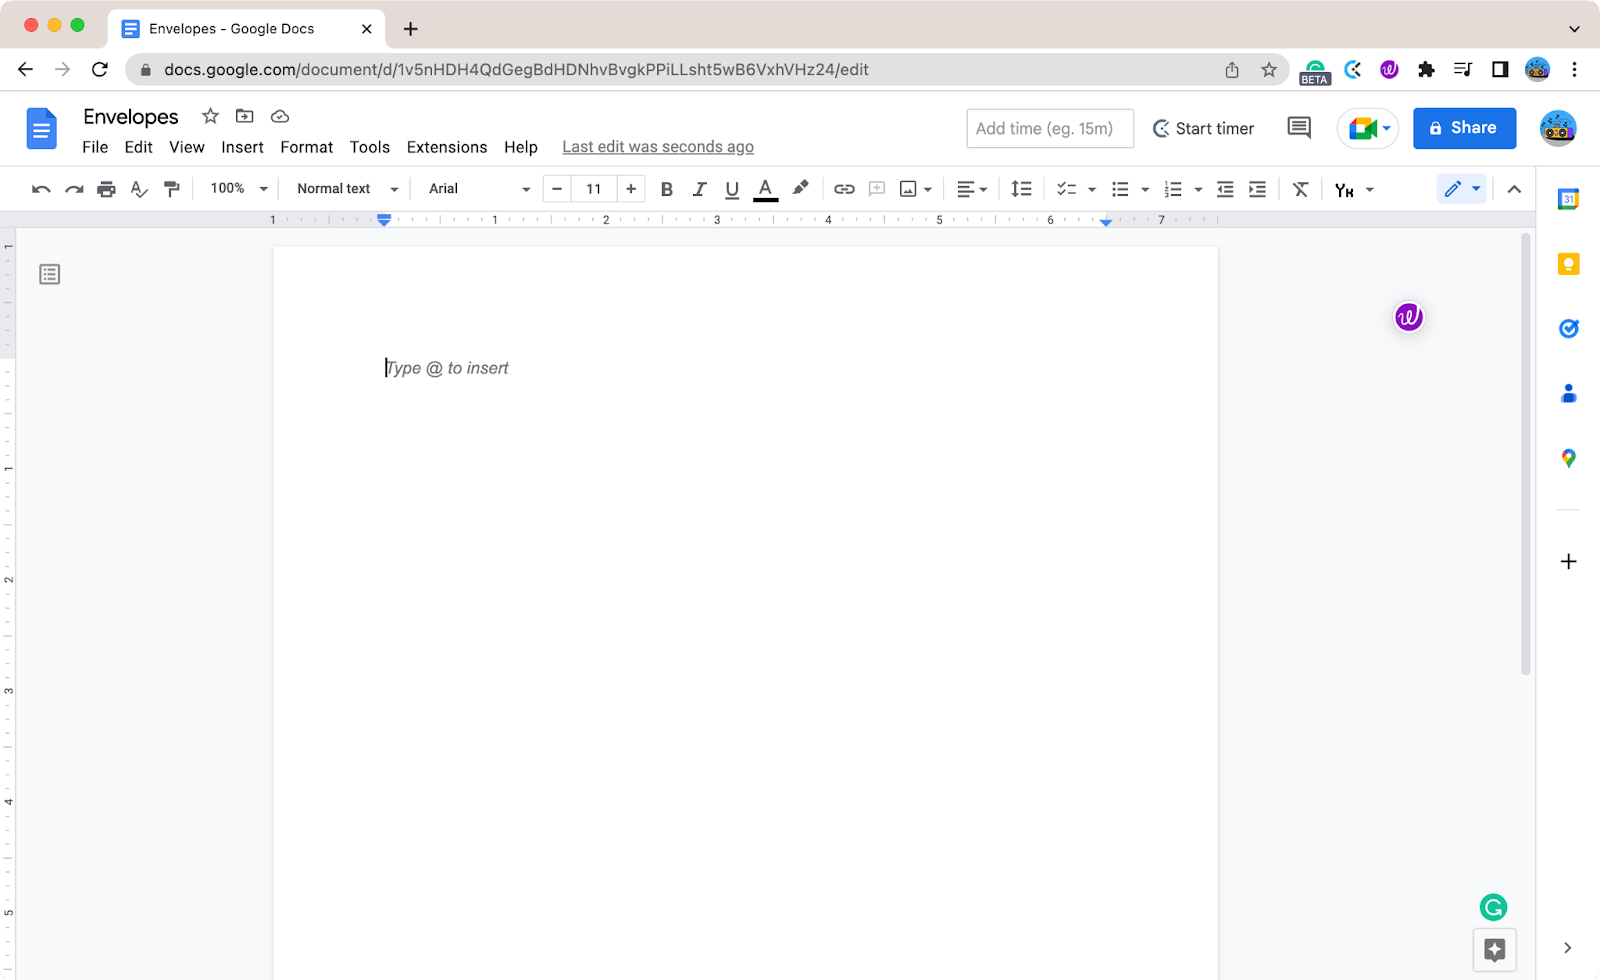
1. Open a new Google Document
First, create a new Google document. Click https://docs.new, to create a new document will appear on your screen. It’s where you’ll be designing and printing your envelopes.
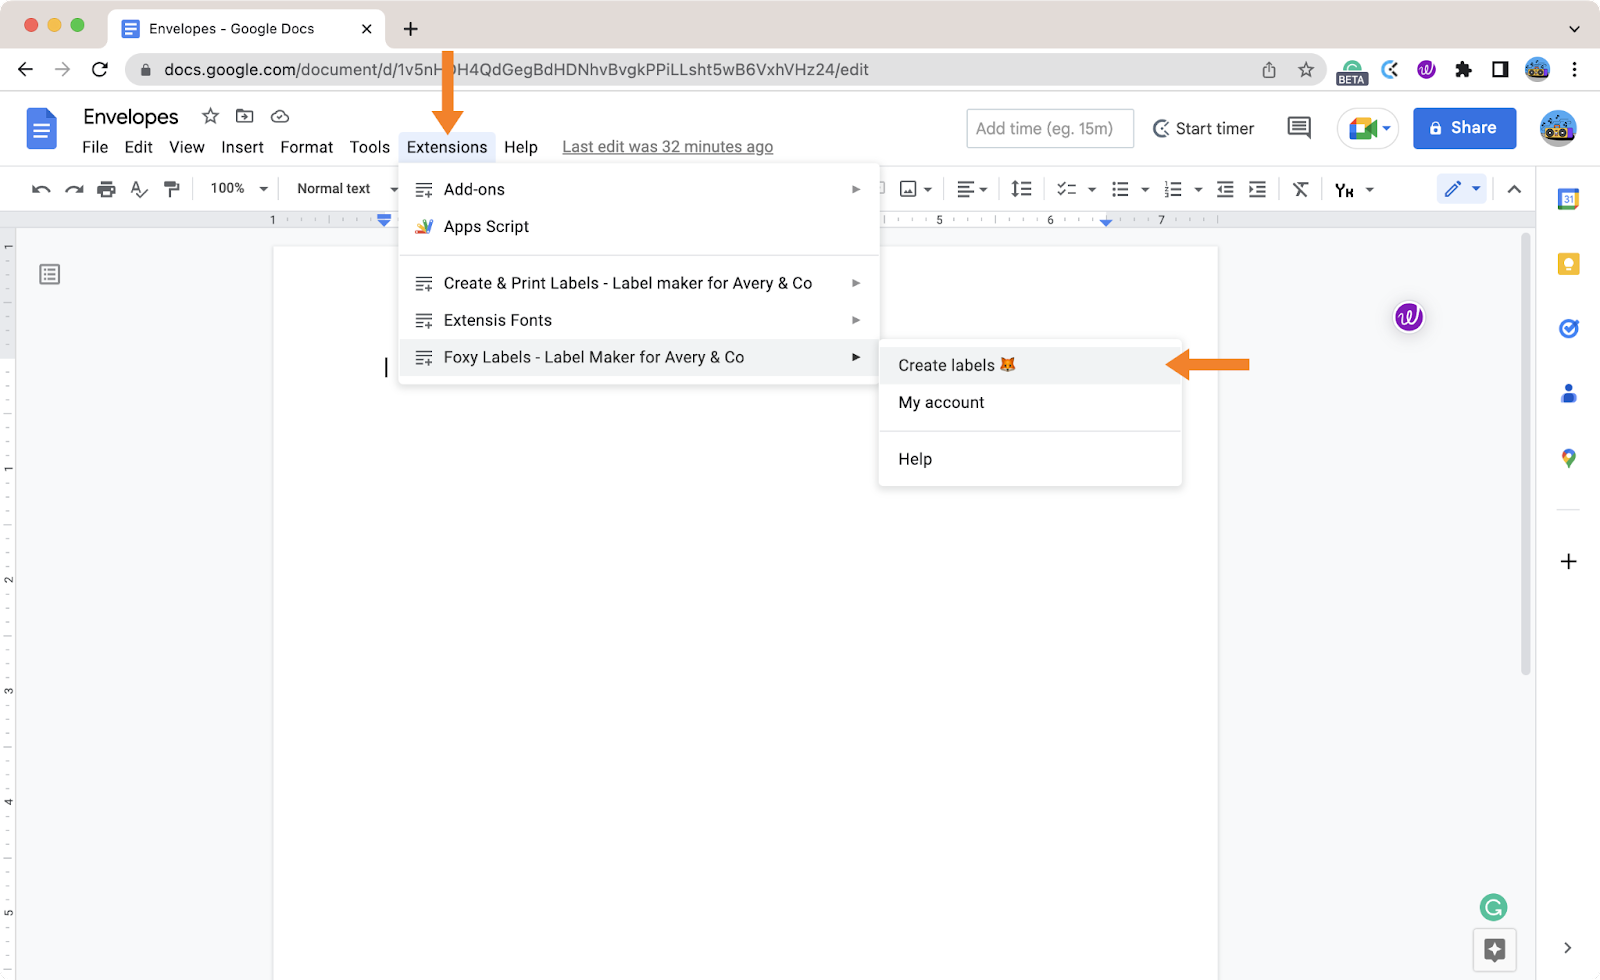
2. Launch the “Foxy Labels” add-on
Click on the "Extension" menu of the document in the horizontal menu bar. In the dropdown menu, click “Foxy Labels - Label Maker for Avery & Co.” In the “Foxy Labels” menu, click on “Create labels.” If you still need to get this Google Docs add-on, install it first.
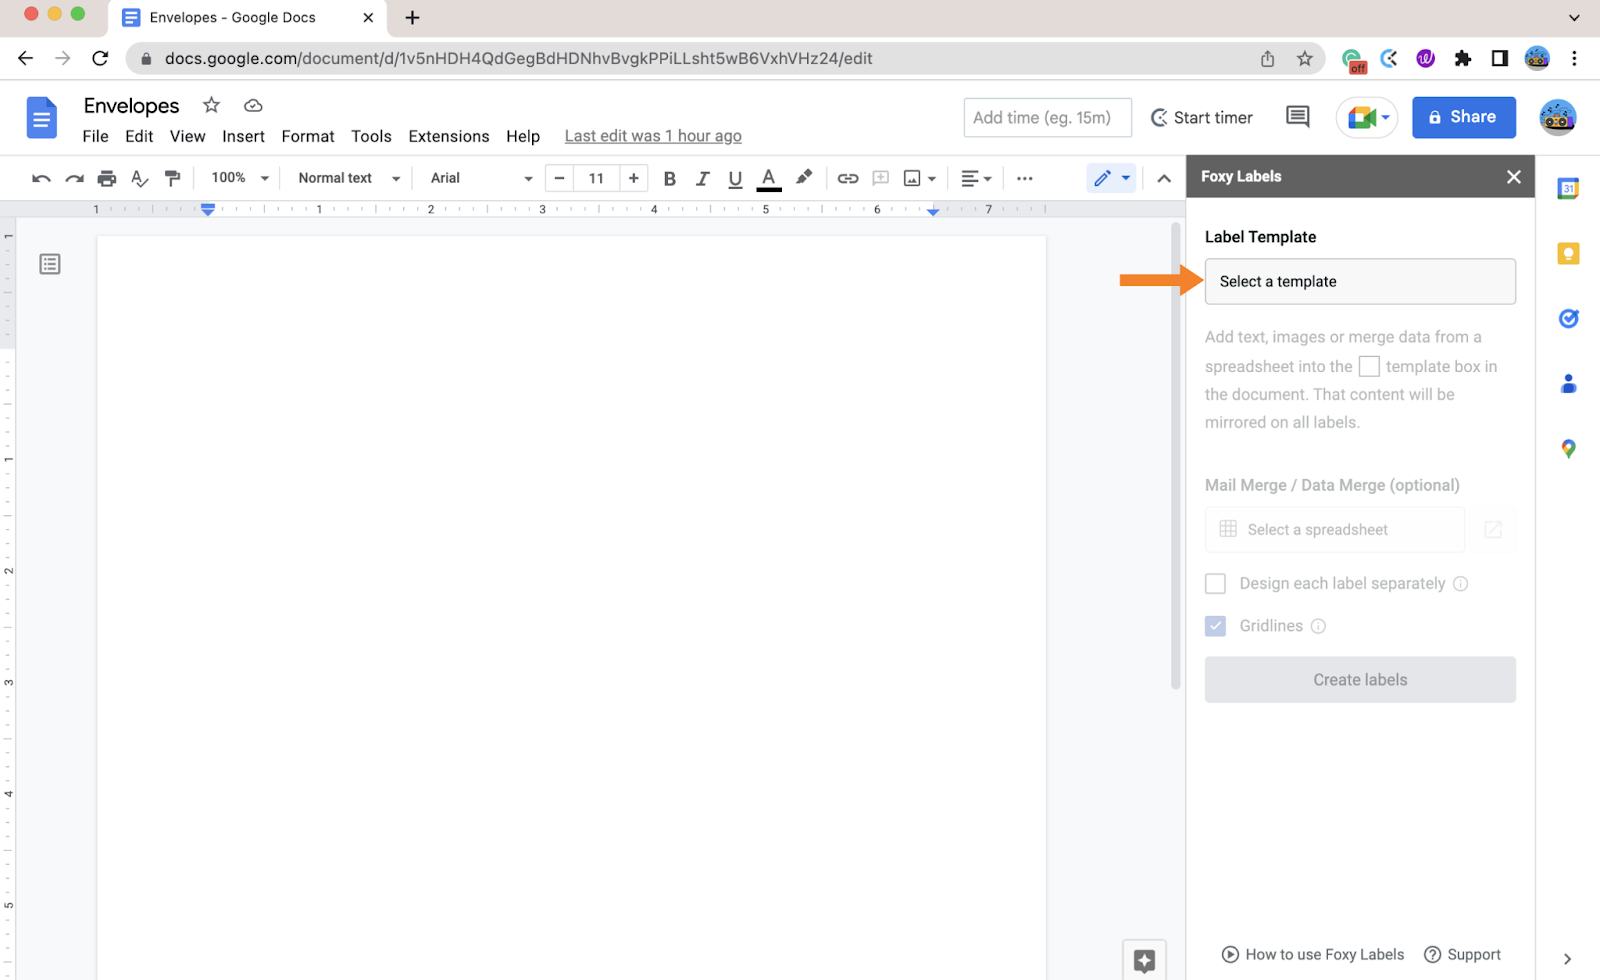
3. Select your envelope template
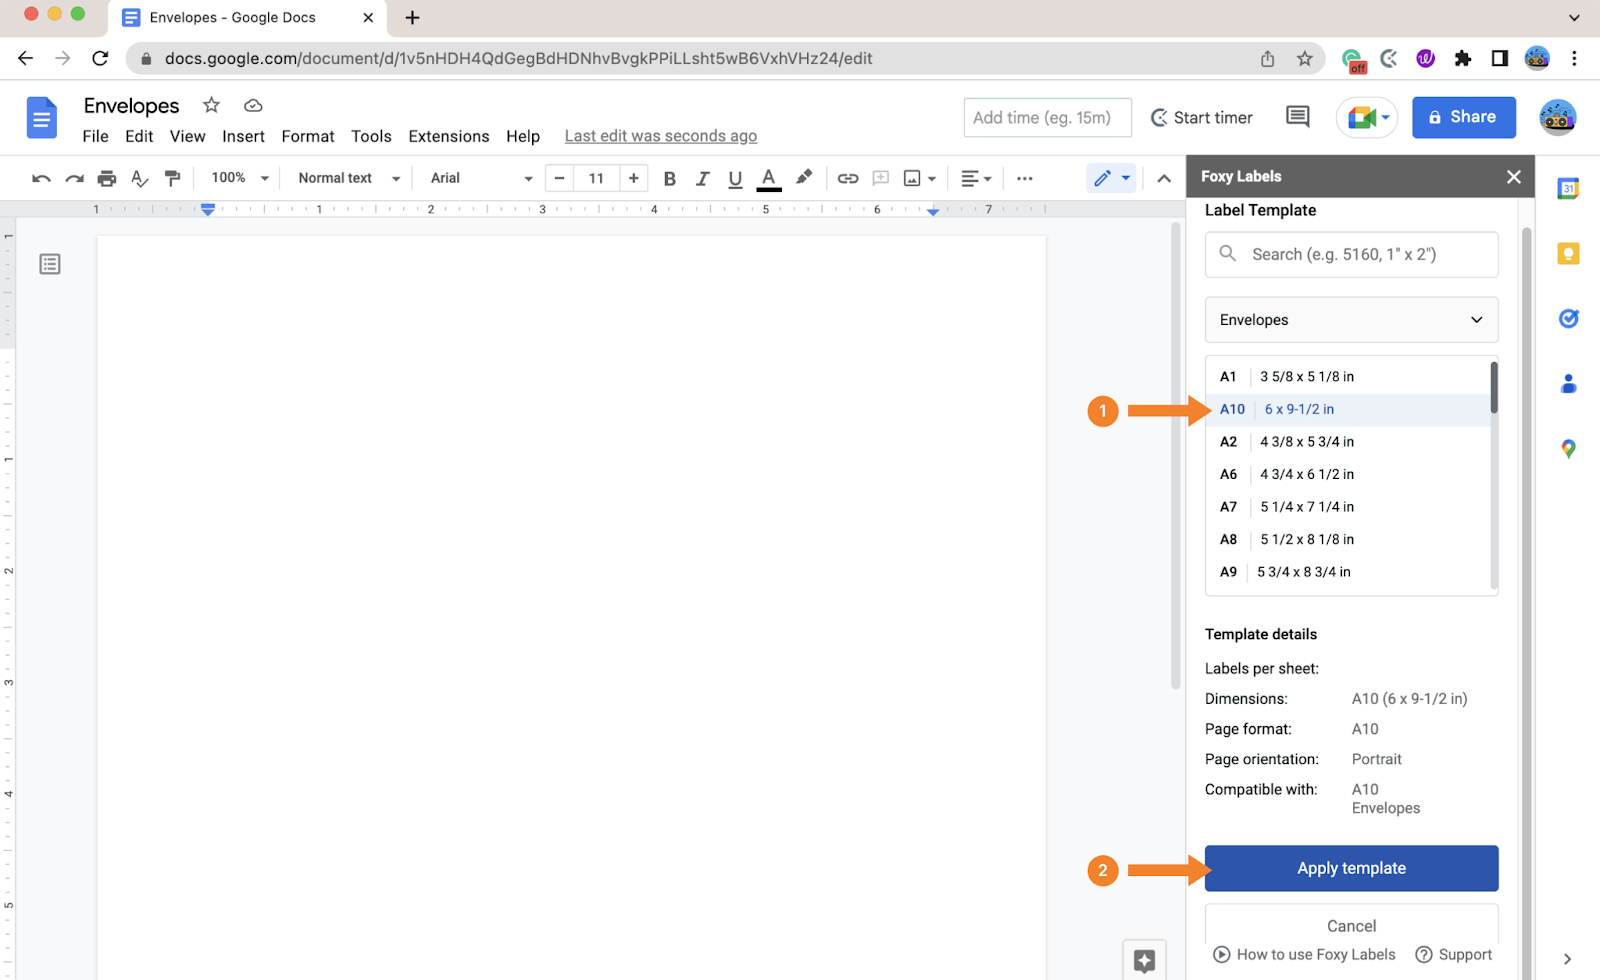
The Foxy Labels mail merge add-on extension has a specified section for envelopes in its sidebar. Click on “Select a template.”
Then, under “All templates,” find and select “Envelopes.”
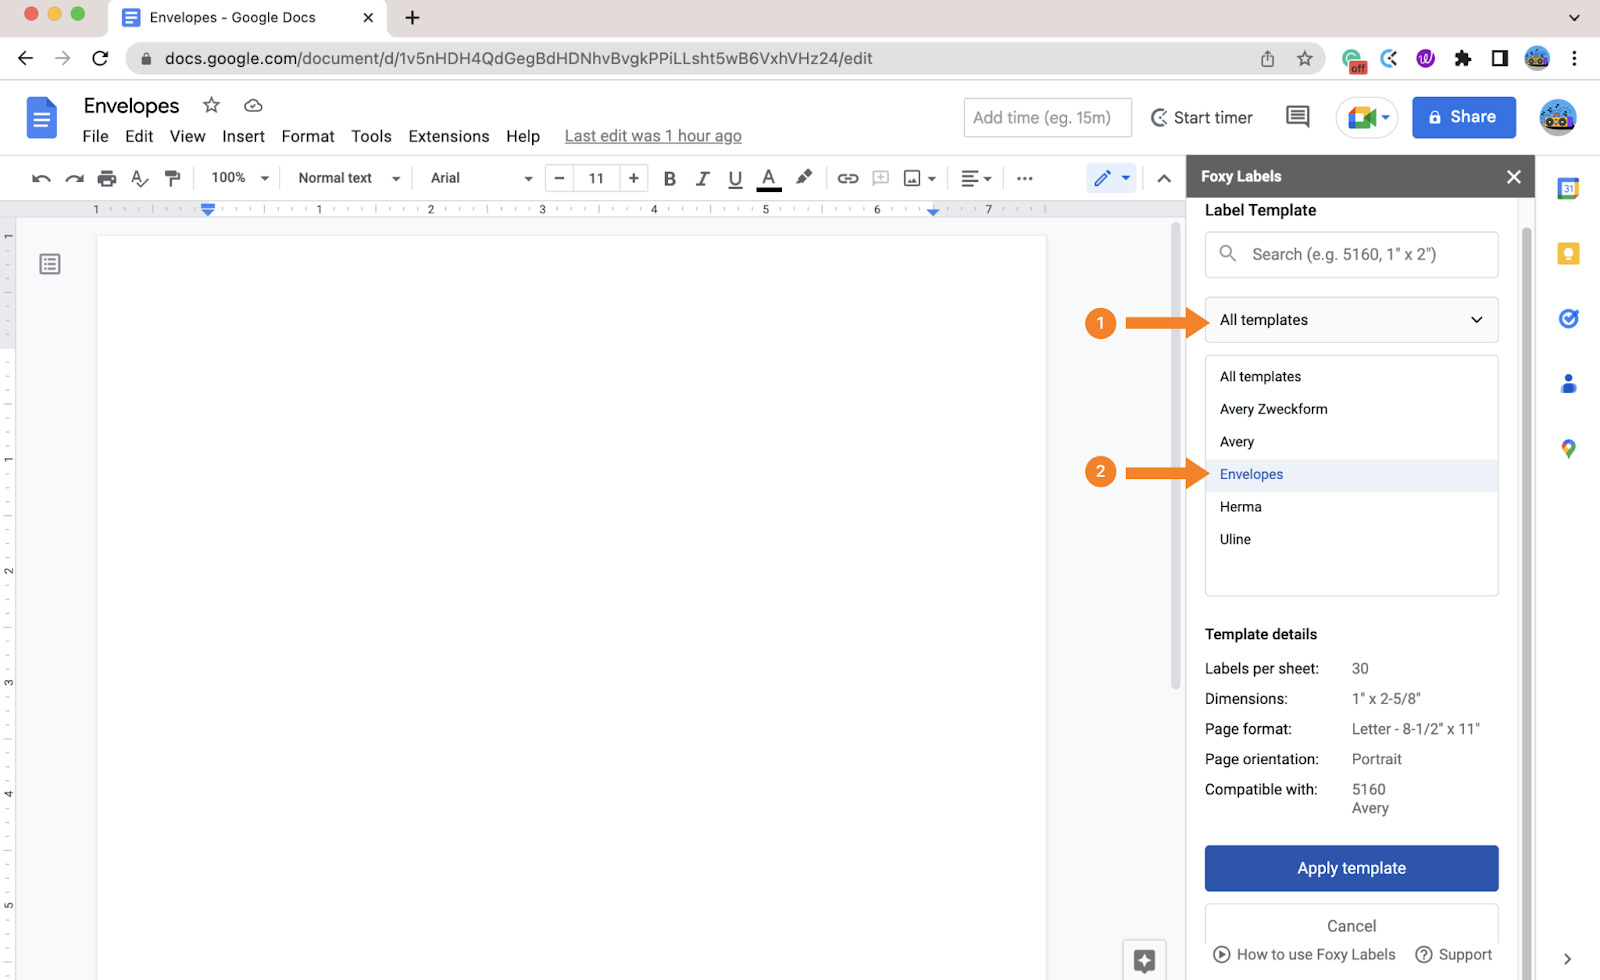
The following search box will show you a template gallery. As you can see, there is plenty of templates to choose from! For this tutorial, we will use the A10 6 x 9-½ envelope size. Once you’ve selected a suitable envelope size, click “Apply template.”
4. Edit the Google Docs envelope template
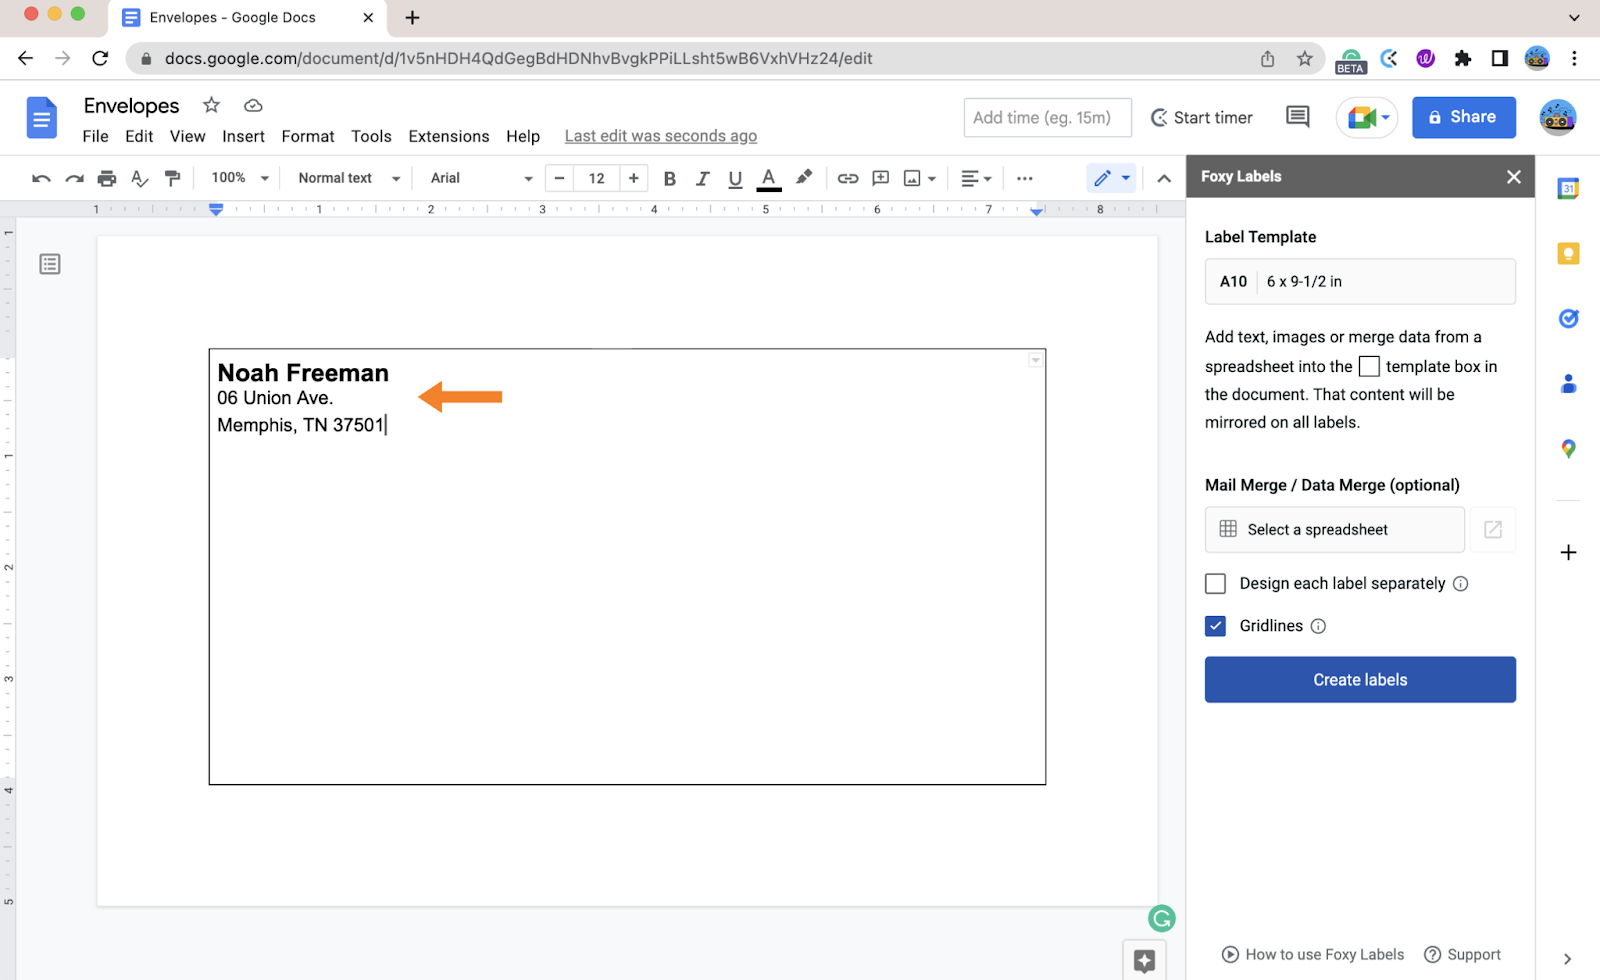
The next step is filling in the sender’s and recipient’s address information.
1. Place your cursor in the top-left corner of the frame and start typing your:
- Given name and last name
- Street name and house number
- City, state, and ZIP code.
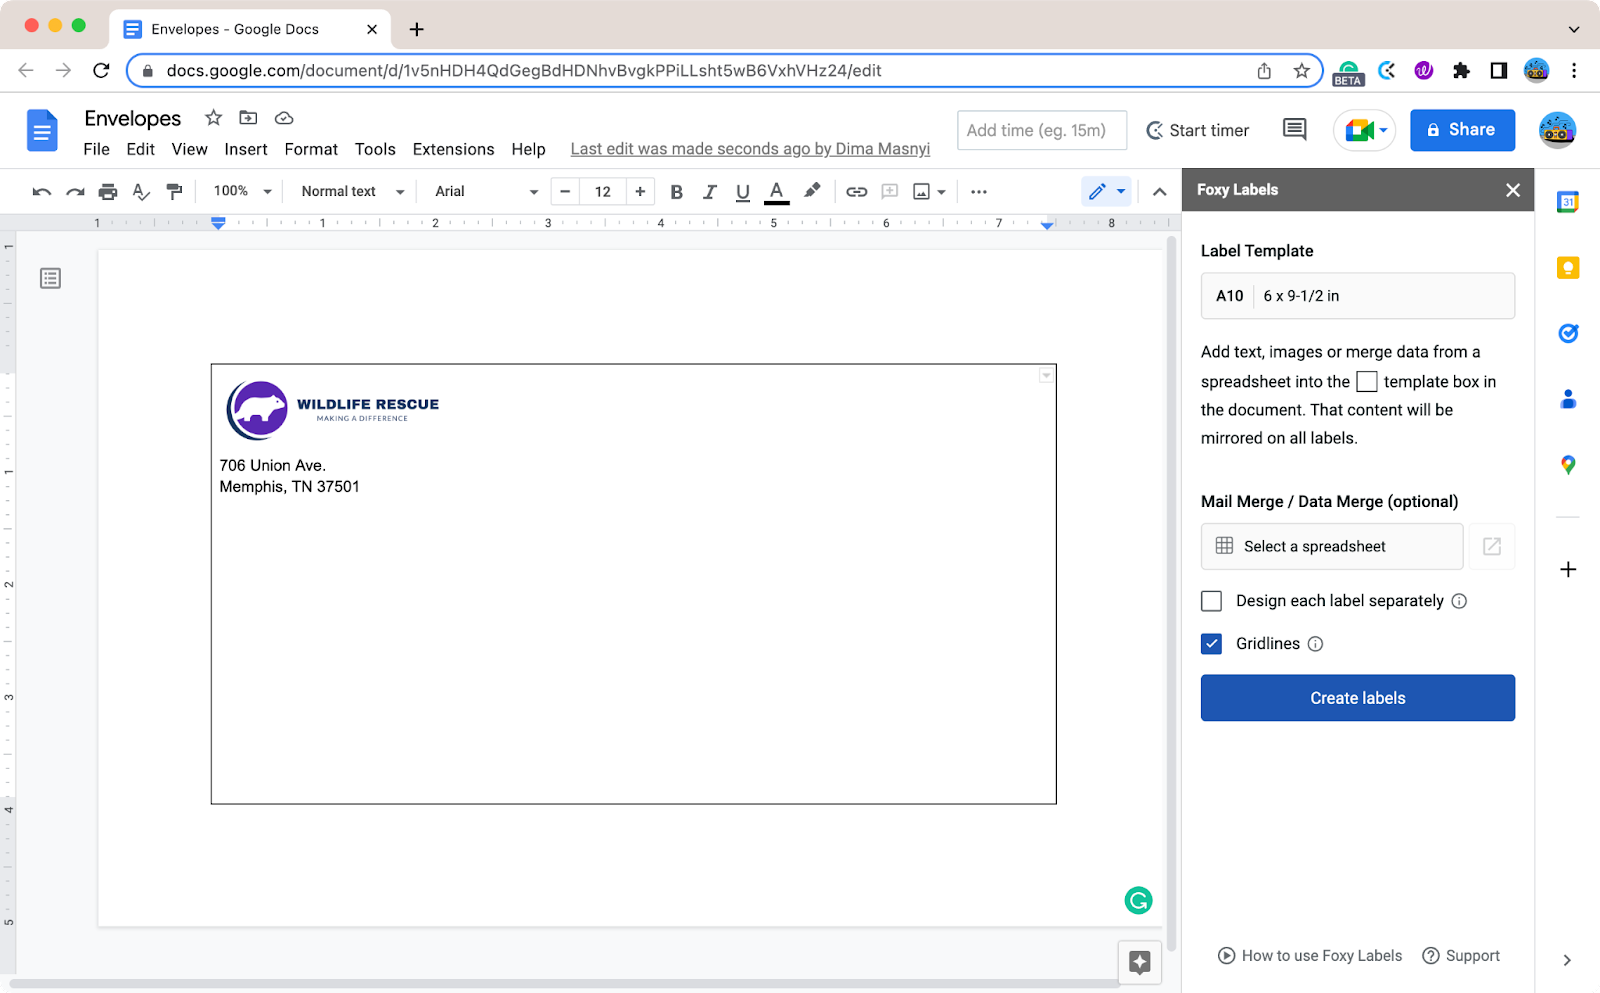
Use all word-processing tools that Google Docs offer. For your reference, in this guide, I’m using font size 16 bold for the name and 12 for other text inputs.
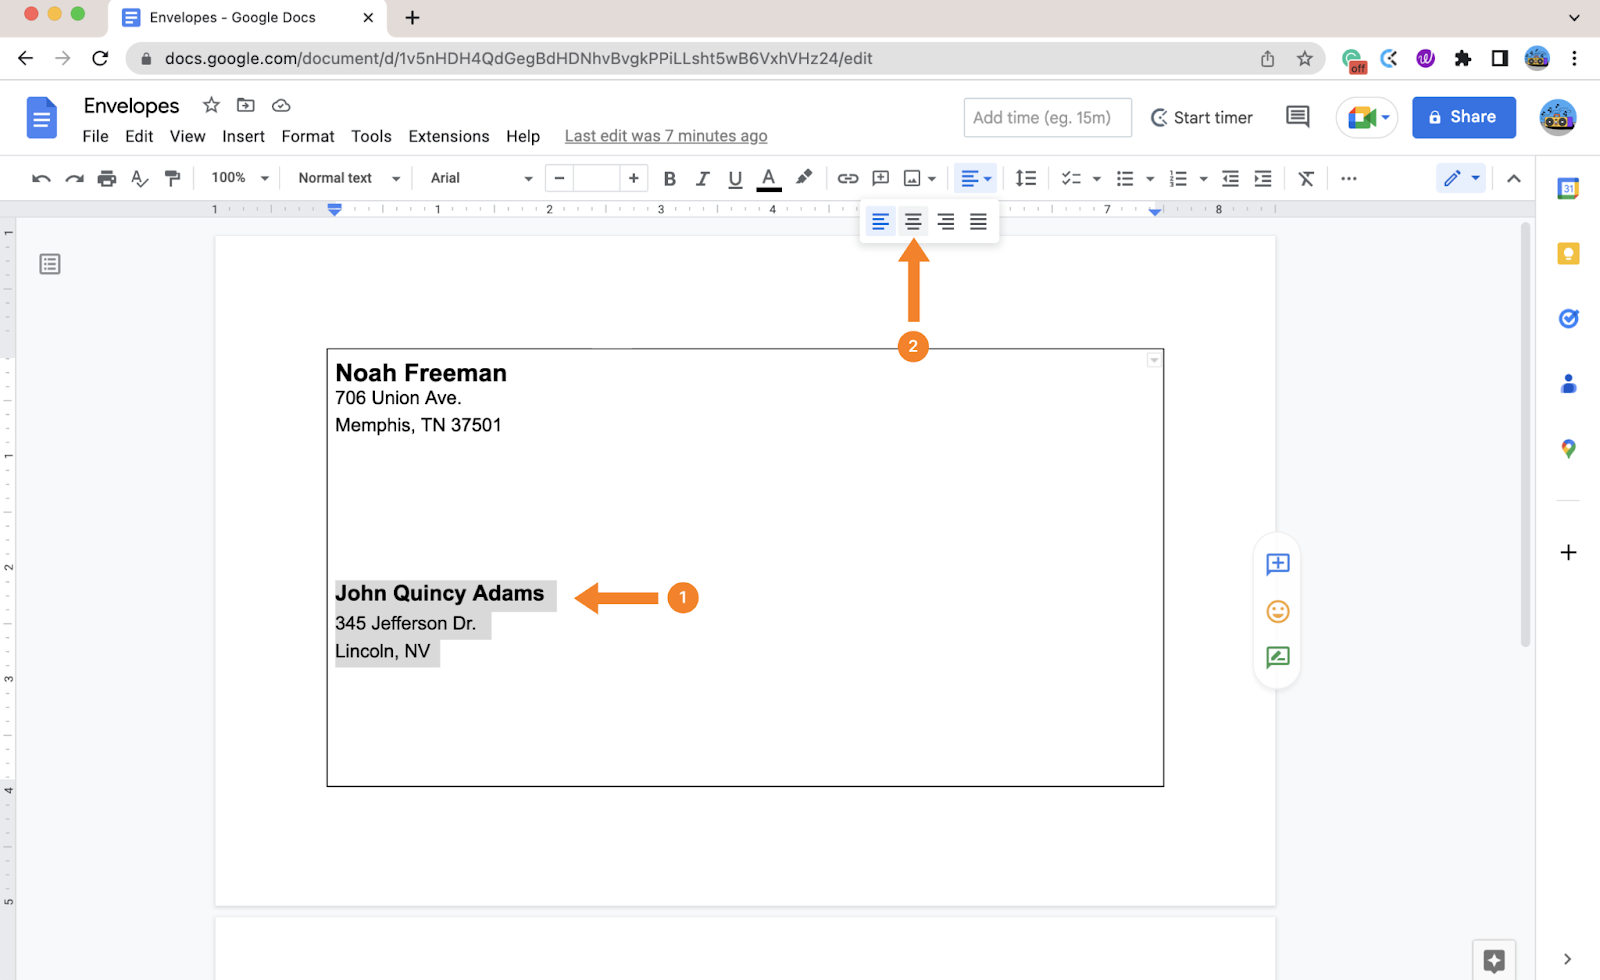
2. Move your cursor a few steps down and repeat the process, this time for the recipient of your correspondence. Again, you have freedom in formatting, but guidelines recommend following a traditional approach and keeping it clear. When the recipient’s data is typed, select it and apply Center alignment.
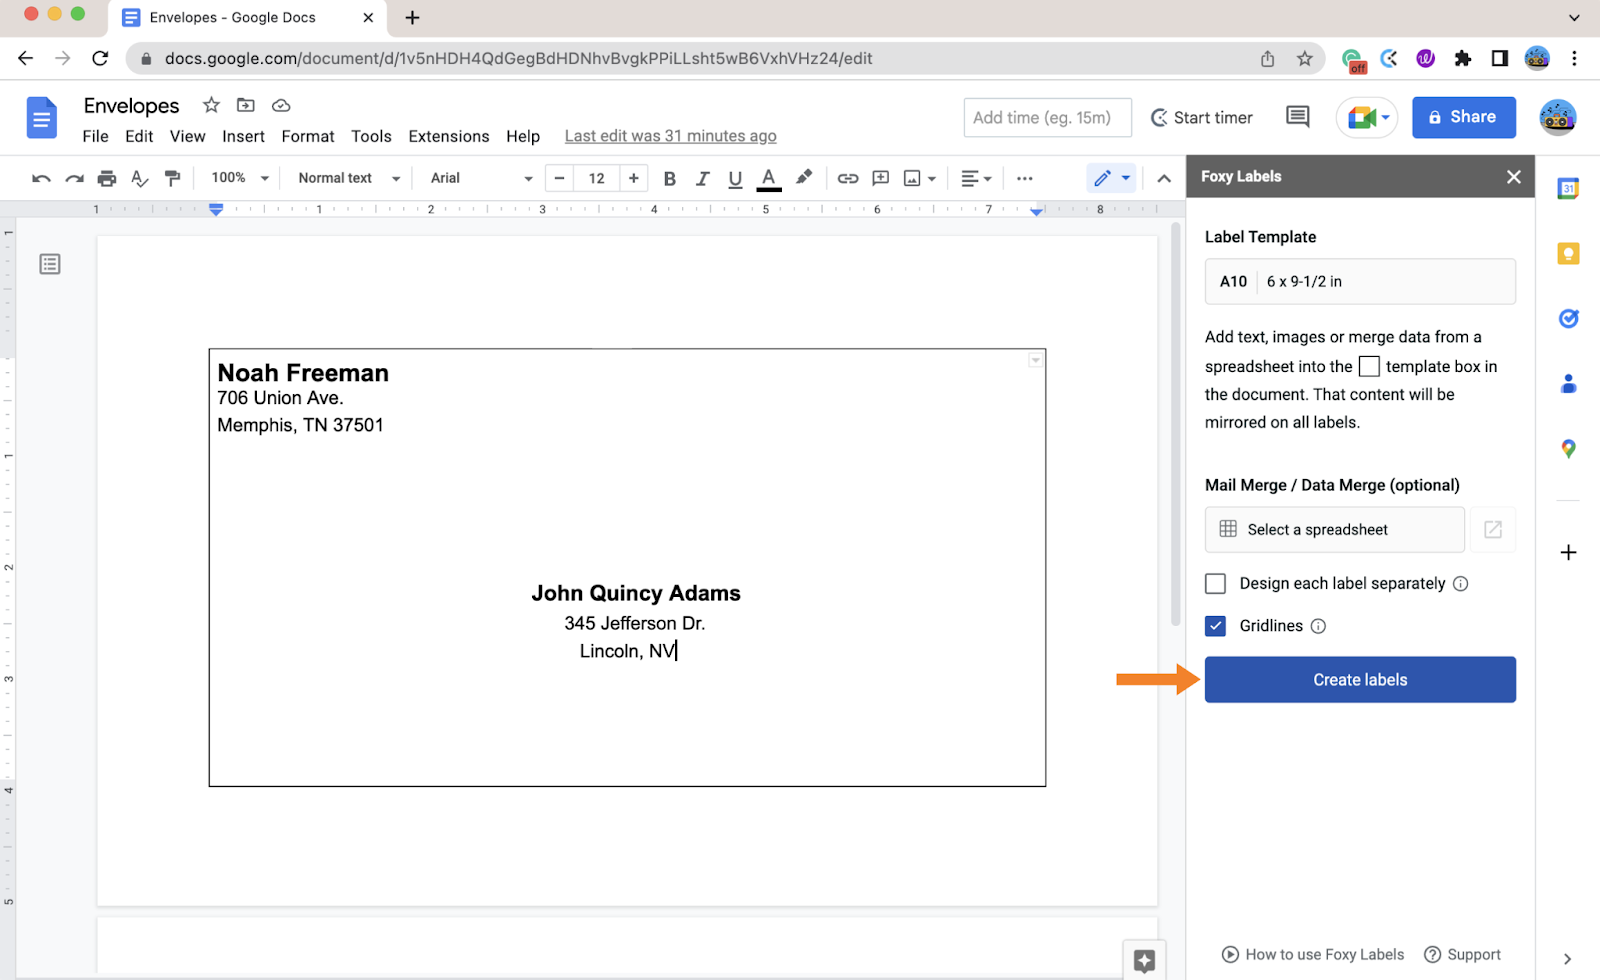
At this point, your envelope should look like in the image below. When you’re happy with how everything looks, hit “Create labels.”
5. Add a logo to your envelopes
Suppose you’re a company or business owner who creates envelopes for professional affairs. In that case, Foxy Labels allow you to customize envelopes for professional use, such as adding your company's logo. Follow the steps below to take advantage of such a handy solution.
- Place your cursor in the top-left corner of the frame.
- Сlick “Insert” > “Image” > “Upload from computer” if this is where you store your logo.
- Now, it's time to resize the image. The file with your logo can be larger than a given template allows. In this case, you'll need to resize the image by zooming it in and out. You can do it by clicking on one of the image's corners and dragging it until it fits appropriately into the cell. Remember, the size of the image must not alter the dimensions of the external frame of the cell.
When the image is in the top-left corner, use Google Docs tools to add the address details of your company and those of the recipients, as shown in the previous section of this tutorial.
6. Mail merge the mailing list from Google Sheets
Foxy Labels allow you to link your mailing list from a Google Sheets spreadsheet and create envelopes for multiple recipients. Here is a step-by-step guide to making your list if you don't already have one.
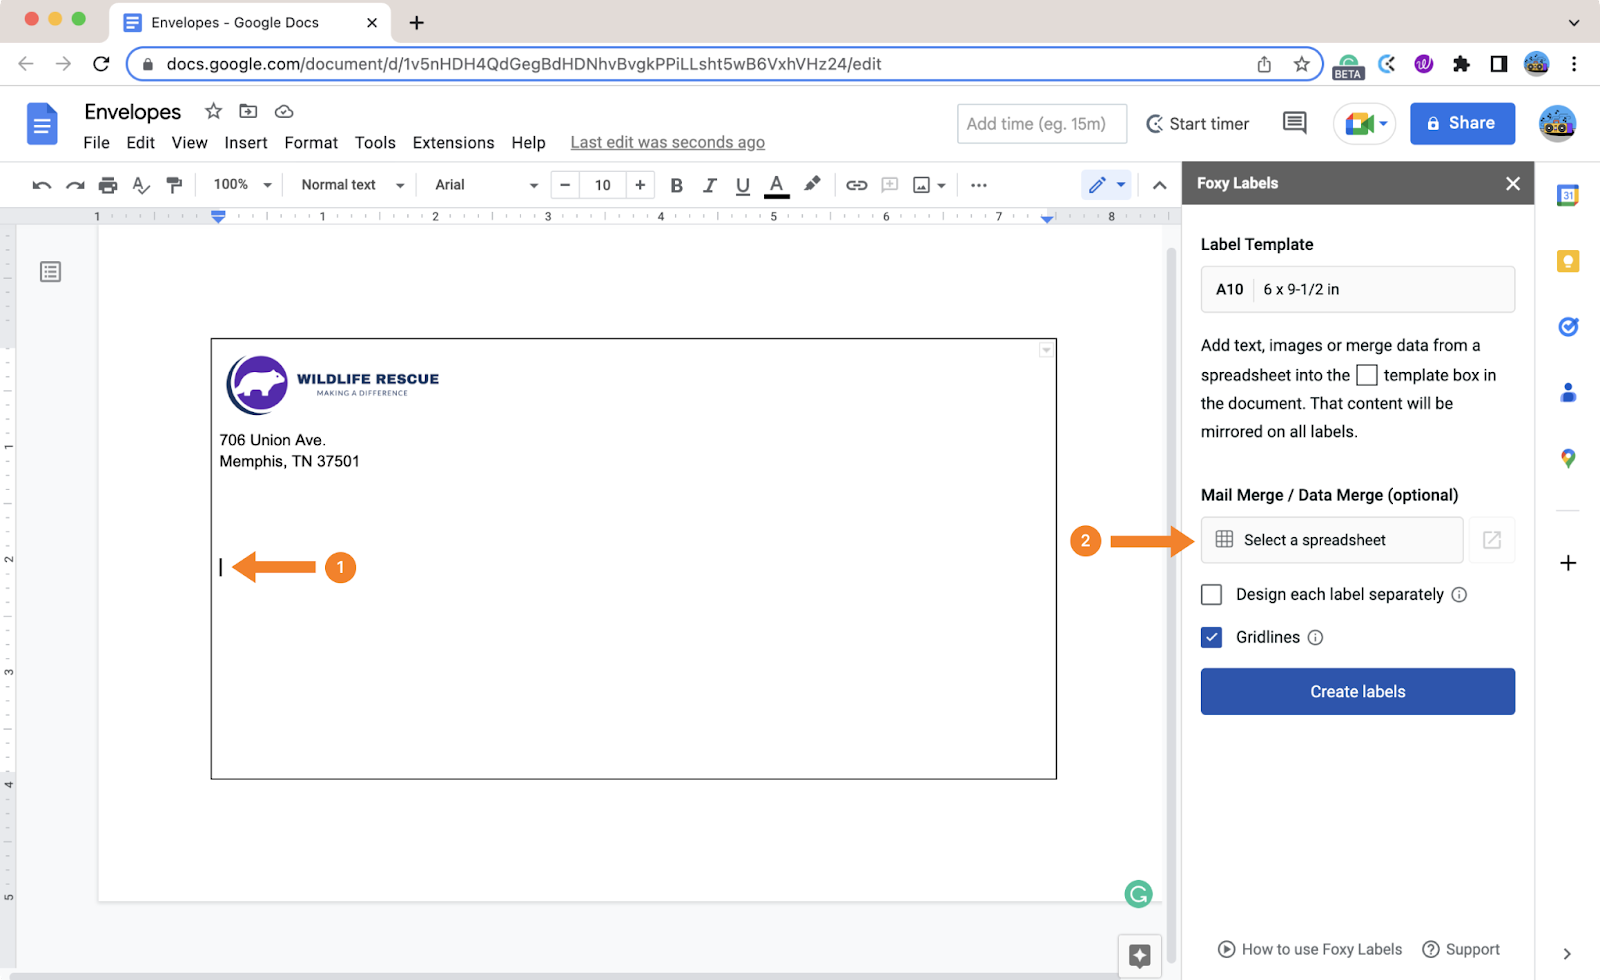
Return to step 2 of section 4 of this tutorial. Your template should include only your logo and mailing details at this stage.
Move your cursor a few steps down and click “Select a spreadsheet”
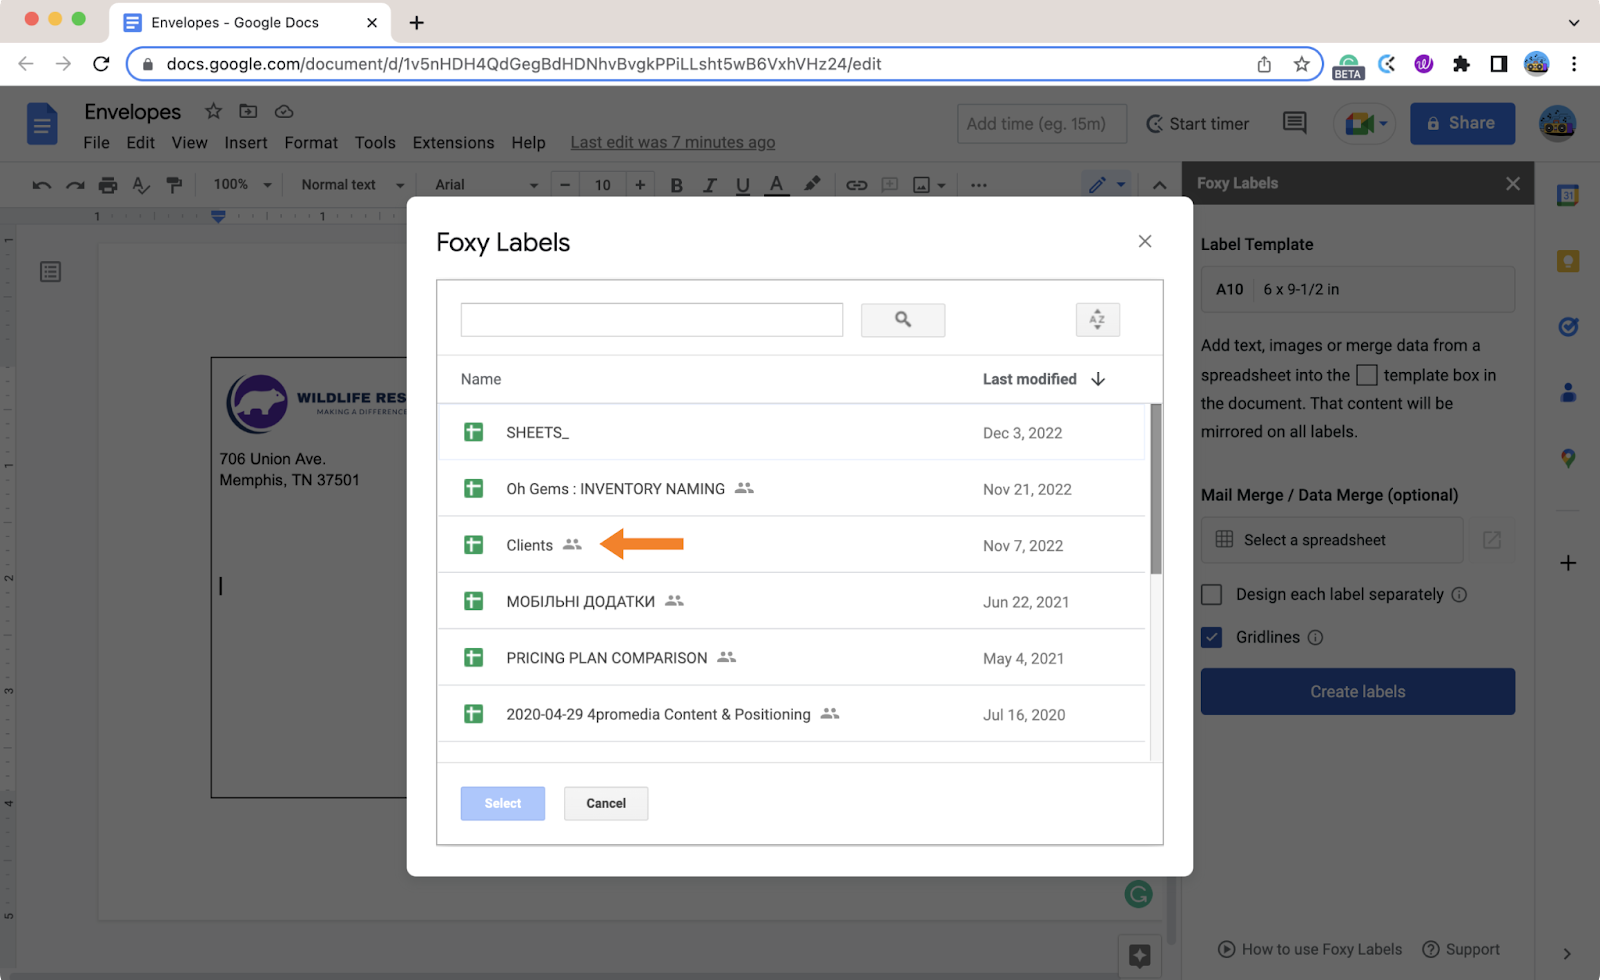
In the next window, find the Sheet file of your mailing list and select it.
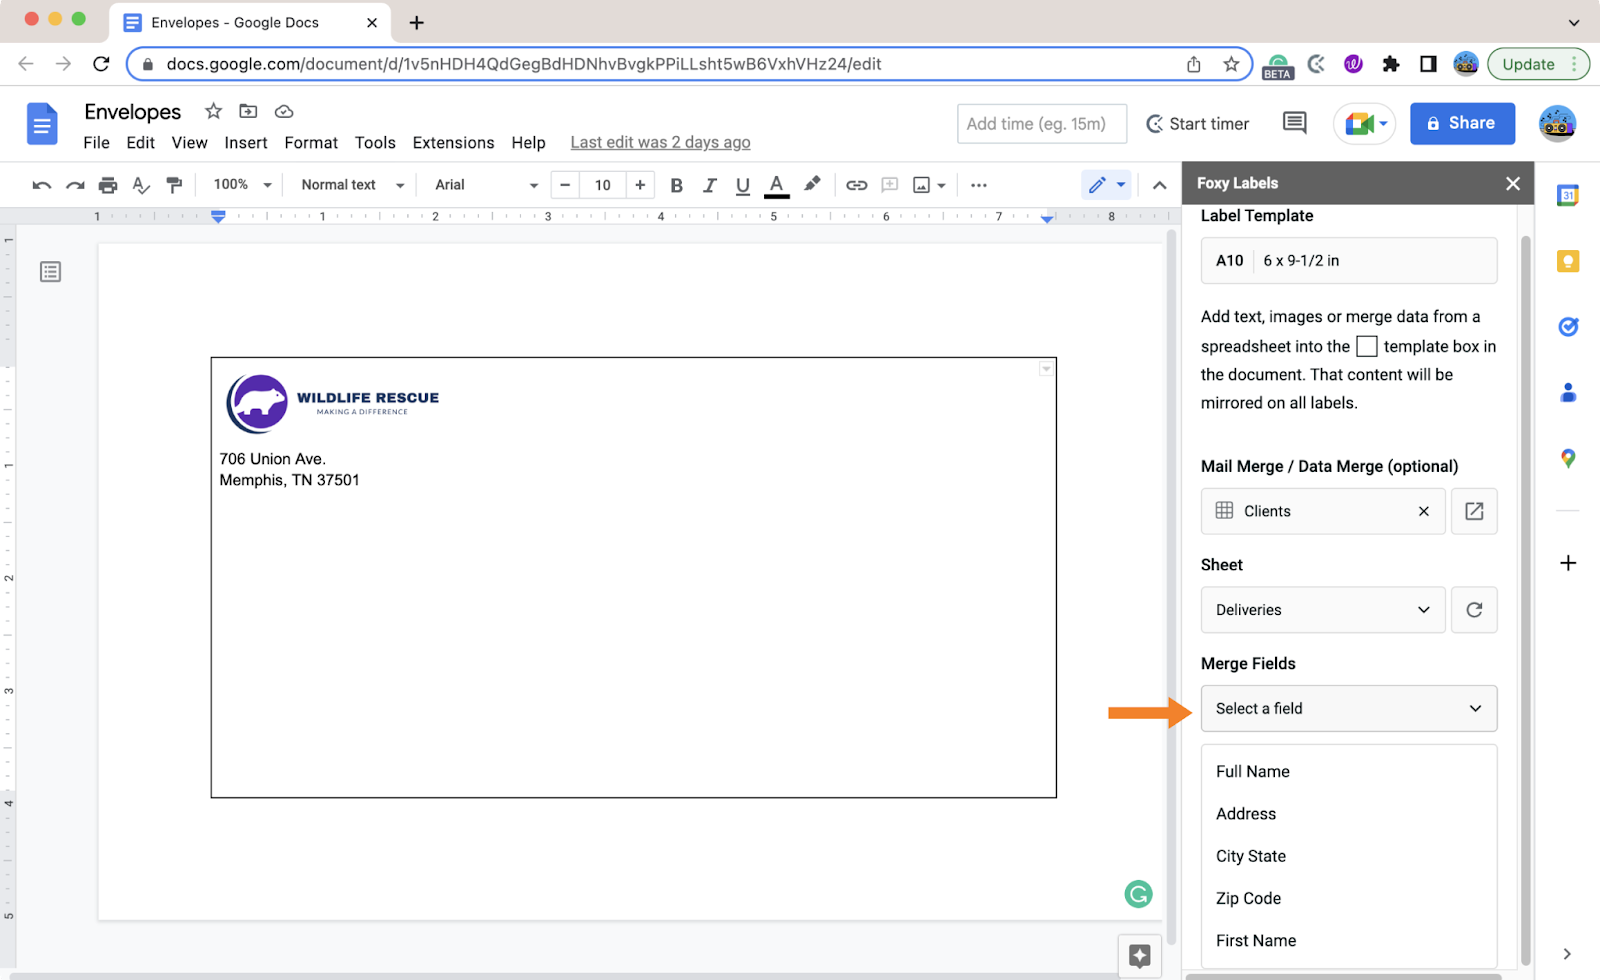
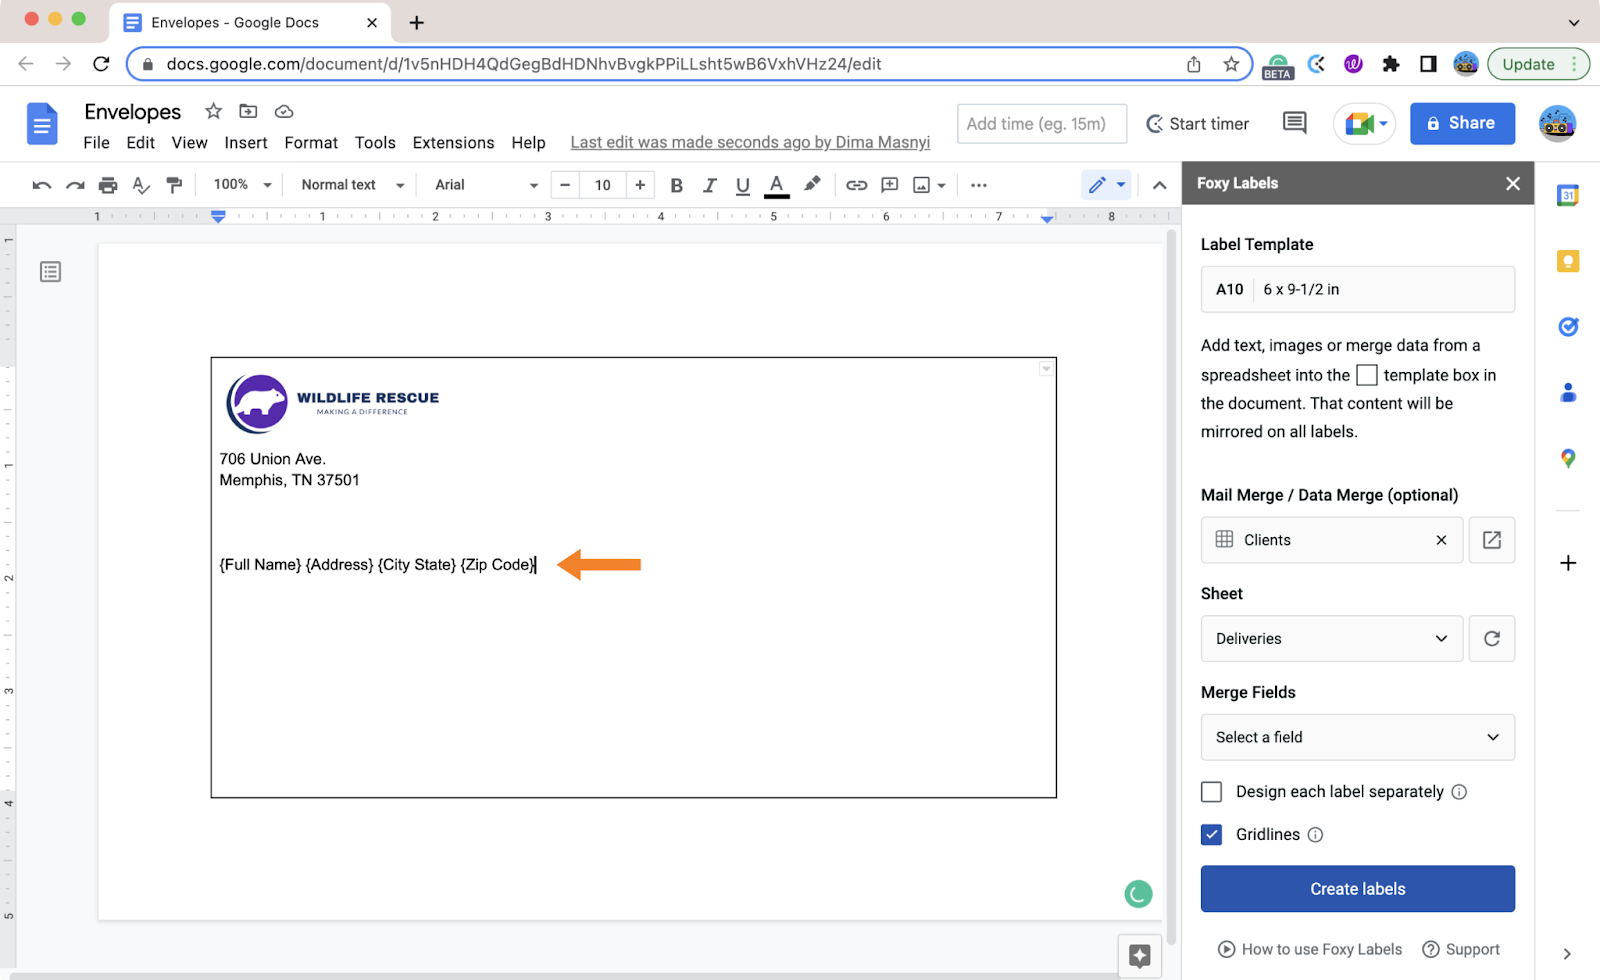
In the Foxy Labels sidebar, click on “Merge fields.” From the dropdown menu of the “Select a field” placeholder, choose all necessary merge fields one by one. For correspondence, you will need the following fields: full name, address, city, state, and ZIP code.
After completing this step, your template will look like the one shown below. We need to do some formatting before we’re ready to finish merging and creating the envelopes.
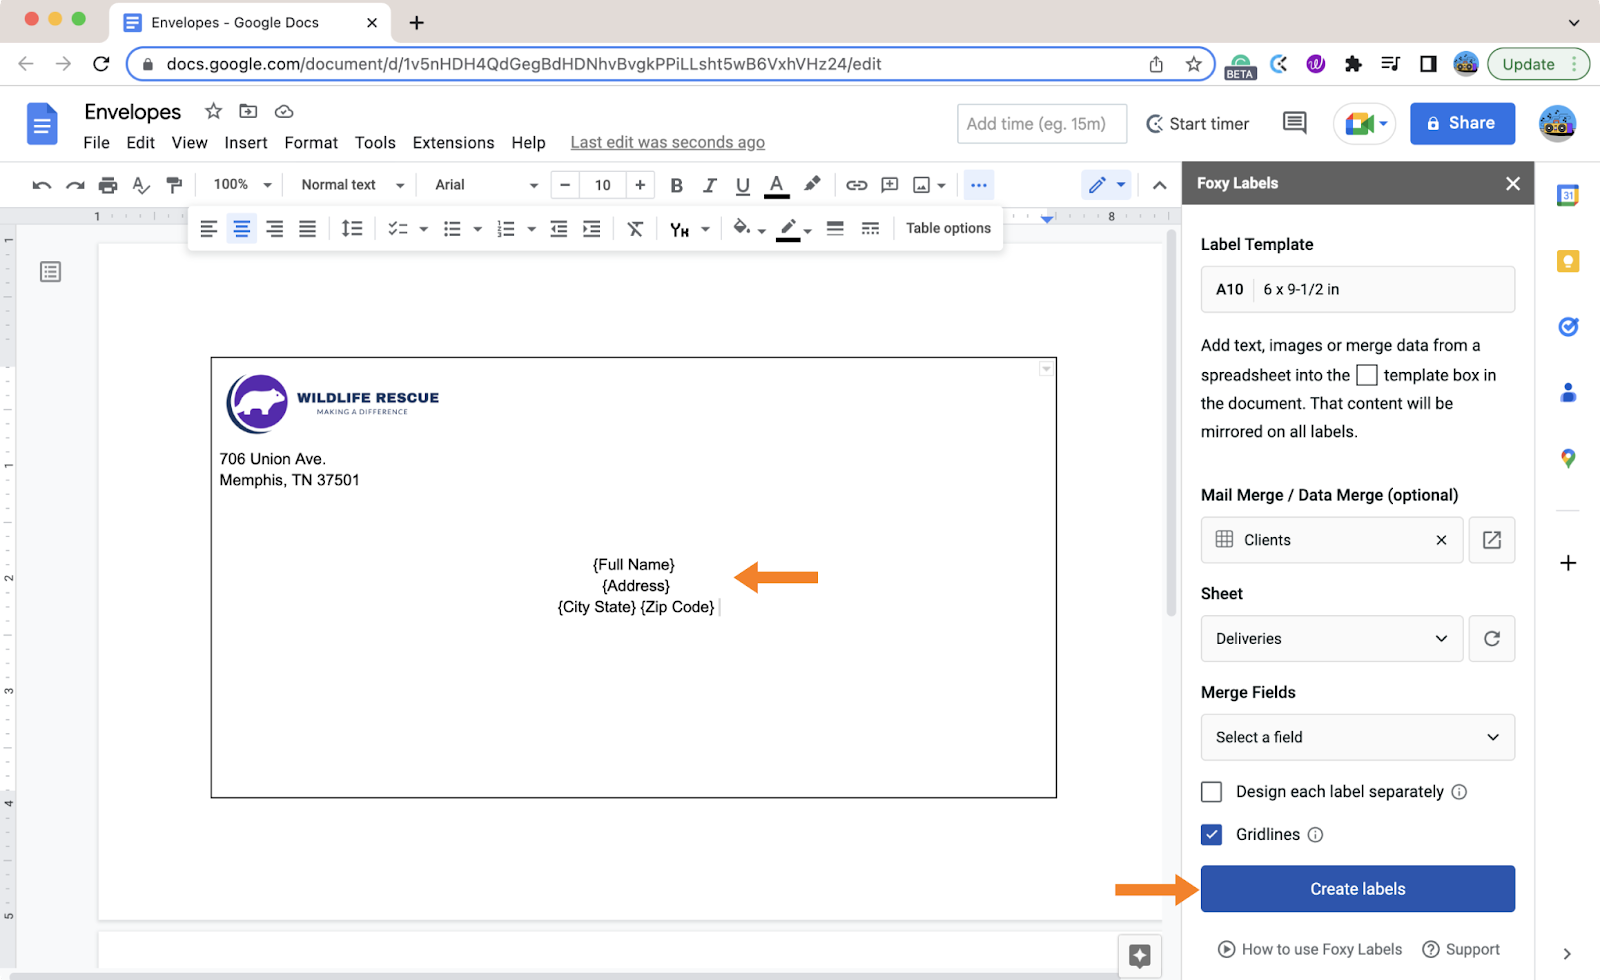
Select all fields and apply Center alignment in the Google Docs toolbar. Then, place your cursor after the {Full name} field and hit “Enter” to move other entries a line down. Repeat the step for the {Address} field. Keep the {City State} and {Zip Code} fields in one line. This should result in the following you see below. Finally, click “Create labels” and allow the extension a little time to complete its work.
7. Open the envelope in Google Docs
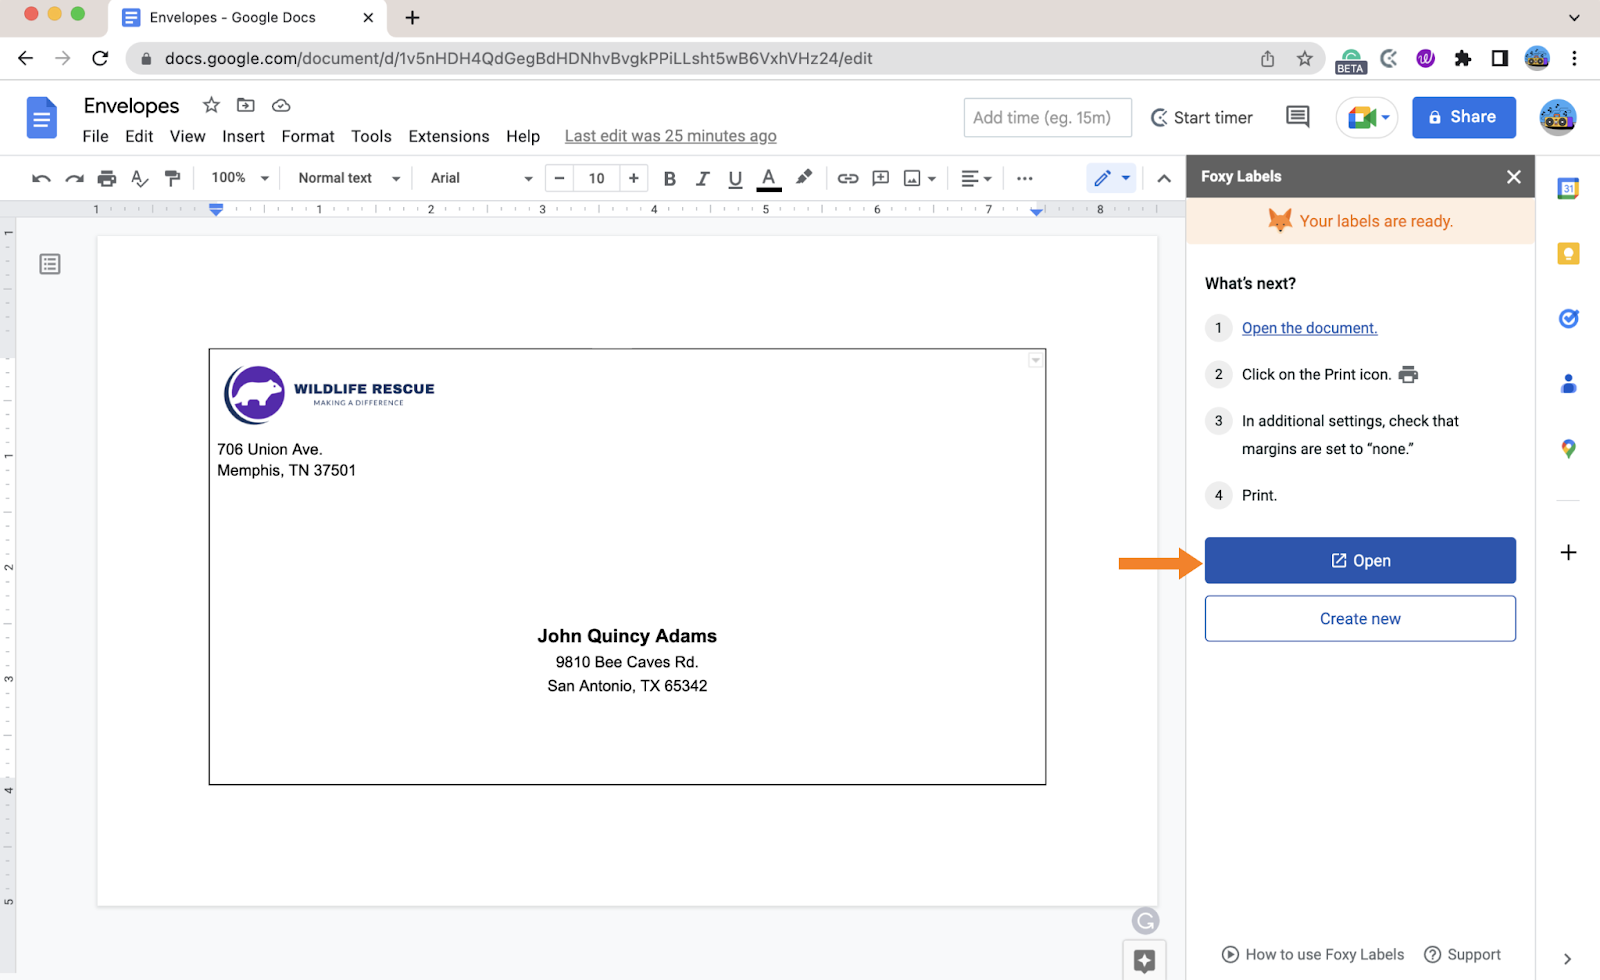
Once you’ve completed editing your envelope, click "Create labels” and wait a few seconds while the add-on generates the final document. The “Foxy Labels” sidebar will indicate when it’s prepared. All you need to do now is click on “Open.”
8. Review and print envelopes in Google Docs
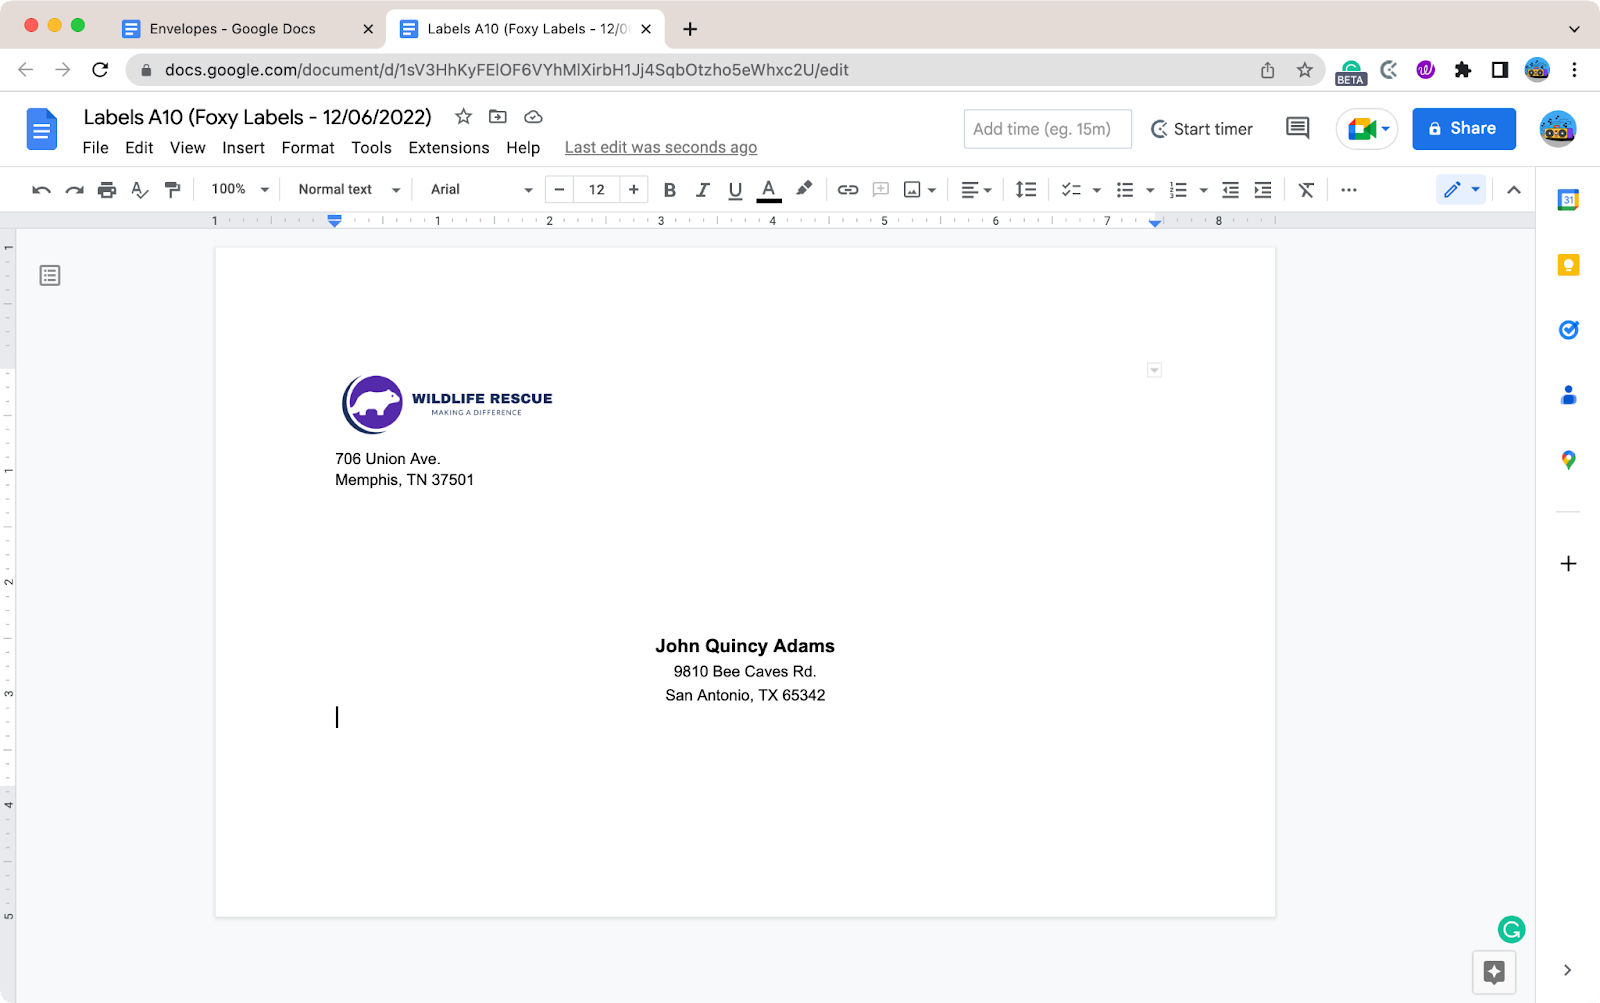
The envelope is ready for reviewing and printing. Load your printer with the appropriate size of envelopes. Once again, double-check for any alignment issues. If anything needs to be fixed, return to the original document to make changes. Then, click “Create labels” once again and open your updated document. Your envelopes are ready to print!
Click "File” > "Print" (or keyboard shortcut Ctrl+A on Windows or command+A on Mac OS) to print your customized envelopes with or without the logotype of your company.
Don’t forget to place a stamp!
Indeed, don’t forget to do it, or your mailman will leave you reminded of Elvis’ timeless classic, “Return to Sender.”
If you haven't used the plugin to design address labels, this guide demonstrated how painless it is to print labels and everything you need directly onto envelopes.
Remember, the Foxy Labels add-on is your steadfast ally in office matters.