How to Create and Print Classroom Labels from Google Sheets
Turn your class roster into perfectly formatted, print-ready classroom labels in minutes. A step-by-step guide for teachers using Google Sheets and label templates.
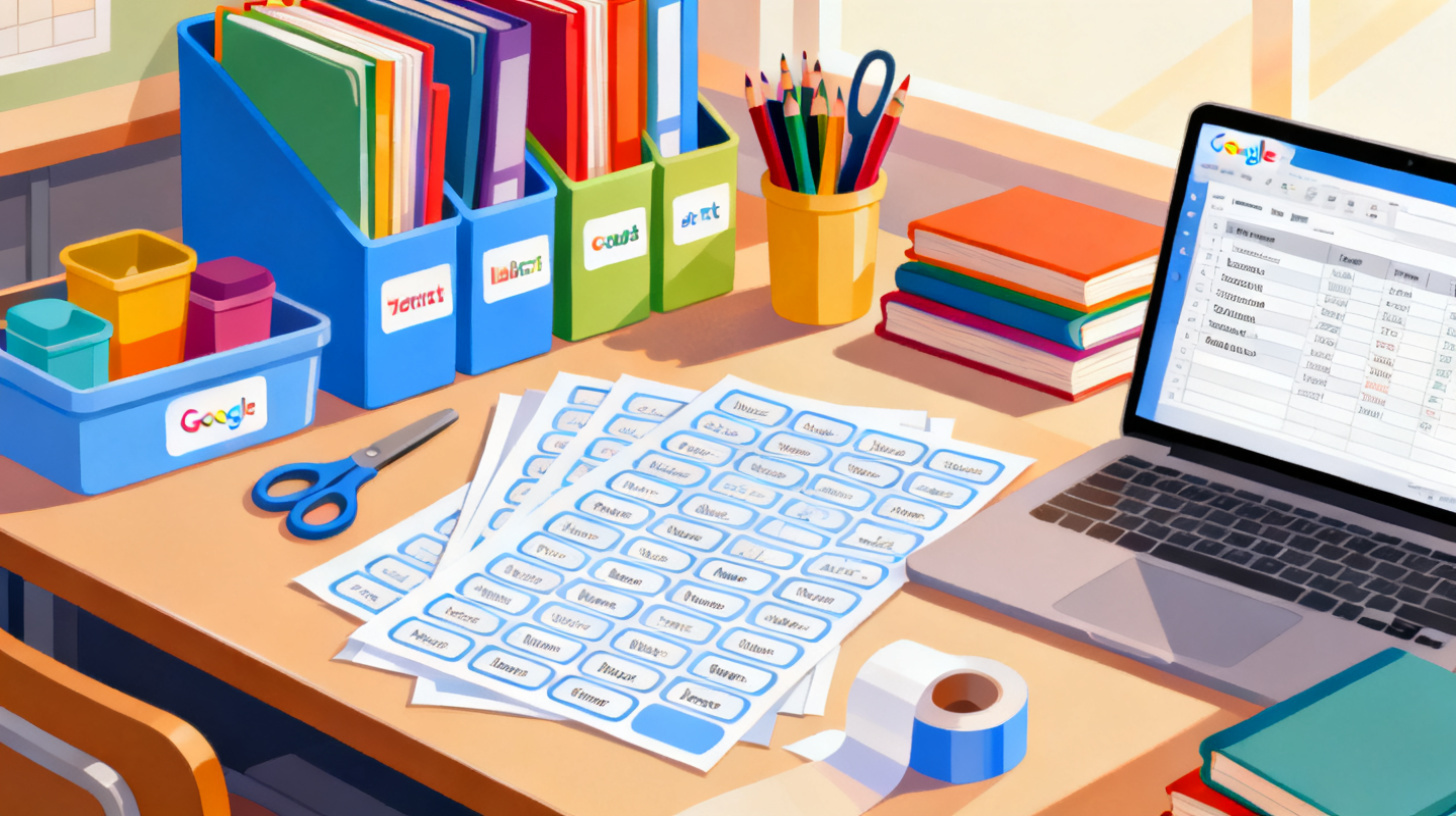
Every teacher knows the feeling: it's the week before school starts, and you need name tags for desks, labels for book bins, stickers for folders, and tags for cubbies. You could handwrite each one, but with 25 or more students per class, that gets old fast. The smarter approach? Pull your class roster straight from Google Sheets and turn it into perfectly formatted, print-ready labels in minutes.
Whether you're labeling supply bins, organizing a classroom library, or making student name tags for the first day of school, this guide walks you through the entire process. You'll learn how to set up your spreadsheet, choose the right label template, and print professional-looking labels without spending your weekend on arts and crafts. And with tools like FoxyLabels' template library, the process is far simpler than most teachers expect.
According to the National Center for Education Statistics, there are roughly 3.7 million full-time teachers in the United States. Nearly all of them spend time on classroom organization tasks like labeling. If even a fraction of that time can be saved with a streamlined workflow, we're talking about millions of hours reclaimed for actual teaching.
Let's get into it.
Setting Up Your Google Sheets Roster for Label Printing
Before you print a single label, you need a clean, well-organized spreadsheet. This is the foundation of the entire process, and getting it right saves you from headaches later. The good news is that most teachers already have class rosters in Google Sheets or can get them there quickly.
Organizing Your Student Data
Start by opening Google Sheets and creating a new spreadsheet (or opening your existing roster). Your spreadsheet should have column headers in the first row, with each subsequent row representing one student or one label. Here's a simple structure that works for most classroom label needs:
Column A | Column B | Column C | Column D |
First Name | Last Name | Grade | Homeroom |
Emma | Johnson | 3rd | Room 204 |
Liam | Garcia | 3rd | Room 204 |
Sophia | Williams | 3rd | Room 204 |
A few tips to keep your data label-ready:
Use consistent formatting. If some names are in ALL CAPS and others in lowercase, your labels will look messy. Use the
PROPER()function in Google Sheets to capitalize the first letter of each name automatically. For example,=PROPER(A2)converts "emma" to "Emma."Remove blank rows. Blank rows in the middle of your data will create empty labels when printing, wasting label sheet real estate.
Keep one piece of information per column. Don't combine first and last names in one cell if you might want to format them differently on the label. You can always merge them later with a formula like
=A2 & " " & B2.Add extra columns for context. If you're making book bin labels, you might want a column for reading level. For supply labels, a column for the subject or color code can be helpful.
Tailoring the Spreadsheet for Different Label Types
Teachers don't just make one kind of label. You might need desk name tags with large, bold first names, folder labels with both the student name and subject, or book bin labels organized by genre or reading level. The beauty of starting in Google Sheets is that you can create different views of the same data for different labeling projects.
For desk name tags, your layout might focus on just the first name in a large font. For folder spine labels, you might combine the student's last name and subject. For classroom library labels, you're probably working with book titles, genres, and reading levels rather than student names at all.
Here's an example of a classroom library label spreadsheet:
Book Title | Author | Genre | Reading Level |
Charlotte's Web | E.B. White | Fiction | Level R |
Magic Tree House #1 | Mary Pope Osborne | Fiction | Level M |
National Geographic Readers | Various | Nonfiction | Level N |
Once your data is organized, you're ready to connect it to a label template and start printing.
Choosing the Right Label Template for Your Classroom
With your spreadsheet ready, the next step is selecting a label template that matches the physical label sheets you'll be printing on. This is where many teachers get tripped up, because label sheets come in dozens of sizes and configurations, and using the wrong template means misaligned text and wasted sheets.
Matching Templates to Common Label Sheets
Most teachers purchase label sheets from brands like Avery, and these sheets come with a product number (like Avery 5160, Avery 5163, or Avery 8395). That product number tells you the size and layout of each label on the sheet. For example:
Avery 5160 (or compatible): 30 labels per sheet, each 1" x 2-5/8". Great for small address-style labels, student name stickers, and folder labels.
Avery 5163 (or compatible): 10 labels per sheet, each 2" x 4". Ideal for book bin labels, larger supply labels, and shipping-style tags.
Avery 8395 (or compatible): 8 name badges per sheet. Perfect for the first day of school or parent-teacher night name tags.
You can browse label templates on FoxyLabels to find the exact template that matches your label sheet's product number. The template library includes compatibility information so you can confirm your template works with the sheets you already bought. Each template shows you the label dimensions, how many labels fit per sheet, and provides downloadable files in multiple formats including PDF, DOCX, and ODT.
Picking the Right Size for Your Project
The label size you choose should match the purpose:
Desk name plates: Use larger labels or tent card templates. Students need to read their names from a distance, so go big.
Folder and notebook labels: Medium labels (like the 30-per-sheet size) work well. They're large enough to include a name and subject but small enough to fit neatly on a folder cover or spine.
Book bin and supply bin labels: Wider labels (like 10-per-sheet) give you room for category names, icons, or color coding.
Reward stickers and small tags: The smallest label sizes work for things like reading log stickers or small equipment tags.
Once you've identified the right template, download it and open it in Google Docs. From there, you can connect your Google Sheets data to auto-populate the labels, which is where the real time savings happen.
One of the most powerful features of this workflow is mail merge, the ability to automatically pull each row of your spreadsheet into its own label on the template. Instead of typing 30 student names one at a time, the merge fills every label on the page in seconds. If your class roster changes (a new student arrives or someone transfers out), you update the spreadsheet once and regenerate the labels. Done.
Step-by-Step Guide to Printing Labels from Your Roster
Now let's walk through the actual process of going from a filled-out Google Sheet to printed labels in your hands. This workflow uses Google Sheets as your data source, a label template for layout, and your regular printer for output.
Step 1: Prepare and Finalize Your Spreadsheet
Double-check your data one last time. Run through this quick checklist:
Column headers are in Row 1
No blank rows between data entries
Names are spelled correctly and formatted consistently
Any merged fields (like full name) display correctly
The total number of labels matches what you need
If you're making 30 labels and your sheet has Avery 5160 labels (30 per page), you'll need exactly one sheet of labels. For 60 students, you'll need two sheets. Simple math, but worth confirming before you print.
Step 2: Select and Download Your Label Template
Head to the FoxyLabels template library and search for your label sheet's product number or dimensions. Download the template in your preferred format. If you're working in Google Docs, the DOCX format imports cleanly. If you prefer working in other tools, PDF and ODT options are available too.
Step 3: Connect Your Data and Populate Labels
This is the mail merge step. Using a Google Docs add-on or a label generation tool, you'll link your Google Sheet to the template. The tool reads each row of your spreadsheet and fills in the corresponding label on the template. You can customize which columns appear on each label and how they're formatted.
For example, if you want each label to show the student's first name in bold on the first line and their homeroom on the second line, you'd set up the merge fields accordingly. Most tools let you preview the output before printing, so you can catch any formatting issues.
If you've worked with QR code labels from Google Sheets, the process follows a very similar pattern: prepare data, choose a template, merge, and print.
Step 4: Print a Test Page and Then the Final Labels
Before loading your expensive label sheets into the printer, print a test page on regular paper. Hold it up against your label sheet with a light behind it to check alignment. If the text lines up with the label boundaries, you're good to go.
When printing, keep these settings in mind:
Paper size: Letter (8.5" x 11") for most label sheets
Margins: Set to match the template (many label templates use specific margin settings)
Scaling: Print at 100%, actual size. Do not use "fit to page" because it will shrink or stretch the layout
Quality: Standard or high quality both work fine for text labels. Use high quality if you've included images or color backgrounds
Load your label sheets with the label side facing the correct direction for your printer (usually face-down for inkjet, face-up for many laser printers, but check your printer's manual). Print one sheet first and verify alignment before printing the rest of the batch.
Creative Classroom Label Ideas That Go Beyond Name Tags
Once you've mastered the basic workflow, a world of classroom labeling possibilities opens up. The same spreadsheet-to-label process works for far more than student names.
Classroom Library Organization
Create a spreadsheet of every book in your classroom library with columns for title, author, genre, and reading level. Print color-coded labels for each genre (blue for fiction, green for nonfiction, yellow for biography) and stick them on the book spines. Students can find what they need independently, and you can track inventory at a glance.
Supply and Material Labels
Label every bin, drawer, and shelf in your classroom. A simple spreadsheet with the item name and location lets you batch-print labels at the start of the year. When supplies move or get reorganized, update the sheet and print a fresh set.
Reward and Achievement Stickers
Create a spreadsheet with motivational phrases, student names, and achievement types. Print personalized stickers like "Great Reading, Emma!" or "Math Star: Liam" on small label sheets. It takes minutes and makes students feel seen.
Parent Communication Labels
Print return address labels for your classroom, labels for student take-home folders, or address labels for mailing progress reports. Your school directory spreadsheet becomes instantly useful.
Field Trip and Event Tags
Whenever students leave the building, name tags are a safety must. Pull your roster into name badge labels with the student's name, school name, and emergency contact number. Print them the morning of the trip and peel them onto lanyards or shirts.
The pattern is always the same: organize your data in Google Sheets, pick the right template, merge, print. Once you do it a few times, the process becomes second nature.
For teachers who print labels regularly throughout the school year, whether for new units, seasonal classroom refreshes, or ongoing library additions, FoxyLabels' subscription plans offer unlimited printing with mail merge capabilities that make batch label creation effortless.
Classroom labeling doesn't have to be a weekend-consuming chore. With a well-organized Google Sheet, the right template, and a few minutes of setup, you can produce hundreds of professional labels faster than you can sharpen a classroom set of pencils. Start with your class roster, find a template that fits your label sheets, and give yourself back the time you've been spending on handwritten labels. Your students won't know the difference, but your weekends will.
Install Foxy Labels
Get started with Foxy Labels and create perfectly aligned labels in minutes.
Get Started