How to Design and Print Professional Product Labels at Home
Create polished, professional product labels at home with the right templates, materials, and printing techniques. This step-by-step guide covers everything from design to application.
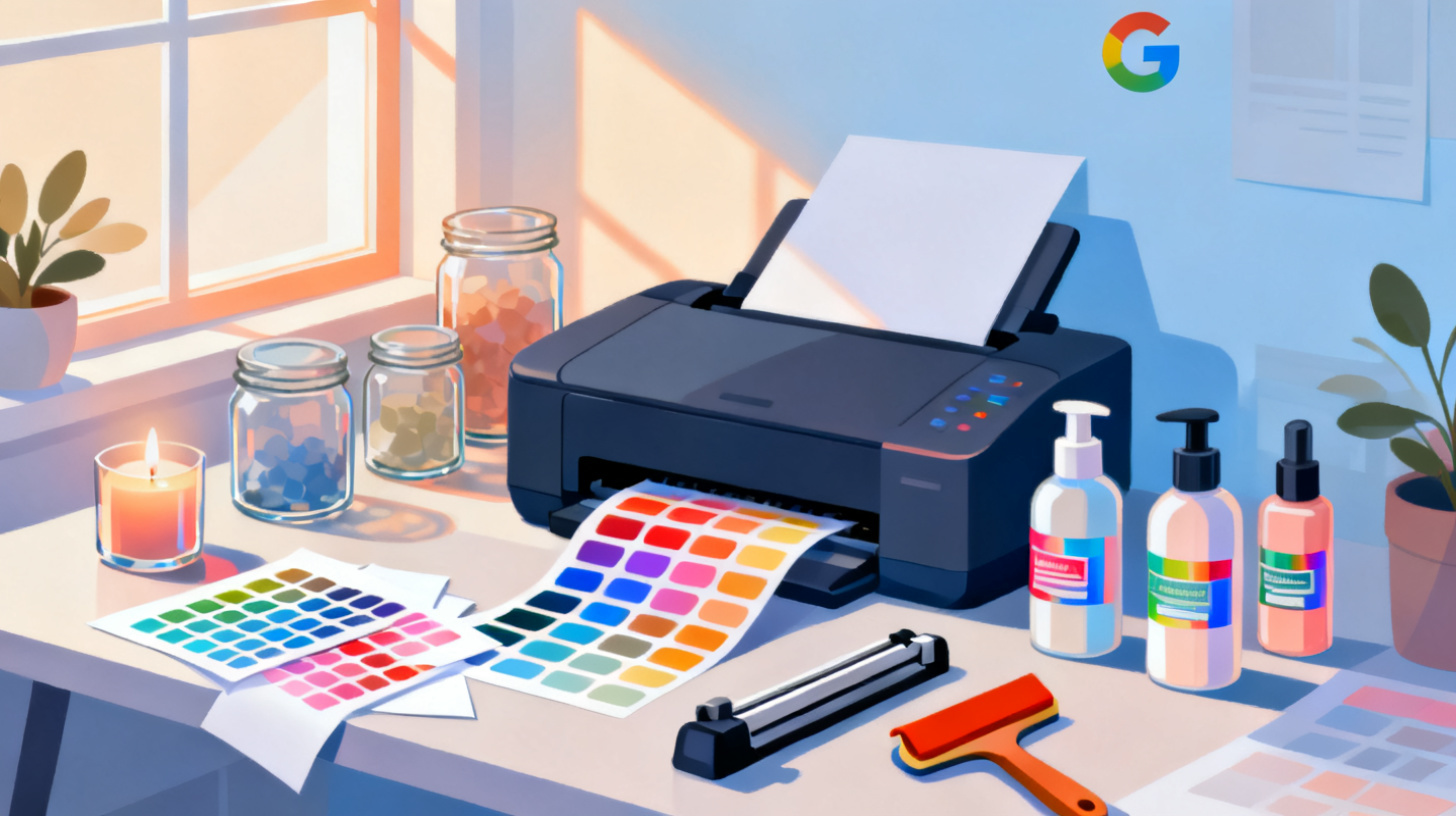
You just finished making your first batch of handmade hot sauce, a dozen jars of beeswax candles, or a line of organic body butter. The product looks amazing. But the moment you slap on a handwritten sticker or a poorly printed label, it all falls apart. Your product suddenly looks like a garage sale find instead of something worth paying real money for.
Here's the good news: printing professional-quality product labels at home is not only possible, it's surprisingly straightforward once you know the right steps. You don't need a commercial printer. You don't need a graphic design degree. You just need the right template, a decent home printer, and a clear understanding of what makes a label look polished and trustworthy.
Whether you're launching a small business, selling at farmers' markets, or simply making personalized gifts, this guide walks you through the entire process of designing, formatting, and printing labels that look like they came straight from a professional print shop. Let's get into it.
Choosing the Right Label Size, Material, and Template
Before you open any design software, you need to answer a fundamental question: what label size fits your product? This might sound obvious, but choosing the wrong dimensions is one of the most common mistakes beginners make. A label that's too large wraps awkwardly around curves. One that's too small leaves your jar or bottle looking bare and unfinished.
Start by measuring the surface area of your container. For round jars, wrap a piece of paper around the body and mark where the edges meet. For flat surfaces like boxes or bags, simply measure the face where the label will sit. Leave at least a quarter-inch margin on all sides so the label doesn't peel at the edges or hang over corners.
Matching Label Sheets to Your Printer
Once you know your target dimensions, you need label sheets that match. Avery, Herma, and OnlineLabels are popular brands that manufacture adhesive label sheets in dozens of standard sizes. The key is finding a template that corresponds to the exact sheet layout you purchased. If your sheet has 10 labels arranged in two columns of five, your digital template needs to mirror that grid precisely. Even a millimeter of misalignment means your printed text will drift off-center, and the results look instantly amateurish.
This is where a tool like FoxyLabels saves you serious headaches. Instead of manually setting up margins and grid spacing in a word processor, you can browse a catalog of pre-built templates that match popular label sheet brands. Pick your sheet, and the spacing, margins, and label boundaries are already configured. You just add your content and print.
Picking the Right Material
Label material matters more than most people realize. Here's a quick breakdown:
Material | Best For | Pros | Cons |
Matte paper | Candles, jars, dry goods | Affordable, easy to write on | Not water-resistant |
Glossy paper | Cosmetics, sauces, beverages | Vibrant colors, professional shine | Shows fingerprints |
Waterproof vinyl | Bath products, outdoor items | Durable, smudge-proof | More expensive, needs inkjet |
Kraft (brown paper) | Organic, artisan products | Rustic aesthetic, eco-friendly feel | Limited color vibrancy |
Clear/transparent | Wine bottles, sleek packaging | Seamless "no label" look | Design must account for transparency |
For most home-based businesses, matte or glossy paper labels work beautifully. If your product will encounter moisture (think body lotions, kitchen sauces, or anything stored in a fridge), invest in waterproof vinyl sheets. The few extra dollars per sheet are worth it when your label doesn't smear or peel the first time a customer's hands are wet.
Also consider your printer type. Inkjet printers handle glossy and vinyl labels well, producing richer colors. Laser printers work best with matte paper labels and deliver sharper text. Using the wrong combination leads to smudging, poor adhesion, or ink that simply won't dry on the surface.
Template Setup Tips
Once you have your sheets and a matching template, do a test print on plain paper first. Hold the printed sheet up against your label sheet and check alignment. This single step prevents wasting expensive label stock on a misaligned print run. Adjust your printer's margin settings if anything looks off, and always disable any "fit to page" or scaling options that your printer driver might apply by default.
Designing Labels That Actually Look Professional
Good label design isn't about flashy graphics or cramming in as much information as possible. It's about clarity, hierarchy, and consistency. Professional labels share a few traits: clean typography, intentional use of white space, and a color palette that matches the brand's personality.
Typography and Readability
Font choice is the single biggest factor separating amateur labels from professional ones. Here are some ground rules:
Limit yourself to two fonts. Use one for your product name or brand, and one for supporting text like ingredients, weight, or instructions. Three or more fonts create visual chaos.
Size matters. Your product name should be the largest text element. Regulatory information and fine print should be legible but not dominant. A good rule of thumb: the product name should be at least three times larger than your smallest text.
Avoid decorative fonts for body text. Script or display fonts look great for a brand name, but they become unreadable at small sizes. Stick with clean sans-serif fonts (like Helvetica, Lato, or Open Sans) for ingredient lists and descriptions.
Contrast is everything. Dark text on light backgrounds. Light text on dark backgrounds. Never place text on a busy pattern without a solid background box behind it.
Color and Branding
Your label's color scheme should reflect your product's personality. Earthy tones work for organic and natural products. Bold, saturated colors signal energy and fun. Minimalist black and white communicates luxury or sophistication.
Whatever palette you choose, keep it consistent across your entire product line. If your lavender candle has a purple label and your vanilla candle has an orange one, they won't look like they belong to the same brand when sitting side by side. Instead, create a unified design system where the layout stays the same and only the scent name, description, or a small accent color changes between variants.
Free tools like Canva, Google Docs, or even Google Sheets (for data-driven labels) give you more than enough design capability for home label printing. If you're producing labels in bulk with variable data like different product names, batch numbers, or barcodes, check out how to print barcode and inventory labels from Google Sheets for a walkthrough of that workflow.
Essential Label Content
What goes on your label depends on your product category, but most labels need:
Product name (prominent, impossible to miss)
Brand name and/or logo
Net weight or volume
Ingredient list (required for food, cosmetics, and candles in many regions)
Usage instructions or warnings (if applicable)
Contact information (website, email, or social handle)
Barcode or SKU (if selling through retail or online channels)
For products like candles and cosmetics, label compliance isn't optional. Regulatory bodies require specific safety information, ingredient disclosures, and warning symbols. Getting these wrong can lead to fines or marketplace delistings. You can learn more about navigating those requirements in this guide on printing compliant product labels for candles and cosmetics.
A beautiful label that's missing legally required information isn't just incomplete. It's a liability. Always research your product category's labeling regulations before finalizing your design.
Printing, Cutting, and Applying Labels Like a Pro
You've designed your label. Your template is aligned. Now comes the moment of truth: actually printing and applying these things without ruining them. This stage is where small details make a huge difference in the final result.
Printer Settings That Matter
Before hitting print, adjust these settings in your printer dialog:
Paper type: Select the option closest to your label material. For glossy sheets, choose "Glossy Photo Paper" or similar. For matte, select "Matte" or "High Quality Plain Paper." This tells your printer how much ink to lay down and how quickly to feed the sheet.
Print quality: Always use the highest quality setting. Draft mode saves ink but produces visible banding and dull colors.
Scaling: Set to 100% or "Actual Size." Never select "Fit to Page" or "Shrink to Printable Area," as these will resize your layout and throw off alignment.
Color management: If your printed colors look different from your screen, try switching your printer's color profile. Most home printers default to sRGB, which is a safe starting point.
Print one test page on regular paper before committing to label stock. Hold it up against your label sheet and verify alignment. This three-cent test can save you from wasting a $1.50 label sheet.
Cutting Techniques
If you're using pre-die-cut label sheets (where each label is already perforated or kiss-cut), you can skip straight to application. But if you're printing on full-sheet label stock and cutting your own shapes, precision matters.
For straight edges, a paper trimmer with a guide rail delivers cleaner results than scissors. For rounded corners, invest in a corner-rounding punch (about $5 at any craft store). Rounded corners don't just look more polished. They also resist peeling better than sharp 90-degree corners, which tend to catch on things and lift.
For custom shapes like circles or ovals, consider purchasing pre-cut sheets instead of trying to cut them by hand. The time savings alone are worth it, and the results are incomparably cleaner.
Applying Labels Smoothly
Bubbles and wrinkles are the enemy. Here's how to avoid them:
Clean the surface of your container with rubbing alcohol and let it dry completely. Oils, dust, and moisture prevent proper adhesion.
Peel one edge of the label, align it to your container, and press it down starting from one side.
Slowly smooth the label across the surface using a credit card or squeegee tool, working from the center outward to push air bubbles toward the edges.
For cylindrical containers, roll them on a flat surface while pressing the label down gradually.
If a bubble appears, don't panic. Prick it with a pin and press the air out through the tiny hole. On most materials, the pinhole will be invisible once the label settles.
Protecting Your Printed Labels
Home-printed labels are more vulnerable to moisture and UV fading than commercially printed ones. If your product will be handled frequently or exposed to the elements, consider these protective steps:
Clear laminate sheets: Apply a thin laminate overlay for waterproofing and scratch resistance.
Clear spray sealant: A light coat of clear acrylic spray adds a protective layer without changing the look.
Waterproof label stock: As mentioned earlier, starting with vinyl or polyester sheets eliminates the need for post-print protection entirely.
Scaling Up Without Losing Quality or Your Sanity
Printing 20 labels for a craft fair is one thing. Printing 500 for an online store launch is a completely different challenge. As your volume grows, you need systems that keep your process efficient and consistent.
Batch Printing with Variable Data
If each label has unique content (different scents, flavors, batch numbers, or customer names), typing each one manually is a recipe for burnout and errors. Instead, use a spreadsheet to organize your variable data and a label tool that can merge that data into your template automatically.
With FoxyLabels' Google Sheets integration, you can set up a spreadsheet with columns for product name, ingredients, weight, and any other variable field. The tool then pulls each row of data into a label on your sheet, generating a complete print-ready document in seconds. This approach eliminates copy-paste errors and makes reprinting or updating labels trivially easy.
Here's what a simple data setup might look like:
Product Name | Scent | Net Weight | Batch Code |
Soy Candle | Lavender | 8 oz | LC-0451 |
Soy Candle | Vanilla | 8 oz | VC-0452 |
Soy Candle | Cedarwood | 8 oz | CC-0453 |
Each row becomes one label. Change a value in the spreadsheet, regenerate, and your labels are updated instantly.
Quality Control Checklist
Before committing to a large print run, walk through this checklist:
Spell-check all text (especially product names and ingredients)
Verify regulatory compliance for your product category
Confirm label dimensions match your sheet layout
Print a test page on plain paper and check alignment
Review color accuracy against your brand standards
Ensure barcodes scan correctly (test with a phone app)
Check font sizes for readability at actual print size
When to Consider Professional Printing
Home printing is cost-effective and practical for batches under 500 labels. Beyond that threshold, the economics start shifting. Commercial label printers can produce thousands of labels at a lower per-unit cost, with options for premium finishes like foil stamping, embossing, and spot UV coating that home printers simply can't replicate.
But here's the thing: even if you eventually move to professional printing, starting at home is incredibly valuable. You get to iterate on your designs quickly, test different layouts at craft fairs or pop-up shops, and refine your branding based on real customer feedback before investing hundreds of dollars in a commercial print order. Home printing is your product label laboratory.
The labels on your product are often the first thing a customer notices and the last thing they see before deciding to buy. They communicate quality, professionalism, and care. With the right template, thoughtful design, and a careful printing process, you can create labels at home that rival anything on a retail shelf. Browse FoxyLabels' template catalog to find a layout that matches your label sheets, and start turning those homemade products into shelf-ready brands.
Install Foxy Labels
Get started with Foxy Labels and create perfectly aligned labels in minutes.
Get Started