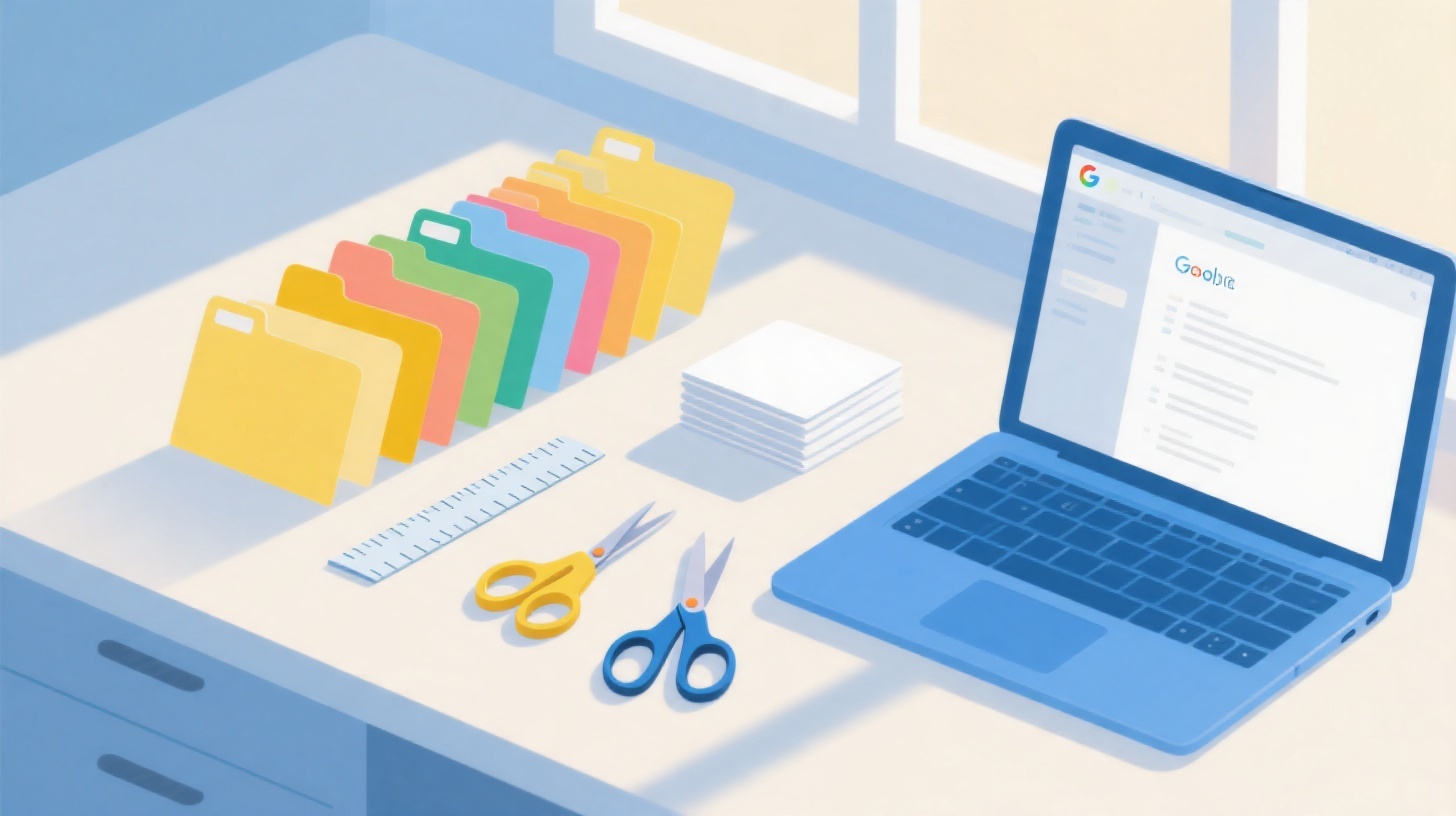
How to Make 3x5 Index Cards in Google Docs Easily
Create professional 3x5 index cards in Google Docs with custom page sizes, table layouts, and print settings that actually work. Step-by-step guide included.
Whether you're studying for an exam, organizing a recipe collection, or preparing speaking notes for a presentation, 3x5 index cards remain one of the most versatile tools around. The problem? Most people don't realize you can create professional-looking index cards right inside Google Docs without buying expensive software or specialty templates.
In this guide, you'll learn exactly how to set up, design, and print 3x5 note cards using Google Docs. You'll also discover shortcuts that save hours of formatting frustration. If you want to skip the manual setup entirely, you can browse label and card templates that are already formatted and ready to print on standard card stock.
Let's get into it.
Setting Up a 3x5 Index Card Template in Google Docs
The first thing you need to understand is that Google Docs doesn't come with a built-in index card template. By default, documents open in standard letter size (8.5 x 11 inches), which is far too large for a 3x5 card. You have two main approaches: change the page size to match a single card, or create a table-based layout that fits multiple cards on one printable sheet.
Approach 1: Custom Page Size for Individual Cards
This method works best when you want to design a single card and print it directly onto pre-cut 3x5 index card stock.
Open a new Google Doc
Go to File > Page Setup
Change the page size to "Custom" and enter Width: 5 inches, Height: 3 inches
Set all margins to 0.25 inches (this gives you a clean printable area while preventing content from bleeding off the edges)
Click "OK" to apply
Now your entire document acts like one index card. You can type your content, add formatting, insert images, and what you see on screen is roughly what you'll get on paper. This approach is ideal for flashcards where each card has unique content, because you can duplicate pages within the same document.
One important note about margins: most home printers can't print all the way to the edge of paper. Setting margins to 0.25 inches accounts for this limitation. If your printer has wider minimum margins, you may need to adjust to 0.3 or even 0.5 inches.
Approach 2: Table Layout for Multiple Cards Per Sheet
If you want to print multiple index cards on a single sheet of letter-sized paper and then cut them apart, the table method is more efficient.
Keep your document at the standard 8.5 x 11 inch page size
Set margins to 0.5 inches on all sides
Go to Insert > Table and create a 2-column by 3-row table (this gives you 6 cards per page)
Click inside any cell, then right-click and select Table properties
Set the column width to 3.75 inches and row height to 3 inches (with 0.5-inch margins on each side, two columns of 3.75 inches fit within 8.5 inches)
Under cell padding, set it to 0.1 inches for a slight breathing room inside each card
Wait, you might be thinking, those cells are 3.75 inches wide, not 5 inches. You're right. When fitting cards in a 2-column layout on letter paper with margins, you're slightly constrained. For true 5-inch-wide cards, you'd use a 1-column layout with each row being one card. The tradeoff is fewer cards per page but exact dimensions.
For most practical purposes (study flashcards, recipe cards, notes), the slight size difference doesn't matter. But if you need exact 3x5 dimensions for a card holder or filing system, use the single-column approach or the custom page size method.
Once your table is set up, you can style it however you like. Add bold headings at the top of each cell, use different font sizes, or insert horizontal lines to create ruled card effects. To remove the visible borders before printing (if you want borderless cards), select the entire table, go to table properties, and set the border width to 0 pt.
Designing and Formatting Your Note Cards
Getting the dimensions right is only half the battle. A well-designed index card is easy to read at a glance, organized logically, and uses formatting intentionally. Here's how to make cards that actually work for their intended purpose.
Choosing Fonts and Sizes
For index cards, readability trumps everything. You're working with a small surface area, so font choices matter more than they would on a full-page document.
Headings/Terms: Use a bold sans-serif font like Arial or Open Sans at 14-16pt. This is your keyword, vocabulary term, or recipe title.
Body text: Use the same font family at 10-12pt. This keeps things legible without cramming too much onto one card.
Fine print: If you need source citations or category labels, 8pt works but don't go smaller.
A common mistake is trying to fit too much information on a single card. Index cards work because they force brevity. If you find yourself shrinking text below 9pt to make everything fit, you probably need to split the content across two cards.
Formatting for Different Use Cases
The beauty of making cards in Google Docs is that you can customize them for any purpose. Here are a few common scenarios:
Study Flashcards: Put the term or question on one side, the answer on the other. In Google Docs, you can simulate this by creating two pages per card (front and back) or by using a fold line. Place your term in bold at the top of the cell and the definition below a horizontal line.
Recipe Cards: Place the recipe name as a heading, followed by a two-column mini layout. List ingredients on the left (using a bulleted list) and brief instructions on the right. Keep instructions to numbered steps with short phrases rather than full sentences.
Presentation Notes: Use large, bold keywords with bullet points beneath them. When you're speaking, you need to glance down and instantly find your place. Numbered cards help you keep them in order if they get shuffled.
Contact or Info Cards: Center-align all text. Name in bold at 14pt, details beneath in 10pt. You can insert a small image (like a logo) if needed, but keep it under 0.5 inches square to preserve space.
Adding Visual Elements
Google Docs supports images, shapes, and drawing tools that can enhance your cards:
Borders: Use the table border settings or insert a rectangle shape as a decorative frame
Icons: Insert small clip art or emoji to categorize cards visually (a book emoji for study cards, a fork for recipes)
Color coding: Change cell background colors in your table to group cards by subject or priority
Lines: Insert a horizontal line (Insert > Horizontal line) to create ruled effects
If you're spending a lot of time on formatting and want professionally designed card layouts ready to go, the FoxyLabels tutorials walk you through using pre-made templates that handle all the design work for you.
Printing Index Cards Without Alignment Issues
Designing your cards on screen is satisfying, but the real test comes when you hit print. Paper jams, misaligned text, and incorrect scaling are the most common frustrations. Here's how to avoid them.
Choosing the Right Card Stock
You have two main options for printing material:
Pre-cut 3x5 index cards: These are the standard blank cards you'd buy at an office supply store. Not all printers handle individual cards well because they're small and thick. Check your printer's manual for supported paper sizes and weights.
Perforated card stock sheets: These come in letter size (8.5 x 11) with perforated lines that let you snap cards apart after printing. They work in any standard printer and are the more reliable option for home printing.
If you're using pre-cut cards, you'll typically need to feed them through the manual/bypass tray. Automatic feeders often can't grip small card stock reliably.
Print Settings That Actually Work
Before printing, go to File > Print (or Ctrl+P / Cmd+P)
Click "More settings" to expand the options
Set Paper size to match your actual paper (Letter if using full sheets, or 3x5/4x6 if your printer supports it)
Set Scale to "Actual size" or 100%. Never use "Fit to page" because it will resize your carefully formatted cards
Set Margins to the same values you used in your document setup
Print a test page on regular paper first
That last step is the most important one. Always test on plain paper before loading expensive card stock. Hold your test print up against a real index card (or measure it with a ruler) to verify dimensions match. If text appears shifted or the card boundaries are off, adjust your margins by small increments (0.05 inches at a time) until alignment is correct.
Troubleshooting Common Problems
Cards are too small or too large: Your printer is scaling the document. Go back to print settings and ensure scaling is at 100% or "actual size." Some browsers add their own scaling in the print dialog, so check both the Google Docs print preview and your system print dialog.
Text is cut off on one side: Your printer's hardware margins are larger than the margins you set in the document. Increase your document margins by 0.1 inches and test again.
Cards don't line up with perforations: Perforated card stock from different manufacturers has slightly different perforation positions. Rather than guessing, measure the actual card areas on your stock with a ruler and adjust your table cell dimensions to match exactly.
Paper jams with thick card stock: Try feeding one sheet at a time through the manual tray. Also check that you've selected the correct paper type ("cardstock" or "heavy paper") in your printer settings, as this adjusts roller pressure.
If alignment problems persist and you want a guaranteed fit, browse label and card templates that are pre-configured for popular card stock brands. These templates account for exact perforation positions and printer margins, eliminating the trial-and-error process.
Scaling Up: Batch Creating Cards and Advanced Workflows
Making one or two cards is straightforward. But what if you need 50 flashcards for an exam, or 200 recipe cards for a cookbook project? Manual copy-paste doesn't scale. Here's where smarter workflows come in.
Using Google Sheets for Bulk Card Content
A powerful technique is to organize your card content in a Google Sheets spreadsheet first, then merge that data into a card template. Here's the workflow:
Create a spreadsheet with columns for each piece of card content (Term, Definition, Category, or whatever fields your cards need)
Fill in all your data, one row per card
Use a mail merge tool or add-on to pull that data into your formatted Google Docs template
This approach separates content from design. You can edit, sort, and organize hundreds of cards in spreadsheet form, then generate the printed output in one batch. It's the same concept businesses use for printing mailing labels, applied to index cards.
If you've ever made business cards in Google Docs, the process is similar. You can learn more about that related workflow in this guide on how to make free business cards in Google Docs.
Templates Save Serious Time
Let's be honest: setting up custom page sizes, calculating table dimensions, testing print alignment, and formatting cards from scratch every time is tedious. Templates exist to solve this problem entirely.
A good index card template gives you:
Pre-set dimensions that match standard card stock
Proper margins calculated for common home printers
Placeholder text showing you exactly where content goes
Multiple format options (PDF for direct printing, DOCX for editing in Word, Google Docs format for cloud editing)
With FoxyLabels pricing plans, you get unlimited access to a full library of card and label templates in every format. Instead of spending thirty minutes configuring a document, you download a template, replace the placeholder text, and print.
Tips for Long-Term Card Organization
Once you've created your cards, keeping your digital files organized means you can reprint or modify them anytime:
Name files descriptively: "Biology-101-Chapter-4-Flashcards" beats "Untitled document (7)"
Use Google Drive folders: Group cards by subject, project, or purpose
Keep a master spreadsheet: If you used the bulk creation method, your spreadsheet becomes a searchable database of all your card content
Version your templates: If you tweak margins or formatting for your specific printer, save that as your personal template so you don't repeat the calibration process
Index cards might seem old-fashioned, but they remain one of the most effective tools for learning, organizing, and presenting information. Google Docs gives you everything you need to create them digitally, and with the right setup, printing them at home is painless.
Start with the method that fits your situation: custom page size for single cards, or a table layout for batch printing. Test your print settings on plain paper before committing to card stock. And if you want to skip the manual formatting entirely, browse ready-made card templates that work straight out of the box.
Your next set of perfect index cards is just a few clicks away.
Install Foxy Labels
Get started with Foxy Labels and create perfectly aligned labels in minutes.
Get Started