How to Print Address Labels from Google Contacts Easily
Turn your Google Contacts into professional address labels using Google Sheets and Docs. This step-by-step guide covers exporting, formatting, and printing labels for any mailing project.
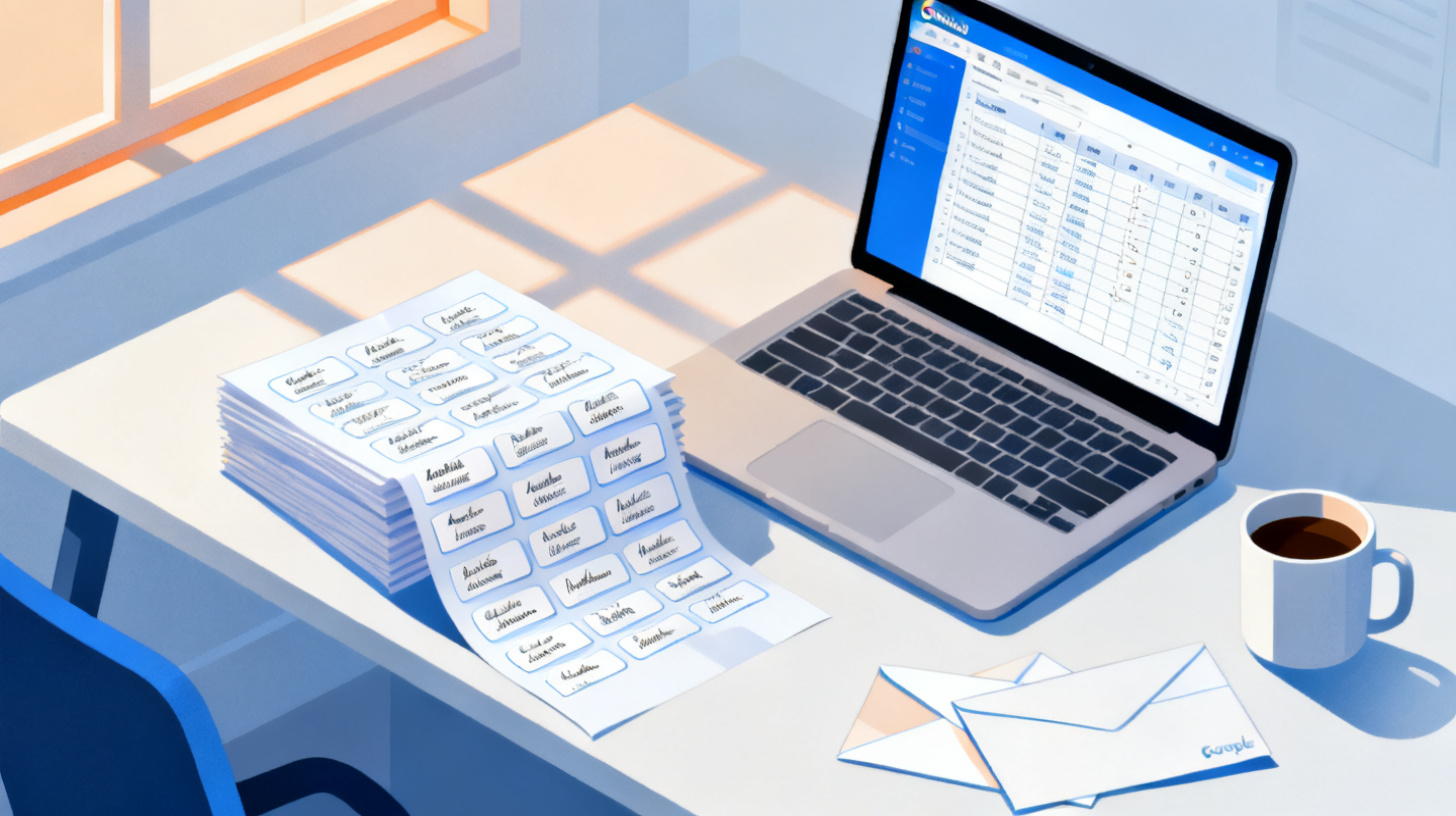
You've got hundreds of contacts saved in Google Contacts, and now you need to print address labels for a holiday mailing, wedding invitations, or a business outreach campaign. The problem? Google doesn't offer a built-in "print labels" button. There's no magic export-to-labels feature hiding in the menu.
But here's the good news: with a simple workflow using Google Sheets, Google Docs, and the right label template, you can turn your entire contact list into perfectly formatted, print-ready address labels in under 30 minutes. No expensive software required. No steep learning curve.
This guide walks you through every step, from exporting your contacts to holding a finished sheet of labels in your hand. Whether you're printing 20 labels or 2,000, this process scales beautifully and keeps everything inside the Google ecosystem you already know.
Exporting Your Contacts from Google into a Usable Spreadsheet
Before you can print anything, you need your contact data in a structured format. Google Contacts stores names, addresses, phone numbers, and more, but it's locked inside Google's interface. The first step is getting that data out and into Google Sheets, where you can clean it up, sort it, and prepare it for label generation.
Step 1: Export Contacts from Google Contacts
Open Google Contacts in your browser. From the left sidebar, click on "Export." You'll see a dialog box with several format options. Choose Google CSV since you'll be working within Google Sheets. This format preserves all the fields you need, including street addresses, cities, states, and zip codes.
If you only want to export a specific group (say, your "Holiday Card List" or "Business Clients" label), select that group before clicking Export. This saves you from having to sort through hundreds of irrelevant contacts later.
Once the CSV file downloads, open Google Sheets and go to File > Import. Upload your CSV, and choose "Replace current sheet" if you're starting fresh. Within seconds, all your contacts appear in neat rows and columns.
Step 2: Clean and Organize Your Address Data
Here's where most people run into trouble. The raw export from Google Contacts can be messy. You might see dozens of columns you don't need (like "Billing Information" or "Sensitivity"), and address data is sometimes split across multiple fields or crammed into a single one.
Start by identifying the columns that matter for address labels. Typically, you need:
Full Name (or First Name and Last Name separately)
Street Address (sometimes labeled "Address 1 - Street")
City ("Address 1 - City")
State ("Address 1 - Region")
Zip Code ("Address 1 - Postal Code")
Country (optional, if mailing internationally)
Delete every column you don't need. This declutters your sheet and makes the next steps far simpler. Then scan for missing data. If someone's address field is blank, either fill it in manually or remove that row to avoid printing a blank label.
A practical tip: use Google Sheets' Filter feature (Data > Create a filter) to quickly spot empty address cells. Click the filter dropdown on your "Street Address" column, uncheck "Blanks," and you'll see only complete records.
Step 3: Format Addresses for Label Printing
For clean, professional labels, you'll want a single "Full Address" column that combines all address parts. In an empty column, use a formula like this:
This concatenates Street, City, State, and Zip into one readable line. If you prefer a multi-line format (street on one line, city/state/zip on the next), you can handle that formatting later during the label creation step.
Once your data looks clean, give the sheet a clear name like "Address Labels Data" and keep it open. You'll reference it in the next stage.
This entire export-and-clean process takes about 10 minutes for most contact lists, and it's the foundation for everything that follows. Skipping the cleanup step almost always leads to misprinted labels, wasted sheets, and frustration.
Creating Address Labels with Google Docs and a Label Template
With your contact data organized in Google Sheets, it's time to build the actual labels. Google Docs doesn't have a native label template tool, but there are efficient ways to generate perfectly sized labels that match popular label sheets like Avery 5160, Avery 5163, and dozens of other standard formats.
The key is using a label generation tool that pulls data from your spreadsheet and places it into a properly formatted document. FoxyLabels does exactly this, working as a Google Sheets add-on and Google Docs companion that handles the entire merge process. You pick your label template, connect your spreadsheet data, and the tool generates a ready-to-print document with every address positioned correctly on the page.
Step 1: Choose the Right Label Template
Label sheets come in many sizes. The template you choose needs to match the physical label sheets you'll feed into your printer. Here are the most popular options for address labels:
Label Format | Labels Per Sheet | Label Size | Best For |
Avery 5160 | 30 | 1" x 2.625" | Standard mailing |
Avery 5163 | 10 | 2" x 4" | Larger packages |
Avery 5162 | 14 | 1.33" x 4" | Business letters |
Avery 5167 | 80 | 0.5" x 1.75" | Return address |
Browse the FoxyLabels template catalog to find the exact template that matches your label sheets. Each template shows you the dimensions, labels per sheet, and compatible brand equivalents. This eliminates the guesswork that causes labels to print off-center or overlap.
Step 2: Connect Your Spreadsheet Data
Once you've selected your template, the next step is connecting your Google Sheets contact data. With FoxyLabels' Google Sheets add-on, you can pull data directly from your spreadsheet columns and map them to label fields. Select which column contains the name, which has the street address, and so on.
This mapping step is where the magic happens. Instead of manually copying and pasting hundreds of addresses into a document (a nightmare for anyone who's tried it), the tool automatically populates every label on every page. A list of 300 contacts becomes 10 pages of perfectly formatted labels in seconds.
For those who prefer working directly in Google Docs, you can also create a table-based layout manually. Set up a table with the same grid as your label sheet (for Avery 5160, that's 3 columns and 10 rows per page), remove the table borders, adjust cell padding, and paste addresses into each cell. This manual method works, but it's tedious for anything beyond a dozen labels.
Step 3: Preview and Adjust Formatting
Before printing, always preview your labels. Check for:
Text overflow: Long addresses that spill outside the label boundary
Font size: 10-12pt works well for most address labels. Go smaller only if addresses are unusually long
Alignment: Left-aligned text with consistent margins looks clean and professional
Missing data: Blank labels that indicate a gap in your spreadsheet
If an address is too long for the label, try abbreviating the state ("California" to "CA"), using "St" instead of "Street," or reducing the font by one point. These small adjustments prevent the most common printing problems.
For anyone who's printed other types of labels before, like jar and bottle labels or file folder labels, the preview-and-adjust step will feel familiar. The principle is always the same: match your digital layout to your physical label sheet before committing to a full print run.
Printing Your Labels Without Wasting Paper or Ink
You've exported your contacts, built your label document, and everything looks great on screen. Now comes the moment of truth: printing. This step trips up more people than you'd expect, often because of printer settings that quietly override your careful formatting.
Step 1: Do a Test Print on Plain Paper
Before loading your expensive label sheets, print one page on regular paper. Hold it up against a label sheet (with a light behind them if possible) to check alignment. Are the addresses centered within each label boundary? Do they drift to the left or right? Is the spacing between rows consistent?
This five-cent test print can save you from wasting an entire pack of label sheets. If the alignment is off, the issue is almost always in your printer settings, not your document.
Step 2: Configure Printer Settings Correctly
Printer settings are the silent saboteur of label printing. Here are the settings that matter most:
Paper size: Set to "Letter" (8.5" x 11") for standard US label sheets, or "A4" for international sizes. If your printer defaults to a different size, your entire layout will shift.
Margins: Set to the narrowest option your printer allows, or choose "None" if available. Many label templates are designed with specific margins already built in, so adding printer margins on top of that pushes everything out of position.
Scaling: This is the big one. Make sure scaling is set to 100% or "Actual Size." Never use "Fit to Page" or "Shrink to Fit," because these options resize your carefully measured labels and throw off every dimension.
Quality: "Normal" or "Best" both work fine. Draft mode can make text look fuzzy, especially on inkjet printers.
For laser printers, also make sure you're using laser-compatible label sheets. Inkjet labels can melt inside a laser printer and cause jams (or worse, damage the fuser). Check the label packaging to confirm compatibility.
Step 3: Load Label Sheets and Print
Feed your label sheets into the printer one at a time if your printer tends to grab multiple sheets. Most printers work best when labels are fed face-up through the main tray, but check your printer's manual for specific guidance.
If you're printing a large batch (say, 20+ pages of labels), print in smaller batches of 5 to 10 pages. This reduces the chance of misfeeds and gives you a chance to spot alignment problems early before wasting an entire stack.
One more thing to watch: label sheets that have already been through a printer (with some labels peeled off) can cause jams. Always use full, unused sheets for best results. Partially used sheets have exposed adhesive that can stick to internal printer components.
Step 4: Quality Check Your Finished Labels
After printing, do a quick scan of your labels. Look for:
All names and addresses printed completely (no cut-off text)
Consistent alignment across all labels on the sheet
Clear, readable text without smearing or fading
Correct information (spot-check a few against your spreadsheet)
If everything looks good, you're ready to peel and stick. For mailing labels, apply them to envelopes or packages with the label centered and straight. A crooked label doesn't affect delivery, but it does affect the impression you make on the recipient.
Tips for Scaling Up and Maintaining Your Contact Label System
Printing labels once is straightforward enough. But what about ongoing needs? If you regularly send mail, whether for business, nonprofits, or personal events, building a repeatable system saves enormous time over doing everything from scratch each time.
Keep Your Google Contacts Updated
The quality of your labels depends entirely on the quality of your contact data. Make it a habit to update addresses whenever you learn someone has moved. Google Contacts lets you edit entries directly from Gmail: click a contact's name, update their address, and you're done. When it's time to print labels again, your export will reflect the latest information.
Consider using Google Contacts' Labels feature (not to be confused with physical labels) to organize contacts into groups. Create labels like "Holiday Cards," "Business Clients," "Family," or "Event Invites." When you export, you can filter by label and only print the contacts you actually need.
Save Your Spreadsheet as a Reusable Template
After you've cleaned up your spreadsheet the first time, save it as a template. The next time you need labels, export fresh data from Google Contacts, paste it into your template, and the formatting columns and formulas are already in place. This cuts your prep time from 10 minutes to about 2.
You can also use Google Sheets' Named Ranges to make your data references cleaner and easier to connect to label generation tools. Instead of remembering that column F is the zip code, name it "ZipCode" and reference it by name.
Choose the Right Labels for Your Use Case
Not every mailing needs the same label. Small return-address labels (like Avery 5167) work great for the upper left corner of envelopes. Standard address labels (Avery 5160) are the workhorse for recipient addresses. Larger labels (Avery 5163) are better for shipping packages where you need bigger text and possibly a logo.
Stocking two or three label sizes covers the vast majority of mailing needs. Buy labels in bulk to save money, and store unused sheets flat in their original packaging to prevent curling or adhesive degradation.
Automate for Larger Volumes
If you're printing labels for a business or organization that sends hundreds of pieces of mail regularly, automation becomes worth the investment. Using FoxyLabels with Google Sheets, you can set up a workflow where updating your spreadsheet automatically prepares a new label document. No manual copying, no reformatting, no alignment headaches.
This kind of automation turns a 30-minute task into a 5-minute task, and it eliminates the human errors that creep in when you're manually handling large volumes of address data.
The best label printing workflow is one you can repeat without thinking. Export, clean, generate, print. Build it once, use it forever.
Whether you're sending out 25 holiday cards or 2,500 marketing mailers, the process stays the same. The only thing that changes is the number of pages coming out of your printer.
Ready to turn your Google Contacts into professional address labels? Head over to FoxyLabels to find the perfect template for your label sheets and start printing in minutes. Your contacts are already waiting.
Install Foxy Labels
Get started with Foxy Labels and create perfectly aligned labels in minutes.
Get Started