How to Print Avery 5160 Labels from Google Sheets
Got a spreadsheet full of addresses and a box of Avery 5160 labels? This step-by-step guide shows you how to set up, merge, and print perfect address labels from Google Sheets every time.
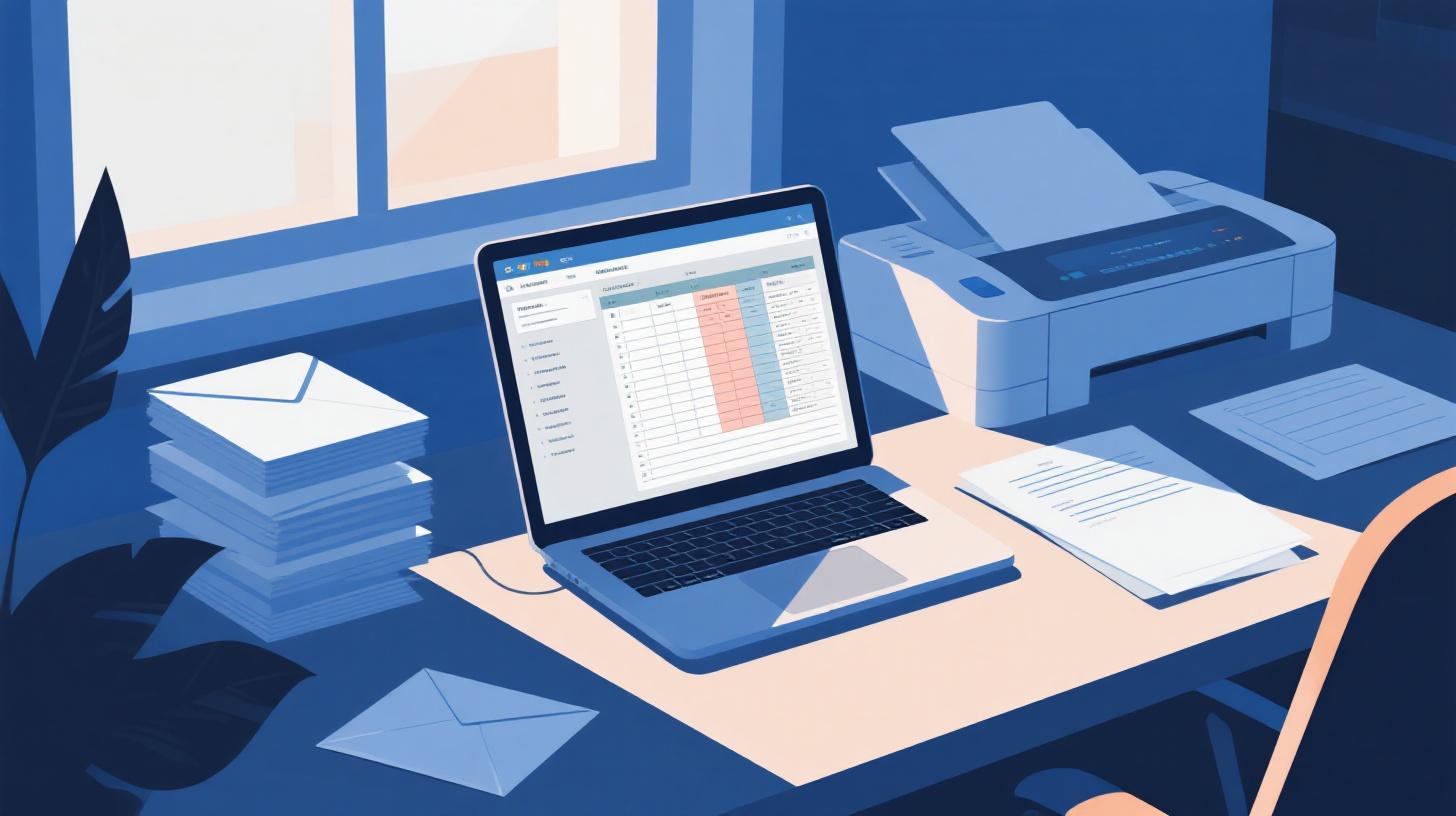
You've got a spreadsheet full of addresses, a box of Avery 5160 labels, and a printer ready to go. The only question left is: how do you get those addresses out of Google Sheets and onto your labels without losing your mind?
Avery 5160 labels are the most popular address label size in the world, and for good reason. Each sheet holds 30 labels in a three-column, ten-row layout, with each label measuring 1" x 2.625". They fit standard letter-size sheets, work in virtually every inkjet and laser printer, and they're available at any office supply store. Whether you're sending holiday cards, mailing invoices for a small business, or organizing a nonprofit fundraiser, Avery 5160 labels save hours compared to handwriting envelopes.
The tricky part has always been the printing. Google Sheets is fantastic for storing and managing address lists, but it doesn't natively support label printing. You need the right template and a reliable method to merge your spreadsheet data onto those labels. This guide walks you through every step, from formatting your address data to loading the labels in your printer tray. If you want to skip ahead and grab a free compatible template, FoxyLabels has a full catalog of label templates that work with Avery 5160 and dozens of other popular sizes.
Let's get your labels printed.
Setting Up Your Address Data in Google Sheets
Before you touch a single label, you need clean and well-organized data. This is where most label printing problems start and end. A messy spreadsheet leads to misaligned text, missing information, and wasted label sheets. A clean one makes everything downstream smooth.
Structuring Your Columns
Open your Google Sheets file and set up one column for each piece of information you want on the label. A standard address label layout uses these columns:
Column | Header Name | Example Data |
A | Full Name | Maria Rodriguez |
B | Street Address | 742 Evergreen Terrace |
C | City | Springfield |
D | State | IL |
E | ZIP Code | 62704 |
Some people prefer to split the name into First Name and Last Name columns. That's fine if you want more flexibility later, but for straightforward address labels, a single Full Name column works perfectly.
If you're sending business mail, add a Company Name column between the name and the street address. For international addresses, include a Country column after the ZIP code.
One common mistake: putting the entire address in a single cell. Resist that urge. Separating each element into its own column gives you far more control over formatting, sorting, and error checking.
Cleaning Your Data
Spend a few minutes scanning your data for problems before you print. Here's a quick checklist:
Remove duplicate rows (Data > Remove duplicates)
Check for blank cells in required fields like Name and Street Address
Make sure ZIP codes display correctly (leading zeros can disappear if the column is formatted as a number)
Verify that state abbreviations are consistent (don't mix "California" with "CA")
Trim extra spaces using the
=TRIM()function
The ZIP code issue deserves special attention. If you have addresses in states like New Jersey (ZIP codes starting with 0), Google Sheets might strip the leading zero and display "07102" as "7102." To fix this, select the ZIP code column, go to Format > Number > Plain Text. This forces Sheets to treat the values as text and preserve leading zeros.
For proper postal formatting, the USPS Postal Addressing Standards recommend using all caps for address lines and standard abbreviations like ST, AVE, and BLVD. Following these guidelines helps ensure your mail gets delivered efficiently, especially for bulk mailings.
Creating a Full Address Column (Optional)
Some label printing methods work better when the complete address is in a single cell. You can create a combined address column using a formula. In a new column, enter:
The CHAR(10) function inserts a line break, so your address stacks neatly:
Maria Rodriguez
742 Evergreen Terrace
Springfield, IL 62704
Make sure to enable text wrapping on this column (Format > Wrapping > Wrap) so you can actually see the line breaks in the cell.
With your data clean and structured, you're ready to move on to the actual label creation.
Choosing Your Label Printing Method
There are several ways to get data from Google Sheets onto Avery 5160 labels. Each method has tradeoffs in terms of ease, flexibility, and cost. Let's walk through the most practical options so you can pick the one that fits your situation.
Method 1: Using a Google Docs Mail Merge with a Label Template
This is the most popular free approach and works entirely within the Google ecosystem.
Step 1: Start with a Google Docs document formatted as an Avery 5160 template. The document needs a table with 3 columns and 10 rows, sized to match the 1" x 2.625" label dimensions with correct margins. You can find a ready-made template through FoxyLabels' template library, which offers free downloads in multiple formats including Google Docs.
Step 2: Install a mail merge add-on from the Google Workspace Marketplace. Several free options exist that connect Google Sheets data to a Google Docs template. Once installed, the add-on will ask you to select your spreadsheet and map each column to a placeholder field in the template.
Step 3: Run the merge. The add-on pulls each row of data from your spreadsheet and places it into a label cell in the template. When it finishes, you'll have a Google Doc with all your labels populated and ready to print.
Step 4: Review the output carefully. Scroll through every page and check for text that overflows the label boundaries, missing data, or formatting issues. Fix any problems in the source spreadsheet and re-run the merge if needed.
Method 2: Using a Google Sheets Add-On for Direct Label Printing
If you prefer to stay entirely in Google Sheets, dedicated label printing add-ons can generate labels directly from your spreadsheet. These tools typically let you:
Select your label size (Avery 5160 or compatible)
Choose which columns to include
Customize the font, size, and alignment
Generate a PDF ready for printing
This method is often faster than the Docs-based approach because you skip the template setup. The add-on handles the layout math for you, placing 30 labels per page with the correct spacing.
The tradeoff is that free add-ons sometimes limit the number of labels per run. For large mailings over a few hundred labels, you might need a paid tier.
Method 3: Export to CSV and Use a Desktop Application
If you already own Microsoft Word or LibreOffice Writer, you can export your Google Sheets data as a CSV file (File > Download > Comma-separated values) and use the built-in mail merge feature in those desktop programs.
In Word, the process looks like this:
Go to Mailings > Start Mail Merge > Labels
Select Avery US Letter > 5160
Click Select Recipients > Use an Existing List > browse to your CSV file
Insert merge fields into the label layout
Preview and complete the merge
This method gives you the most control over formatting but requires desktop software. For people who already use Word regularly, it's a familiar workflow.
Regardless of which method you choose, the underlying principle is the same: your spreadsheet data flows through a template that maps each address to a label-sized cell on the page. If you're also printing shipping labels with tracking information, the process is similar. You can read more about that workflow in our guide on how to print shipping labels from Google Sheets for small business.
Formatting, Printing, and Troubleshooting Your Labels
You've got your data ready and your labels generated in a document. Now comes the part that makes or breaks the whole project: actually printing them. Label printing is surprisingly finicky, and a few small mistakes can waste an entire sheet of expensive labels. Here's how to get it right the first time.
Configuring Your Print Settings
Before you hit Print, open the print dialog and verify these settings:
Paper size: US Letter (8.5" x 11"). This should be the default, but always double check. A4 will shift everything off alignment.
Margins: Set to the specific values required by the template. For Avery 5160, the standard margins are approximately 0.5" top/bottom and 0.19" left/right. If your template already accounts for margins, select "None" or "Minimum" in the print dialog to avoid doubling the margin offset.
Scaling: Set to 100% or "Actual Size." Never use "Fit to Page" or "Shrink to Fit" because any scaling will shift the label alignment.
Orientation: Portrait.
Here's a quick reference table for Avery 5160 specifications:
Specification | Value |
Labels per sheet | 30 |
Label width | 2.625" (66.7mm) |
Label height | 1" (25.4mm) |
Columns | 3 |
Rows | 10 |
Top margin | 0.5" |
Side margin | 0.19" |
Vertical pitch | 0" (no gap between rows) |
Horizontal gap | 0.125" |
Running a Test Print
This single step saves more label sheets than any other tip in this guide. Before loading your Avery labels, print a test page on plain paper.
Take the printed plain paper and hold it up against an unused Avery 5160 sheet. Hold both sheets up to a light source, a window works perfectly. Check whether the printed text aligns with each label boundary. Pay special attention to:
The first label in the top-left corner (alignment errors compound across the page)
Labels along the right edge (horizontal drift shows up here first)
Labels in the last row (vertical drift accumulates toward the bottom)
If the alignment is off, adjust your margins by small increments (0.05" at a time) and print another test page. It's much cheaper to use a few sheets of plain paper than to waste a full sheet of labels.
Loading Labels in Your Printer
How you load the label sheet matters more than most people realize.
For inkjet printers, load the label sheet with the label side facing down in most models (check your printer's manual). Feed one sheet at a time to avoid jams. Label sheets are thicker and stickier than regular paper, so sending multiple sheets through the feeder at once is a recipe for a jam.
For laser printers, the label side typically faces up, but again, verify with your printer's manual. Laser printers use heat to fuse toner, and not all label adhesives tolerate high temperatures. Make sure your labels are rated for laser printers. Avery 5160 labels are designed for both inkjet and laser, so you're covered.
General tips for smooth feeding:
Fan the label sheets slightly before loading (just like you would with regular paper)
Use the manual feed tray or bypass tray if your printer has one, as this provides a straighter paper path
Don't reuse label sheets that have already gone through the printer, even if some labels are still on the sheet
Troubleshooting Common Problems
Text is cut off at the edges of labels. Your font size is too large, or you have long addresses that overflow the label dimensions. Try reducing the font size to 9 or 10 point. For the Avery 5160 label width, a standard address fits comfortably at 10pt in Arial or Calibri. You can also reduce internal cell padding in your template.
Labels are misaligned after the first row. This usually means your row height or vertical pitch is slightly off. The Avery 5160 layout has zero vertical gap between rows, so each row must be exactly 1" tall. Even a 0.01" error per row adds up to a 0.1" shift by the tenth row.
Ink smears on the labels. If you're using an inkjet printer, give the labels a full minute to dry before handling them. Some glossy or waterproof labels take longer. Switching to a laser printer eliminates this issue entirely.
Blank labels appear in the output. Check your spreadsheet for empty rows. Most merge tools create a label for every row, including blank ones. Delete any empty rows at the bottom of your data range.
ZIP codes are missing the leading zero. Go back to your spreadsheet and format the ZIP code column as Plain Text, then re-enter the affected values. Re-run the merge after fixing.
Making Label Printing a Repeatable Workflow
Printing labels once is a project. Printing labels regularly, for monthly invoices, seasonal mailings, or ongoing business correspondence, requires a system. Here's how to turn your one-time label print into a workflow you can repeat in minutes.
First, save your Google Sheets file as a dedicated label data source. Give it a clear name like "Mailing List - Address Labels" and keep it in a shared drive if multiple people need access. This becomes your single source of truth for addresses.
Second, save your label template separately. Whether it's a Google Doc with a 30-cell table or a Word document with merge fields, keep it alongside your spreadsheet. Name it clearly so anyone on your team can find it.
Third, document your print settings. This sounds excessive until you realize that three months from now, you won't remember whether you used 0.5" or 0.47" top margins. Create a simple note (even a cell in the spreadsheet itself) that records your printer model, paper tray, margin settings, and font choices.
For teams that do frequent mailings, consider building a small checklist:
Update addresses in the master spreadsheet
Remove duplicates and verify data
Run the mail merge or label add-on
Print test page on plain paper
Verify alignment against label sheet
Print final labels
Verify output quality before applying labels
If you regularly print different label sizes beyond Avery 5160, you'll want templates for each one. FoxyLabels maintains a full library of free label templates across all major brands and sizes, so you can grab what you need without building templates from scratch.
The beauty of this approach is that once you've done the setup work once, every subsequent print job takes a fraction of the time. Your data stays in Google Sheets where it's easy to update, your template stays formatted and ready, and your print settings are dialed in. The next time you need to send 200 holiday cards or mail 500 invoices, you'll be printing labels in under ten minutes.
Address labels might seem like a small thing, but getting them right makes a real difference. Clean, professionally printed labels make your mail look polished, reduce delivery errors, and save you from the hand cramp of writing addresses on envelopes. With Google Sheets as your data source and the right template, Avery 5160 labels become one of the easiest parts of any mailing project.
Install Foxy Labels
Get started with Foxy Labels and create perfectly aligned labels in minutes.
Get Started