How to Print Barcode and Inventory Labels from Google Sheets
Turn your Google Sheets inventory data into professional barcode labels. This step-by-step guide covers spreadsheet setup, barcode generation, template selection, and printing tips for small businesses.
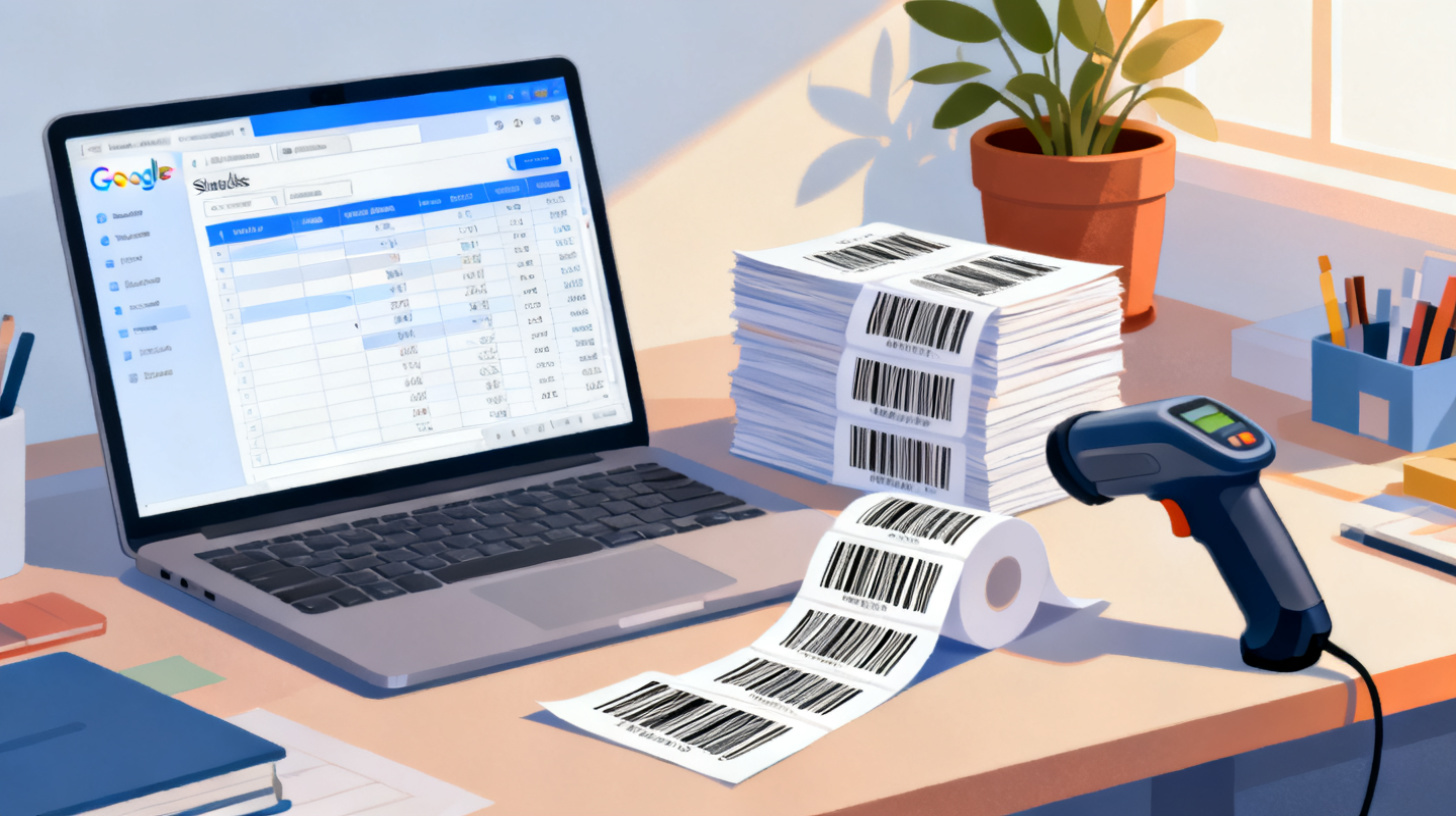
You've got a spreadsheet full of product names, SKU numbers, and quantities. Now you need those details on actual, physical labels stuck to your shelves, bins, and products. The gap between a tidy Google Sheet and a printed barcode label might feel wide, but it's surprisingly simple to bridge once you know the right workflow.
Whether you're running a small retail shop, managing a home-based e-commerce business, or organizing a warehouse with a few hundred items, printing barcode and inventory labels directly from Google Sheets saves you hours of manual work and dramatically reduces errors. The key is pairing your spreadsheet data with the right label template. You can browse FoxyLabels' full catalog of label templates to find the exact sheet size that matches your label stock, from tiny product labels to large shelf tags.
This guide walks you through everything: setting up your spreadsheet, generating barcodes, choosing the right label format, and printing professional-looking inventory labels without expensive software.
Setting Up Your Google Sheets Spreadsheet for Label Printing
Before you touch a label template or barcode generator, you need a clean, well-organized spreadsheet. Think of your Google Sheet as the single source of truth for every label you'll print. If the data is messy here, your labels will be messy too.
Structuring Your Inventory Data
Start by creating columns that map directly to the information you want on each label. A typical inventory label spreadsheet includes:
Product Name or description (what the item is)
SKU or Item Number (your internal identifier)
Barcode Value (often the same as SKU, or a UPC/EAN number)
Price (optional, depending on your label use case)
Location (shelf, bin, or aisle number for warehouse labels)
Quantity (how many labels to print for this item)
Here's what a simple inventory spreadsheet looks like:
Product Name | SKU | Barcode Value | Price | Location | Qty Labels |
Organic Green Tea | TEA-001 | 012345678901 | $8.99 | Aisle 3, Shelf B | 5 |
Ceramic Mug 12oz | MUG-044 | 012345678902 | $12.50 | Aisle 1, Shelf A | 10 |
Bamboo Coaster Set | CST-012 | 012345678903 | $6.75 | Aisle 2, Shelf C | 3 |
Notice how each row represents one product, and the "Qty Labels" column tells you how many copies of that label you need. This is a small detail that saves enormous time when you're printing labels for restocking.
Cleaning and Validating Your Data
Before generating labels, run through a quick checklist:
Remove duplicate rows (use Google Sheets' built-in "Remove duplicates" under the Data menu)
Verify barcode values are consistent in length (UPC-A codes are 12 digits, EAN-13 codes are 13 digits)
Trim extra spaces using the
=TRIM()function on text fieldsCheck that SKU numbers don't contain special characters that might break barcode encoding
Confirm pricing is formatted consistently (all with two decimal places)
One common mistake is mixing barcode formats in the same column. If some rows have 12-digit UPCs and others have short internal SKUs, your barcode generator will produce inconsistent results. Decide on one barcode standard for your entire inventory and stick with it.
For small businesses that don't have official UPC codes, Code 128 barcodes work beautifully with alphanumeric SKUs. You can encode values like "TEA-001" directly without needing to purchase UPC numbers. If you sell on marketplaces or in retail stores that require UPC scanning, you'll need to register for official GS1 barcodes through GS1's official barcode standards portal.
Adding Barcode Images to Your Spreadsheet
Google Sheets doesn't generate barcode images natively, but there are a few reliable approaches. The simplest method uses a barcode font or an add-on. Here's how the formula approach works with a free barcode API:
You can use the =IMAGE() function in Google Sheets to pull barcode images directly into cells:
This formula takes the value in cell A2 (your SKU or barcode number) and renders a Code 128 barcode image right inside the spreadsheet cell. Resize the row height to about 60-80 pixels so the barcode displays clearly.
For a more polished workflow, many small business owners generate barcodes in their label design step rather than inside the spreadsheet itself. This keeps your Google Sheet focused on data and lets the label tool handle the visual formatting.
Choosing the Right Label Template and Format
Your spreadsheet is clean, your barcode values are ready. Now comes the part where most people get stuck: picking the right label size and figuring out how to merge their data into a printable format.
Matching Label Size to Your Use Case
Not all inventory labels are the same size, and picking the wrong dimensions means wasted label sheets and reprinting. Here's a practical breakdown:
Label Use Case | Recommended Size | Labels Per Sheet | Best For |
Small product tags | 1.75" x 0.5" | 80 | Jewelry, cosmetics, small packaged goods |
Standard shelf labels | 2.625" x 1" | 30 | Retail shelves, storage bins |
Shipping/box labels | 4" x 2" | 10 | Cartons, larger products |
Full product labels | 3.5" x 1.5" | 14 | Wine bottles, jars, retail packaging |
Warehouse bin labels | 4" x 3.33" | 6 | Large bin fronts, pallet labels |
The most popular choice for barcode inventory labels is the 30-per-sheet format (equivalent to Avery 5160 or similar). It gives you enough space for a product name, SKU, and a scannable barcode without wasting label material.
Browse the FoxyLabels label template catalog to find templates compatible with the label sheets you already have. The catalog includes templates that work with Avery, Staples, and other major label brands, so you can match your existing stock without guesswork.
Creating Labels with Google Docs and Mail Merge
The most accessible way to turn your Google Sheets data into printed labels involves using Google Docs as your layout tool. Here's the step-by-step process:
Step 1: Select Your Label Template
Open a label template in Google Docs that matches your label sheet dimensions. FoxyLabels provides templates in Google Docs format that you can open directly in your browser, with the grid already set up for common label sizes.
Step 2: Connect Your Spreadsheet Data
Using a Google Workspace add-on or a mail merge tool, link your Google Sheet to the label template. The merge process maps your spreadsheet columns (Product Name, SKU, Price, etc.) to placeholder fields in the label layout.
Step 3: Design Your Label Layout
In the first label cell of your template, arrange the elements you want on every label:
Keep the design minimal. Barcode labels need to be scannable, which means leaving enough white space around the barcode and using high-contrast black bars on a white background.
Step 4: Run the Merge and Print
Execute the mail merge to populate every label on the sheet with data from your spreadsheet rows. Preview the output carefully before printing. Check that barcodes aren't being cut off at label edges and that text isn't overflowing into adjacent labels.
Print a test page on regular paper first. Hold it up against your label sheet to verify alignment. This single step prevents wasting an entire pack of label stock on a misaligned print job.
If you're also printing shipping labels alongside your inventory labels, you might find it helpful to read about how to print shipping labels from Google Sheets for small business, which covers a similar workflow with a focus on address and shipping data.
Printing Tips That Prevent Wasted Labels and Scanning Failures
Getting labels to print correctly is where many small business owners hit frustrating roadblocks. Misaligned labels, barcodes that won't scan, and ink that smudges are all common problems with straightforward fixes.
Printer Settings That Actually Matter
When you hit "Print" from Google Docs or any label tool, your default printer settings are almost certainly wrong for label printing. Here's what to adjust:
Paper size: Set this to "Letter" (8.5" x 11") for standard US label sheets, or "A4" for international sizes. Never leave it on "Auto" because some printers will try to scale the page.
Margins: Set all margins to 0 or as close to 0 as your printer allows. Label templates are designed with precise measurements, and extra margins shift everything out of alignment.
Scaling: This is the biggest source of label misalignment. Set scaling to "Actual size" or "100%." Never use "Fit to page" or "Shrink to fit" because even a 2% reduction will cause labels to drift across a sheet of 30 or more labels.
Print quality: Use "Best" or "High" quality for barcode labels. Draft mode reduces the sharpness of barcode lines, which makes them harder for scanners to read. Laser printers generally produce sharper barcodes than inkjet printers, but both work if you use high quality settings.
Here's a quick printer settings checklist to review before every label print job:
Paper size matches your label sheet (Letter or A4)
Margins set to minimum (0" or 0.13")
Scaling at 100% (no fit-to-page)
Print quality on High or Best
Paper type set to "Labels" if your printer has that option
Duplex/double-sided printing turned OFF
Making Barcodes That Actually Scan
A barcode that looks fine on screen might fail completely when printed on a small label. Here are the rules that keep your barcodes scannable:
Minimum size matters. A Code 128 barcode should be at least 1 inch wide and 0.5 inches tall for reliable scanning with standard handheld scanners. Shrinking a barcode below these dimensions is the number one reason labels don't scan.
Quiet zones are non-negotiable. The blank white space to the left and right of a barcode (called the "quiet zone") must be at least 0.25 inches on each side. Without this buffer, scanners can't detect where the barcode starts and ends.
Contrast is everything. Black bars on a white background gives you the highest scan reliability. Avoid colored backgrounds, and never print barcodes on transparent or glossy labels unless you've tested scanning first.
Resolution and DPI. Print at a minimum of 300 DPI. Lower resolutions cause barcode lines to blur together, especially on ink-jet printers where ink can bleed slightly.
Pro tip: After printing your first sheet of barcode labels, scan every barcode on the page with your handheld scanner or phone app before applying them to products. It takes 60 seconds and catches printing issues before they become a warehouse-wide problem.
Handling Large Print Runs Efficiently
If you're printing 500 or more labels at once, a few workflow adjustments make a big difference:
Batch your print jobs into groups of 50-100 labels. This lets you catch alignment drift early. Some printers shift slightly over long print runs as the paper feed mechanism warms up.
Number your sheets. Add a small page number in a non-label area of each sheet so you can track where a problem started if you notice a scanning failure.
Store label stock properly. Label sheets that have been exposed to humidity or heat can curl, causing paper jams and misalignment. Keep them sealed in their original packaging until you're ready to print.
For businesses that need to print labels across different printers or label types (like thermal Dymo printers for individual items), check out the guide on how to print Dymo labels directly from Google Sheets for hardware-specific tips.
Scaling Your Label Workflow as Your Inventory Grows
Printing 50 labels from a small spreadsheet is manageable with a manual workflow. But what happens when your inventory grows to 500 SKUs, or you need to reprint labels every time you restock? The same basic approach works, but you need a few systems in place to keep it efficient.
Building a Reusable Label System
The biggest time-saver is treating your Google Sheet as a permanent inventory database rather than a one-time label list. Structure it so you can filter and print labels on demand:
Add a "Print" column. Create a checkbox column where you mark which items need new labels. Before each print run, filter the sheet to show only checked rows, run your merge, and print. Then uncheck everything.
Use named ranges. If you have different label sizes for different purposes (small product tags vs. shelf labels), create named ranges in your spreadsheet for each category. This lets you quickly select the right subset of data for each template.
Version your templates. If you update your label design (adding a QR code, changing font size, repositioning elements), save the old template with a date suffix. This way, you can always reprint old-style labels for consistency if needed.
When to Upgrade Your Tools
Google Sheets and Docs handle label printing well for most small businesses, but you'll start feeling the friction when:
You're printing more than 1,000 labels per week
Multiple team members need to print labels from the same data
You need dynamic barcode generation without manual formula setup
Your label designs require advanced formatting (logos, color zones, variable images)
At that point, a dedicated label printing tool that integrates with Google Sheets becomes worth the investment. FoxyLabels' pricing plans offer full access to premium templates and advanced features designed specifically for this kind of scaling, letting you go from spreadsheet to printed label in fewer steps.
Maintaining Label Accuracy Over Time
Inventory labels are only useful if they're accurate. Build these habits into your workflow:
Audit quarterly. Walk your storage area with a scanner and verify that every label matches the item behind it. Products get moved, bins get reorganized, and labels that were accurate three months ago might now be on the wrong shelf.
Update your spreadsheet first, always. Never handwrite corrections on labels. If a price changes or a product gets a new SKU, update the Google Sheet, reprint the affected labels, and replace them. The spreadsheet should always be the authoritative source.
Track label printing history. Add a "Last Printed" date column to your spreadsheet. This helps you identify labels that haven't been refreshed in a while and might be faded or peeling.
Small inventory management habits compound over time. A business that prints accurate, scannable labels from a well-maintained spreadsheet operates faster, makes fewer fulfillment errors, and looks more professional to customers and partners.
Printing barcode and inventory labels from Google Sheets doesn't require expensive software or complex systems. With a clean spreadsheet, the right label template, and proper printer settings, you can produce professional, scannable labels in minutes. Start by organizing your inventory data, pick a label template that matches your label stock, and print a test sheet before committing to a full run. Your inventory will thank you.
Install Foxy Labels
Get started with Foxy Labels and create perfectly aligned labels in minutes.
Get Started