How to Print Barcode Labels from Google Sheets for Free
Turn your Google Sheets data into scannable barcode labels using free barcode fonts and Avery-compatible templates. No special software or paid subscriptions required.
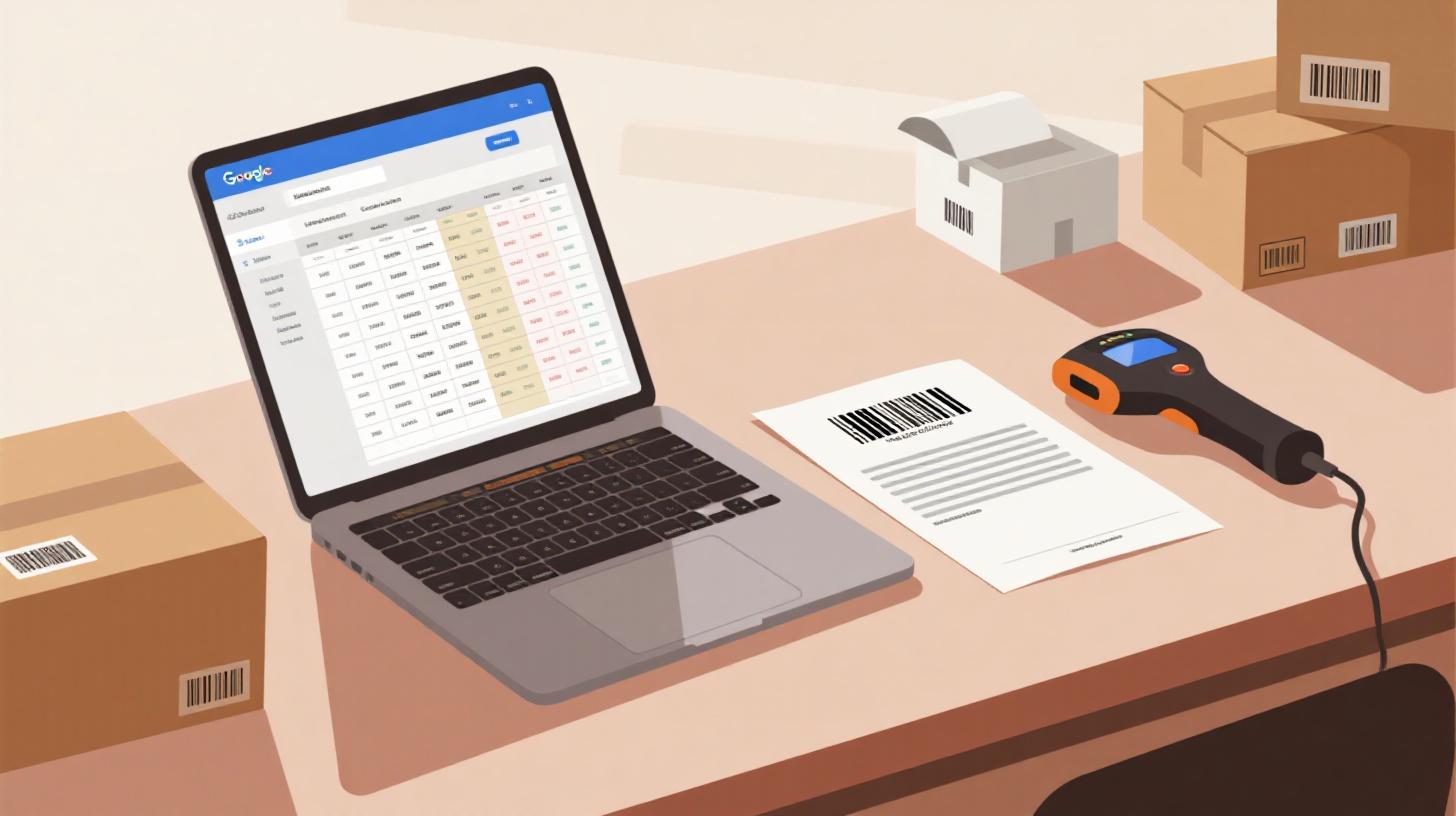
Picture this: you've got 500 products sitting in your garage, a spreadsheet full of SKUs, and a stack of blank Avery label sheets. You need barcode labels on every single item before your next craft fair, eBay shipment, or inventory audit. Hiring a print shop sounds expensive. Buying specialized software feels like overkill. What if you could do the whole thing for free, right inside Google Sheets?
Good news: you absolutely can. With a free barcode font, a well-organized spreadsheet, and a label template that matches your sheet of stickers, you can go from raw data to printed barcode labels in under an hour. This guide walks you through every step, from generating scannable barcodes in your spreadsheet to printing them on Avery-compatible label templates you already have in your desk drawer.
Whether you're managing a small business inventory, organizing a library, or labeling products for retail, this workflow saves money and puts you in full control.
Setting Up Your Google Sheets Spreadsheet for Barcode Generation
Before you print anything, you need barcodes that actually scan. That starts with clean data and the right font. Let's build your spreadsheet from scratch.
Organize Your Data First
Open a new Google Sheet and create columns for the information you want on each label. A typical setup looks like this:
Column A | Column B | Column C | Column D |
SKU | Product Name | Price | Barcode Value |
WIDGET-001 | Blue Widget | $12.99 | WIDGET-001 |
WIDGET-002 | Red Widget | $14.99 | WIDGET-002 |
GADGET-010 | Mini Gadget | $8.50 | GADGET-010 |
The Barcode Value column holds the exact string that will be encoded into your barcode. For most small business and inventory uses, this is the same as your SKU or product ID. If you're creating UPC or EAN barcodes for retail, you'll need valid numeric codes (12 digits for UPC-A, 13 for EAN-13) with a correct check digit.
A few rules to keep your data barcode-friendly:
Code 128 barcodes can encode letters, numbers, and special characters. They're the most flexible choice for internal inventory.
Code 39 barcodes support uppercase letters, numbers, and a handful of symbols. They're widely used in logistics and warehousing.
UPC-A and EAN-13 are numeric only and require valid check digits. Use these only if you're selling through retail channels that demand them.
For most readers of this guide, Code 128 or Code 39 will be the best fit. They're simple, universal, and work with free fonts.
Install a Free Barcode Font
Here's the trick that makes this whole workflow possible: barcode fonts. When you type a value like "WIDGET-001" and apply a Code 128 font, it visually renders as a scannable barcode. No image generation required.
To use a barcode font in Google Sheets, you'll need to install it through Google Docs or Google Slides (Google Sheets doesn't have a built-in "add fonts" option for custom fonts the same way, but the workflow through Google Docs label generation handles this neatly). The most common free barcode fonts include:
Libre Barcode 128 (available in Google Fonts)
Libre Barcode 39 (available in Google Fonts)
Libre Barcode 128 Text (includes human-readable text below the barcode)
Since these are part of the Google Fonts library, they work natively in Google Docs without any downloads. This is important because you'll be using Google Docs for the final label layout.
To preview your barcodes inside Google Sheets itself, you can use a formula-based approach with the IMAGE function that calls a free barcode API. For example:
This formula in any cell generates a live barcode image from the value in cell A2. It's a great way to verify your data looks correct before committing to print. Just remember that this preview method requires an internet connection and relies on a third-party API. The actual printing workflow uses barcode fonts for reliability.
Validate Before You Print
Nothing wastes label sheets faster than printing 30 labels only to discover they don't scan. Before you move to the printing step, grab your phone and download any free barcode scanner app. Point it at your screen where the barcode preview shows. If it reads the correct value, you're golden. If it doesn't scan, check for these common problems:
Extra spaces before or after your barcode value
Special characters that your chosen barcode format doesn't support
Font size too small (barcodes need adequate bar width to scan reliably)
Invalid check digits (for UPC/EAN formats only)
Once every barcode in your sheet scans correctly, your data is ready for labels.
Creating Your Label Layout with the Right Template
You've got clean data and working barcodes. Now you need to get them onto physical label sheets. This is where template selection makes or breaks your project.
Choose a Label Template That Matches Your Sheets
Label sheets come in dozens of configurations. Avery 5160 (30 labels per sheet, 1" x 2-5/8") is the most popular for address-sized labels, but barcode labels often need more space. Here are the most common choices for barcode labeling:
Template | Labels Per Sheet | Label Size | Best For |
Avery 5160 | 30 | 1" x 2-5/8" | Small product barcodes, price tags |
Avery 5163 | 10 | 2" x 4" | Shipping labels, large barcodes |
Avery 5167 | 80 | 0.5" x 1.75" | Tiny asset tags |
Avery 8163 | 10 | 2" x 4" | Shipping with inkjet printers |
Avery 6572 | 30 | 1" x 2-5/8" | Durable/waterproof barcodes |
The FoxyLabels template catalog lets you search by brand and product number. Find your exact label sheet, and you'll get a template file formatted with the precise margins, gutters, and cell sizes for that sheet. This eliminates the most frustrating part of label printing: alignment.
Why does alignment matter so much for barcodes? Because even a 1-2mm shift can push a barcode into the gutter between labels or cut off the edge of a bar. That makes the label unscannable. Starting with a template that matches your physical sheets removes this risk entirely.
Set Up the Mail Merge Workflow
Once you have your template, the next step is merging your Google Sheets data into label format. This process, called a mail merge, pulls each row of your spreadsheet into a separate label cell. Here's the general workflow:
Step 1: Open Your Label Template in Google Docs
Download your template file and open it in Google Docs. You'll see a table grid where each cell represents one label on your physical sheet.
Step 2: Add Merge Fields
In the first label cell, type placeholder text that references your spreadsheet columns. For a barcode label, you might want:
The barcode itself (using the Libre Barcode 128 font)
The product name in regular text
The SKU in small text below
Your label cell layout might look something like this:
Step 3: Run the Merge
Using a Google Sheets add-on or label generation tool, connect your spreadsheet to your template document. The tool reads each row and populates a label cell with that row's data. When the merge completes, you have a Google Doc with every label filled in, barcodes rendered in the barcode font, and text details underneath.
For a deeper walkthrough of this mail merge process, the FoxyLabels tutorials section covers the specific steps with screenshots and troubleshooting tips.
Fine-Tune Your Barcode Font Size
Barcode font size directly affects scannability. If you make it too small, scanners can't read the thin bars. Too large, and the barcode overflows your label boundaries. Here are some tested starting points:
1" x 2-5/8" labels (Avery 5160): Libre Barcode 128 at font size 40-48
2" x 4" labels (Avery 5163): Libre Barcode 128 at font size 56-72
0.5" x 1.75" labels (Avery 5167): Libre Barcode 128 at font size 24-28
Always print a test page on regular paper first. Hold it up against your label sheet to check alignment, then scan each barcode with your phone to verify readability.
Printing, Scanning, and Troubleshooting Your Barcode Labels
You've built your spreadsheet, chosen your template, and merged your data. Now it's time to print and make sure everything works in the real world.
Printer Settings That Actually Matter
Most label printing failures come down to three printer settings. Get these right and you'll avoid wasted sheets:
Paper size: Set it to "Letter" (8.5" x 11") for US label sheets or "A4" for international sheets. Don't rely on auto-detect.
Margins: Set all margins to match your template specification. Many label templates use narrow margins (around 0.2" to 0.3"). If your printer adds its own default margins on top of the template margins, everything shifts.
Scaling: This is the biggest gotcha. Make sure your print dialog says "Actual size" or "100%" scaling. If it says "Fit to page" or "Shrink to fit," your barcodes will be slightly smaller than designed, and they may not scan.
Here's a quick print settings checklist:
Paper size matches your label sheet
Margins set to template specifications
Scaling set to 100% (actual size)
Print quality set to "Normal" or "High" (draft mode can produce faint bars)
Paper type set to "Labels" if your printer has that option
Laser vs. Inkjet Considerations
Both laser and inkjet printers can produce scannable barcodes, but each has quirks:
Laser printers produce crisp, sharp bars that scan easily. The toner is smudge-resistant once printed. If you're producing labels for warehouse or industrial use, laser is the better choice. Make sure you buy laser-compatible label sheets (Avery clearly marks this on the packaging).
Inkjet printers work well for lower volumes. The ink can smudge if labels get wet, so consider laminated or waterproof label stock (like Avery 6572) if your labels will be exposed to moisture. Give inkjet labels 30 seconds to dry before handling them.
Regardless of printer type, always run your first print on plain paper. Hold the printed page behind a blank label sheet and check against a window or light source. Every label boundary should align with the printed content.
Troubleshooting Common Scanning Failures
So you've printed your labels, stuck them on products, and now your scanner beeps but shows nothing. Or worse, it reads the wrong value. Here's a diagnostic guide:
Symptom: Scanner won't read the barcode at all.
Likely cause: Insufficient contrast. Light gray bars on white labels are hard for scanners. Make sure you're printing in black.
Symptom: Scanner reads a different value than expected.
Likely cause: Wrong barcode format. If you used a Code 128 font but your scanner expects Code 39, you'll get garbled results. Check your scanner's supported formats.
Symptom: Some labels scan and others don't.
Likely cause: Inconsistent print quality. Check for streaks or faded sections on the label sheet. Your printer may need a toner or ink cartridge replacement.
Symptom: Barcode scans on screen but not on paper.
Likely cause: Print scaling issue. The printed barcode is smaller than the screen version. Verify you're printing at 100% scale.
If you're generating QR codes instead of traditional barcodes for your labels, the process is similar but uses a different generation method. Check out this guide on how to print QR code labels from Google Sheets for the QR-specific workflow.
Real-World Use Cases and Next Steps
Let's ground all of this in practical scenarios so you can see exactly how this workflow fits different situations.
Small Business Inventory Management
Imagine you run a small candle business with 200 SKUs. Each product needs a barcode for inventory tracking. Your Google Sheet has columns for SKU, scent name, size, and price. You choose Avery 5160 labels because they're affordable and fit neatly on your product packaging.
Your barcode value is the SKU (e.g., "CND-LAV-8OZ"). You merge the data into a 5160 template, print 7 sheets (30 labels each = 210 labels), and apply them to your products. When you receive a purchase order, you scan the barcode with a $30 handheld scanner connected to your laptop, and your inventory spreadsheet updates automatically through a simple lookup.
Total cost? A pack of Avery 5160 labels runs about $15 for 750 labels. The fonts and software are free. You've just built a functional inventory system for the price of a lunch.
Warehouse and Storage Organization
Maybe you manage a small warehouse or storage facility with shelving units that need location barcodes. Create a Google Sheet with location codes (e.g., "A-01-03" for Aisle A, Rack 01, Shelf 03). Use Avery 5163 labels for larger, more visible barcodes. Print and apply them to each shelf edge.
Workers can scan a shelf's barcode to log items into or out of that location. This simple system mirrors what large warehouses do with expensive software, but yours runs on Google Sheets and free tools.
Library or Classroom Use
Teachers and librarians can barcode their book collections using ISBN numbers. ISBNs are already designed as barcode values (they're EAN-13 formatted). Create a Google Sheet with book title, author, and ISBN. Merge them into labels, print, and stick them inside each book's back cover. Pair this with a free library management tool that reads barcodes, and you've got a checkout system.
Scaling Up Your Workflow
Once you've mastered the basic workflow, consider these improvements:
Batch printing: Organize your spreadsheet so you can filter and print subsets of labels (e.g., only new products added this week)
Error checking formulas: Add a column that validates barcode values with LEN() and REGEXMATCH() functions to catch formatting issues before they waste label sheets
Template reuse: Save your Google Docs template and reuse it for every batch. Just reconnect it to your updated spreadsheet each time
Sequential numbering: Use Google Sheets formulas like
="ITEM-" & TEXT(ROW()-1, "0000")to auto-generate sequential barcode values
For users who also work with mail merge for address labels or other text-based labels, the related guide on mail merging labels from Google Sheets to Avery templates covers the broader workflow that applies to any label content, not just barcodes.
The beauty of this approach is that your single source of truth lives in Google Sheets. Update a product name, change a price, add a new SKU, and your next batch of labels automatically reflects the changes. No re-entering data, no re-designing layouts, no paying for software subscriptions you don't need.
Ready to find the perfect template for your barcode labels? Browse the FoxyLabels template catalog to match your exact label sheet, then follow the steps above to go from spreadsheet to scannable labels in minutes.
Install Foxy Labels
Get started with Foxy Labels and create perfectly aligned labels in minutes.
Get Started