How to Print Color-Coded Moving Box Labels at Home
Create color-coded moving box labels using Google Docs and Sheets. Learn how to design, print, and apply labels that make moving day organized and stress-free.
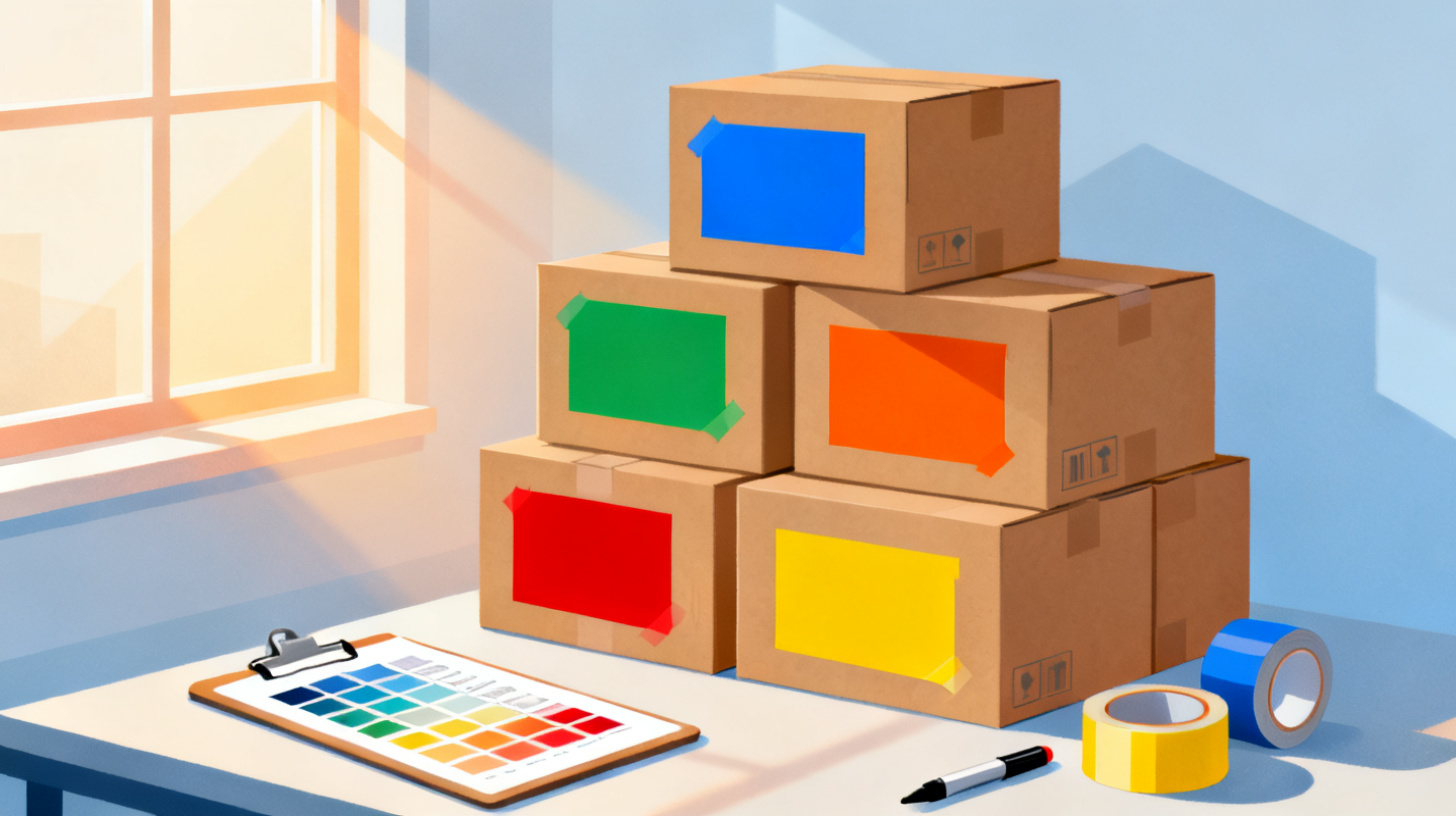
Moving is one of those experiences that somehow manages to be both exciting and completely overwhelming at the same time. You're thrilled about the new place, but staring down a tower of identical brown boxes in your new kitchen, trying to figure out which one has the coffee mugs? That's a different story. Color-coded moving box labels solve this problem beautifully, and you can create them right from Google Docs and Sheets without spending a dime on fancy software.
The idea is simple. Assign a color to each room, print labels that match, and stick them on your boxes. When the movers (or your very patient friends) carry boxes inside, they just match the label color to the room. No reading required, no confusion, no opening six boxes before finding the toothpaste.
With FoxyLabels' template catalog, you can find label sheet templates that work with popular label brands like Avery, and then customize them directly inside Google Docs or Google Sheets. Let's walk through the entire process so you can label every box like a moving pro.
Why Color-Coded Labels Make Moving Dramatically Easier
Picture this: you've just arrived at your new home with 47 boxes. They all look the same. Each one has "kitchen" or "bedroom" scrawled in marker on the side, but the writing is smudged, hard to read, or facing the wall. You need your medication from the bathroom box, but you end up opening three kitchen boxes and one box of holiday decorations before you find it.
Now picture the alternative. Every box has a bright, clearly printed label. Blue labels go to the kitchen. Green labels go to the master bedroom. Orange is for the bathroom. You spot the orange label, grab the box, and you're done in seconds. That's the power of a color-coded system.
The Psychology Behind Color Coding
Color recognition is one of the fastest cognitive processes humans perform. Research from the University of British Columbia has shown that color can improve attention and memory performance by creating strong visual associations. When you slap a red label on a box, your brain processes that color signal faster than it can read the word "living room." This matters when you're tired, stressed, and trying to direct a crew of helpers who may not know your floor plan.
Color coding also reduces decision fatigue. On moving day, you're making hundreds of small decisions. Every choice you can automate or simplify frees up mental energy for the things that actually matter, like figuring out where the couch fits or remembering to turn on the water.
Building Your Color System
Before you touch a computer, grab a piece of paper and sketch out your color assignments. Here's a sample system that works well for most homes:
Color | Room | Notes |
Blue | Kitchen | Includes pantry items |
Green | Master Bedroom | Includes master bath items |
Yellow | Kids' Room(s) | One shade per child if needed |
Orange | Bathroom(s) | Towels, toiletries, cleaning supplies |
Red | Living Room | Electronics, books, decor |
Purple | Office/Study | Documents, desk items, tech |
Pink | Garage/Storage | Tools, seasonal items |
Keep this chart taped to the wall in your current home while you pack, and bring a copy to the new place so helpers know where each color goes. You can even print a large version and tape it near the front door on move-in day.
The sweet spot is usually five to eight colors. Fewer than that and you lose specificity. More than that and you start confusing teal with turquoise, which defeats the purpose. Stick to bold, easily distinguishable colors, and your system will work flawlessly even under the chaos of moving day.
Setting Up Your Labels in Google Docs and Google Sheets
Now for the fun part: actually creating the labels. You don't need expensive design software. Google Docs and Google Sheets handle this perfectly, especially when paired with the right label template. Head to the FoxyLabels template catalog and search for your label sheet size. Popular choices for moving labels include 2" x 4" labels (like Avery 5163) or 4" x 3.33" labels (like Avery 5164) because they're large enough to see from across a room.
Step 1: Choose and Open Your Template
Once you find your template on FoxyLabels, open it in Google Docs. The template will show a grid of label outlines that match your physical label sheet perfectly. This alignment is critical because even a tiny offset means your text prints on the edge of the label or between two labels entirely.
If you're not sure which label sheet to buy, check what's available at your local office supply store first. Most stores carry Avery-compatible sheets, and FoxyLabels supports those sizes. If you need help navigating the template setup, the FoxyLabels tutorials page walks through each step with screenshots.
Step 2: Design Your Label Content
Each label should include three things:
The room name in large, bold text (e.g., "KITCHEN")
A color background or color block that fills most of the label
Optional: a brief contents description (e.g., "Pots, Pans, Baking Sheets")
To add a background color in Google Docs, highlight the text area within a label cell, go to Format > Paragraph styles > Borders and shading, and set the background color. Choose the color you assigned to that room. Use white or black text on top, depending on which is more readable against your chosen background.
For the text itself, use a clean sans-serif font like Arial or Roboto at 16-24 point size. You want these labels readable from a few feet away, not just up close. Bold the room name so it pops. If you add a contents line, keep the font smaller (10-12 point) so it doesn't crowd the room name.
Step 3: Use Google Sheets for Bulk Label Generation
Here's where things get really efficient. If you're labeling 40 or 50 boxes, designing each label individually in Google Docs is painfully slow. Instead, use Google Sheets to create a spreadsheet of all your labels and then merge them onto a label template automatically.
Set up your spreadsheet with columns like this:
Room | Color | Box Number | Contents |
Kitchen | Blue | K-01 | Plates, bowls, mugs |
Kitchen | Blue | K-02 | Pots, pans, lids |
Kitchen | Blue | K-03 | Small appliances |
Master Bedroom | Green | MB-01 | Bedding, pillows |
Bathroom | Orange | B-01 | Towels, toiletries |
The box numbering system (K-01, K-02, etc.) is a game-changer. It lets you create a master inventory so you know exactly what's in every box. When you need the slow cooker, check your spreadsheet for "small appliances" and see it's in box K-03. No guessing.
With FoxyLabels, you can merge this spreadsheet data directly onto label templates, printing dozens of unique labels in one batch. This mail merge approach turns what could be hours of manual label creation into a process that takes minutes. If you want to unlock the full power of bulk label generation, check out the FoxyLabels pricing plans for premium features like unlimited mail merge.
This same spreadsheet-to-label workflow works for other organizing projects too. If you've ever created file folder labels using Google Docs, the process is very similar.
Printing, Cutting, and Applying Your Labels Like a Pro
You've designed your labels and they look great on screen. Now you need to get them from your computer onto actual boxes without everything going sideways (literally).
Step 1: Print a Test Page on Regular Paper
Before you load your label sheets, print a test page on plain paper. Hold the printed page up against a blank label sheet and check the alignment. Do the printed outlines match where the labels sit on the sheet? If they're off, adjust your printer margins in Google Docs under File > Page setup.
This test run costs you one sheet of paper and saves you from wasting an entire pack of labels. Trust the process.
Step 2: Configure Your Printer Settings
Label sheets are thicker than regular paper, so your printer needs to know what it's dealing with. In your printer settings:
Set the paper type to "Labels" or "Heavy Paper" if your printer offers that option
Choose "Actual size" or "100%" scaling (never "Fit to page" because that changes your layout dimensions)
Select the correct paper size (usually US Letter 8.5" x 11")
Print at normal or high quality for vibrant colors
If your labels have color backgrounds, be aware that inkjet printers generally produce richer colors than laser printers. However, laser-printed labels are more smudge-resistant, which matters when sweaty hands are grabbing boxes on moving day. Both work fine, so use whatever printer you have.
Step 3: Apply Labels Strategically
Where you stick the label matters more than you might think. Follow these placement rules:
Put a label on two sides of each box so at least one is always visible regardless of how the box is stacked or oriented
Place labels on the upper third of the box so they're visible even when boxes are stacked two or three high
Add a label on top of boxes that will be stacked, so you can identify them from above
Avoid placing labels over box seams where they might peel or tear when the box is opened
For extra durability, run a strip of clear packing tape over each label after applying it. This protects the label from rain, sweat, and the general rough handling that boxes endure during a move.
Step 4: Create a Color Key Poster
Print one oversized version of your color key and tape it near the entrance of your new home. This acts as a legend for anyone carrying boxes inside. You can create this in Google Docs as a simple table with colored cells and room names. Make it big, at least half a page, with text large enough to read from six feet away.
You might also want to send a photo of the color key to everyone helping you move. A quick text message with the chart means everyone has the reference in their pocket.
Advanced Tips for a Stress-Free Moving Day
Once you've got the basics down, a few extra strategies will take your labeling system from good to bulletproof.
Create Priority Labels
Not all boxes are equal. Some need to be unpacked on day one: medications, phone chargers, coffee maker, toilet paper, basic tools, bedding. Create a special "OPEN FIRST" label in a bright, attention-grabbing color that's different from any room color (neon yellow works great). Put these labels on the five to ten boxes that contain your moving-day survival kit.
You can add a star icon or "★ PRIORITY" text to make these labels even more distinctive. When you arrive at the new place exhausted and hungry, you'll thank yourself for knowing exactly which boxes to rip open first.
Add QR Codes for a Digital Inventory
If you want to go next level, generate free QR codes that link to a Google Sheet row with the box's detailed contents. Print the QR code as part of your label design. Then anyone with a phone can scan a box and instantly see everything inside it. This is especially helpful for storage unit boxes that might sit unopened for months.
Number Every Box and Track It
That spreadsheet you built earlier? Add a column called "Status" with values like "Packed," "Loaded," "Delivered," and "Unpacked." Update it throughout the move. This gives you a real-time inventory and makes it easy to spot if a box goes missing between locations. For a big move with 60 or more boxes, this kind of tracking prevents the dreaded "I'm sure we had another box of books" conversation.
Print Extra Labels
Always print 20-30% more labels than you think you need. You will pack more boxes than you estimated, guaranteed. Having extra labels on hand means you're not scrambling to print more in the middle of packing when your printer is already boxed up. Store the extras in a zip-lock bag with your packing tape and markers so they're easy to grab.
By combining a thoughtful color-coded system with the right tools, you turn a chaotic moving day into something surprisingly manageable. Start by picking your label sheet size from the FoxyLabels template catalog, set up your color system, and print a test sheet. Your future self, standing in a new home with every box going exactly where it belongs, will be grateful you took the time.
Choose a color for each room
Set up spreadsheet with box contents
Find matching label template
Print test page on plain paper
Print labels and apply to boxes
Post color key at new home entrance
Pack an "OPEN FIRST" box with survival essentials
Ready to get started? Head over to FoxyLabels and grab a free label template that fits your label sheets. Your organized, color-coded move starts with one click.
Install Foxy Labels
Get started with Foxy Labels and create perfectly aligned labels in minutes.
Get Started