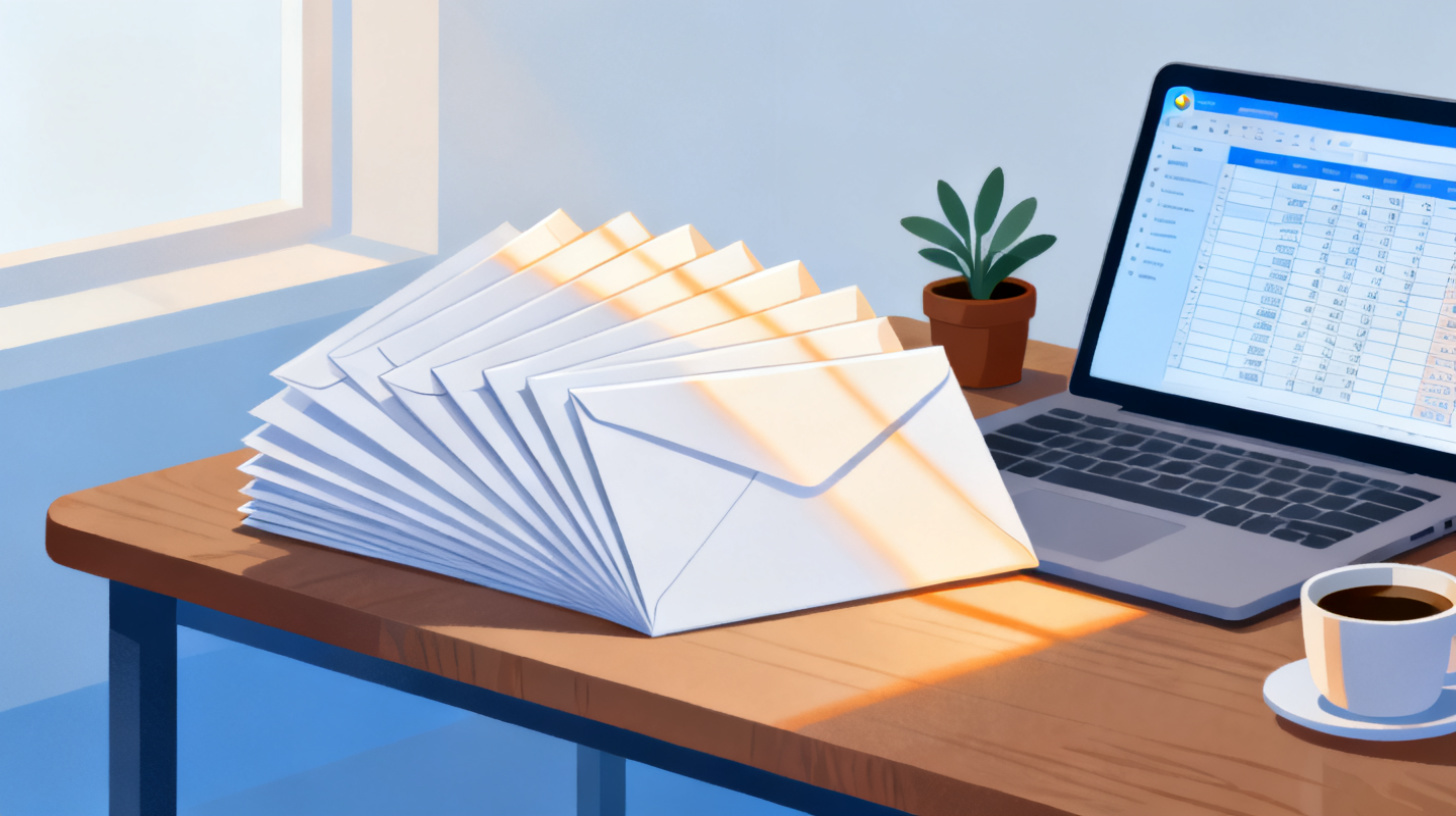
How to Print Envelopes from Google Docs and Sheets
Skip the handwriting and expensive software. Learn how to print professional envelopes from Google Docs and Google Sheets using free templates and simple mail merge tools.
Sending physical mail might feel like a throwback, but envelopes still matter. Wedding invitations, holiday cards, business correspondence, nonprofit fundraising appeals, and customer thank-you notes all start with a properly addressed envelope. The problem? Most people assume you need Microsoft Word to print envelopes. You don't.
Google Docs and Google Sheets give you everything you need to print professional envelopes, whether you're addressing one or one thousand. With the right template and a few simple steps, you can skip the handwriting, ditch expensive software, and get perfect results from your home or office printer. The FoxyLabels Template Library offers free templates designed specifically for envelope and label printing from Google's tools, so you can get started without building anything from scratch.
This guide walks you through the entire process. You'll learn how to set up a single envelope in Google Docs, how to pull addresses from a Google Sheets spreadsheet for bulk printing, and how to troubleshoot the most common problems that trip people up.
Setting Up an Envelope Template in Google Docs
Google Docs doesn't have a built-in "print envelope" feature the way some desktop word processors do. But that's barely an inconvenience once you know the workaround. You simply need to set your page dimensions to match your envelope size, position your text blocks correctly, and print. Let's break it down.
Step 1: Choose Your Envelope Size
The most common envelope size in the United States is the #10 envelope, which measures 4.125 by 9.5 inches. If you're sending personal correspondence or invitations, you might use an A7 envelope (5.25 by 7.25 inches) or an A2 (4.375 by 5.75 inches). Before you do anything in Google Docs, grab one of your envelopes and check the dimensions printed on the box, or measure it yourself.
Here are the most popular envelope sizes for reference:
Envelope Type | Width (inches) | Height (inches) | Common Use |
#10 | 9.5 | 4.125 | Business letters |
#9 | 8.875 | 3.875 | Reply envelopes |
A2 | 5.75 | 4.375 | RSVP cards, thank-you notes |
A7 | 7.25 | 5.25 | Invitations |
6x9 | 9 | 6 | Booklets, catalogs |
Step 2: Configure Your Google Doc Page Size
Open a new Google Doc. Go to File > Page setup. In the dialog box, change the page size from "Letter" to "Custom." Enter the width and height of your envelope. For a standard #10 business envelope, you'd enter 9.5 inches wide and 4.125 inches tall. Set all four margins to 0.5 inches, which gives your printer enough breathing room while keeping the text well-positioned.
Click "OK" and your document canvas now matches the shape of your envelope. This is the single most important step. If your page dimensions don't match your physical envelope, everything will print in the wrong spot.
Step 3: Add the Return Address and Recipient Address
Type your return address in the upper-left corner. Use a smaller font size (around 10pt) and keep it tight. Then press Enter several times or use a text box to position the recipient's address in the center-right area of the envelope. Most people find that placing the recipient address about 2 inches from the top and 4 inches from the left edge looks correct on a #10 envelope.
For more control over positioning, insert a text box (Insert > Drawing > New, then add a text box). This lets you drag the address block to the exact spot you want. You can format the text with any font, and you can add a small logo or image for your return address if you want a polished, branded look.
Step 4: Print a Test Page
Before you load your envelopes, print a test on regular paper. Hold the printed sheet against your envelope and check alignment. This costs you one sheet of paper and saves you from wasting envelopes. Adjust margins or text box positions if anything looks off, then load your envelope into the printer tray.
Most inkjet printers have a rear feed or a special envelope slot. Laser printers usually accept envelopes through the manual feed tray. Check your printer's manual for the correct orientation, as some printers need the envelope face up and others face down. A quick test print solves all the guesswork.
Printing Multiple Envelopes from Google Sheets with Mail Merge
Printing one envelope is straightforward. But what if you're mailing invitations to 200 wedding guests, or sending a quarterly newsletter to your client list? Manually typing each address into a Google Doc would take hours. This is where Google Sheets comes in.
The strategy is simple: store all your addresses in a spreadsheet, then use a mail merge process to pull each address onto its own envelope. Google Sheets acts as your address database, and a tool like FoxyLabels connects that data to your template.
Step 1: Organize Your Address Spreadsheet
Open Google Sheets and create columns for each piece of the address. A clean structure looks like this:
First Name | Last Name | Address Line 1 | Address Line 2 | City | State | ZIP |
Sarah | Chen | 452 Oak Street | Apt 3B | Portland | OR | 97201 |
Marcus | Rivera | 1100 Main Blvd | Austin | TX | 78701 | |
Priya | Patel | 89 Elm Avenue | Suite 200 | Chicago | IL | 60601 |
Keep your data clean. Avoid merging cells, adding blank rows, or mixing different data types in the same column. If someone doesn't have an Address Line 2, leave that cell blank rather than typing "N/A." Clean data makes everything downstream work smoothly.
A few formatting tips that save headaches:
Format the ZIP code column as plain text so that leading zeros (like 01234 for Massachusetts addresses) don't get stripped away
Use consistent capitalization, either all uppercase or standard title case
Double-check for typos now, because they'll be much harder to catch once printed
Step 2: Connect Your Spreadsheet to an Envelope Template
This is where most people get stuck, because Google Docs doesn't have native mail merge for envelopes. You need a tool that bridges the gap between your spreadsheet data and your document template. FoxyLabels offers a Google Sheets add-on that handles exactly this workflow. It reads your spreadsheet rows, maps each column to the correct position on your envelope (or label) template, and generates a print-ready document.
Browse the FoxyLabels Template Library to find an envelope or label layout that matches your needs. Once you've selected a template, the add-on guides you through mapping your spreadsheet columns to the template fields. You pick which column is the name, which is the street address, which is the city, and so on. The tool then generates a multi-page document where each page (or each label position) contains one unique address.
For users who need bulk envelope printing regularly, the FoxyLabels Pricing Plans include premium mail merge features that handle large address lists and offer additional formatting options.
Step 3: Review and Print
Before you print the full batch, always review the generated document. Scroll through the first five to ten envelopes and check for:
Correct name spelling
Complete addresses (no missing ZIP codes)
Proper formatting (text isn't cut off or overlapping)
Consistent font size and positioning across all envelopes
Once everything looks right, load your envelopes into the printer and print. For large batches, print in groups of 10 or 20 at a time. Printers handle envelopes differently than standard paper, and feeding too many at once can cause jams. Printing in smaller batches also lets you catch problems early without wasting your entire stack.
Troubleshooting Common Envelope Printing Problems
Even with perfect setup, envelope printing has quirks. Paper is flat and uniform. Envelopes are not. They have folds, flaps, and varying thicknesses. Here are the most common problems and how to fix them.
Printing Is Misaligned or Off-Center
This is the number one complaint, and it almost always comes down to one of two things: your page dimensions don't match the actual envelope, or your printer is feeding the envelope in an unexpected orientation.
First, re-measure your envelope and double-check the custom page size in Google Docs. Even a quarter-inch difference will throw off your alignment noticeably. Second, experiment with how you load the envelope. Try flipping it (face up versus face down) and rotating it (flap on the left versus flap on the right). Print on plain paper first each time and hold it against the envelope to check positioning. Most printers have a small diagram near the envelope feed slot showing the correct loading orientation.
Printer Jams or Won't Feed Envelopes
Envelope flaps and seams create uneven thickness, which confuses some printers. A few fixes:
Use the manual feed or rear tray rather than the main paper cassette
Feed one envelope at a time for thick or textured envelopes
Make sure the envelope is flat and not bent or warped
Adjust the paper thickness setting in your printer preferences to "Heavy" or "Envelope" if your printer offers that option
Laser printers can sometimes cause self-sealing envelopes to seal shut from the heat of the fuser. If you're using a laser printer, test with one envelope first. If it seals, switch to envelopes that require moisture to seal, or use an inkjet printer instead.
Text Prints Too Small or Too Large
When printing from Google Docs, make sure your print dialog is set to "Actual size" or 100% scale, not "Fit to page." The "Fit to page" option tries to resize your document to match standard letter paper, which distorts everything when your page is set to envelope dimensions. In Chrome's print dialog, look for the "Scale" setting and make sure it reads 100 or "Actual size."
Ink Smudges on Glossy or Coated Envelopes
Some decorative or premium envelopes have a coating that doesn't absorb ink well. If you're seeing smudging, switch your printer to a lower quality or "draft" mode, which uses less ink. You can also let the envelopes sit for a minute after printing before stacking them, giving the ink time to dry.
For step-by-step visual walkthroughs of these kinds of printing projects, the FoxyLabels Tutorials page covers everything from basic label printing to advanced mail merge setups.
Tips for Professional-Looking Envelopes Every Time
Getting the mechanics right is one thing. Making your envelopes look genuinely professional is another. These tips apply whether you're printing one envelope or a thousand.
Choose Fonts That Are Easy to Read
Skip the script fonts for addresses. They look elegant on a screen but become hard to read at small sizes, especially for postal workers and mail-sorting machines. Stick with clean sans-serif fonts like Arial, Helvetica, or Open Sans for addresses. If you want a decorative touch, use a fancier font for the recipient's name only, and keep the street address and city line in something highly legible.
A good rule of thumb: the recipient's name can be 12-14pt, and the rest of the address should be 10-12pt. For the return address, 9-10pt works well.
Align Everything Consistently
Left-align both the return address and the recipient address. Centered addresses can look fine on invitations, but they're harder for mail processing equipment to read and can slow down delivery. The USPS recommends placing the delivery address in the lower center portion of the envelope, at least 1 inch from the left edge and at least 5/8 inch from the bottom.
Use High-Quality Envelopes
Cheap envelopes jam more, absorb ink unevenly, and look flimsy when they arrive. If you're sending business correspondence or event invitations, invest in envelopes with a smooth, sturdy finish. Cotton or linen-textured envelopes look and feel premium, though you should always test one before printing a full batch, since textured surfaces can affect print quality.
Add a Personal Touch Without Handwriting
One of the nice things about printing from Google Docs is that you can include small graphic elements. A tiny logo next to your return address, a subtle colored line, or even a small decorative element near the flap can make your envelopes stand out without looking mass-produced. Keep it simple, as a small accent goes a long way.
If you're working on a project that involves both labels and envelopes, such as printing return address labels and matching envelope addresses, you might find it helpful to read about how to print labels directly from Google Sheets for a complementary workflow.
Printing envelopes from Google Docs and Google Sheets is more capable than most people realize. For single envelopes, a custom page size in Google Docs gets the job done in minutes. For bulk mailings, pairing a Google Sheets address list with a mail merge tool turns a tedious afternoon into a quick, painless process.
The key ingredients are the right template, clean address data, and a test print before committing to the full run. Start by exploring free envelope and label templates in the FoxyLabels Template Library, set up your address spreadsheet, and print your first batch. You'll wonder why you ever handwrote an envelope in the first place.
Install Foxy Labels
Get started with Foxy Labels and create perfectly aligned labels in minutes.
Get Started