How to Print File Folder Labels from Google Sheets Easily
Print professional file folder labels from Google Sheets using Avery 5366 and 5266 templates. This step-by-step guide covers setup, printing tips, and troubleshooting for perfect results.
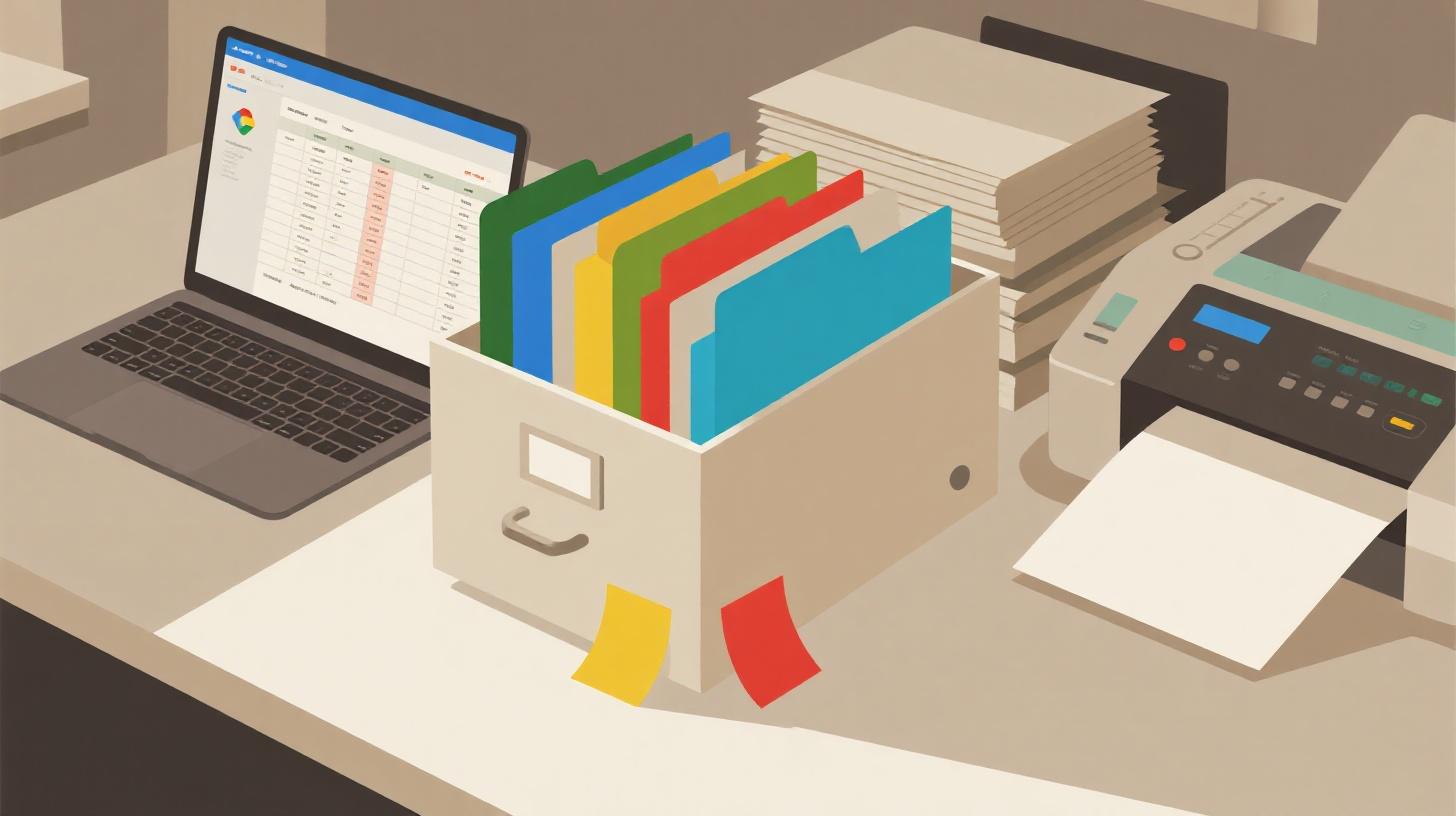
You've got a filing cabinet full of manila folders, a spreadsheet of names or categories, and zero desire to handwrite labels one by one. Sound familiar? Whether you're organizing client records, student files, or your home office paperwork, printing file folder labels from Google Sheets is one of those small wins that saves hours of tedious work.
The best part? You don't need expensive design software or a degree in graphic arts. With the right Avery template and a simple add-on, you can go from a messy spreadsheet to perfectly printed labels in about ten minutes. This guide walks you through every step of creating professional file folder labels using popular Avery 5366 and 5266 templates, all from the comfort of Google Sheets. Ready to get started? Check out the complete walkthrough on how to print labels from Google Sheets using the Foxy Labels add-on, then come back here for file-folder-specific tips.
Let's dive in.
Choosing Between Avery 5366 and Avery 5266 File Folder Labels
Before you fire up Google Sheets, you need the right label stock in your printer. The two most popular file folder label templates are Avery 5366 and Avery 5266. They look similar at first glance, but picking the wrong one can lead to misaligned prints and wasted sheets. Here's what you need to know about each.
Avery 5366 Overview
The Avery 5366 is a permanent adhesive, white file folder label designed for laser and inkjet printers. Each sheet holds 30 labels arranged in three columns of ten rows. Individual labels measure 21/32" x 3 7/16", which fits standard 1/3-cut file folder tabs perfectly. Because the adhesive is permanent, these labels stay put once applied, making them ideal for long-term filing systems like medical records, legal case files, or archived project folders.
You can find the official specifications for the Avery 5366 template on Avery's website, which confirms exact dimensions, margins, and printer compatibility. That page is a handy reference if you ever need to double-check your layout.
Avery 5266 Overview
The Avery 5266 is the colorful sibling. It ships with assorted label colors (blue, green, orange, red, yellow, and white) on each sheet. The dimensions and 30-per-sheet layout are identical to the 5366, so any template that works for one works for the other. The color coding is useful when you want a visual system. Think of it like this: blue for finance, green for HR, red for urgent, yellow for pending. Color-coded folders let you spot the right category from across the room without reading a single word.
Which One Should You Pick?
Here's a quick comparison:
Feature | Avery 5366 | Avery 5266 |
Labels per sheet | 30 | 30 |
Label size | 21/32" x 3 7/16" | 21/32" x 3 7/16" |
Colors | White only | Assorted (6 colors) |
Adhesive | Permanent | Permanent |
Best for | Clean, uniform look | Color-coded filing |
Printer type | Laser and inkjet | Laser and inkjet |
If you want a uniform, professional look for a single filing system, go with the 5366. If you need visual categorization without adding colored dots or highlighter marks, the 5266 saves a step. Both work with the same digital template, so your Google Sheets setup stays identical either way.
One practical tip: buy a few extra sheets beyond what you think you need. Test prints on a plain sheet of paper first (hold it up against the label sheet over a light source to check alignment), then run your actual label stock once everything lines up.
Setting Up Your Google Sheets Spreadsheet for File Folder Labels
A clean spreadsheet is the foundation of perfect labels. Garbage in, garbage out, as the saying goes. Spending five extra minutes organizing your data now prevents reprinting an entire batch later.
Step 1: Structure Your Data
Open a new Google Sheet and create a header row. For basic file folder labels, you typically need just one or two columns:
Column A: Label Text | Column B: Category (optional) |
Anderson, James | Finance |
Baker, Sarah | HR |
Chen, David | Finance |
Dominguez, Maria | Legal |
Column A holds whatever text you want printed on each label. Column B is optional but helpful if you want to sort or filter before printing. Some people include department codes, date ranges, or project numbers as well.
A few formatting rules to follow:
Keep text short. File folder labels are small. Aim for 30 characters or fewer per label to avoid truncation.
Use consistent capitalization. Decide on "Last, First" or "First Last" and stick with it across every row.
Remove blank rows. Empty rows generate blank labels, which wastes label stock.
Sort alphabetically. It sounds obvious, but sorting your data before printing means your labels come out in order and you can apply them sequentially without hunting through a pile.
Step 2: Clean Up Duplicates and Errors
Select your data column, go to Data > Remove duplicates, and let Google Sheets flag any repeated entries. Then do a quick visual scan for typos. A misspelled name on a printed label is the kind of mistake you won't notice until it's already stuck to a folder.
For larger datasets (say, 200+ labels), use Google Sheets' built-in spell check under Tools > Spelling > Spell check. It won't catch every proper noun, but it flags obvious errors.
Step 3: Install the Foxy Labels Add-on
With your data ready, install Foxy Labels from the Google Workspace Marketplace. Open it from the Extensions menu in Google Sheets. The add-on connects directly to your spreadsheet data, so there's no exporting or importing files between apps.
Once the add-on panel opens, you'll see a template selector. Search for "5366" or "5266" to find the matching file folder label layout. The Foxy Labels template catalog contains over 5,000 templates, so both Avery file folder formats are available along with compatible equivalents from other brands.
Step 4: Map Your Data to the Label Template
This is where the magic happens. Foxy Labels lets you select which column(s) appear on each label. For file folder labels, you'll typically map Column A (your label text) as the primary field. If you want a second line, like a department name or file number, you can add that too.
The template automatically handles font sizing, margins, and spacing based on the Avery layout. You don't need to manually measure anything. If you've ever tried to create labels in a word processor by setting up a table with precise cell dimensions, you know how frustrating that can be. The template approach skips all of that.
You might also find it helpful to check out how others set up address labels with similar workflows. The process for printing return address labels from Google Sheets with Avery templates follows the same general steps, just with a different template selection.
Printing Your File Folder Labels Without Wasting a Single Sheet
Your data is clean, your template is loaded, and you're staring at a preview that looks perfect on screen. Now comes the moment of truth: actually printing. This is where most people run into problems, not because the software fails, but because printer settings trip them up.
Step 1: Run a Test Print on Plain Paper
Before loading your label sheets, print one page on regular paper. Hold the printed sheet behind an actual label sheet and check alignment against a light source (a window works great). Every label outline should match up with the printed text. If the text sits too high, too low, or off to one side, adjust your printer margins before proceeding.
Common alignment issues and fixes:
Text shifts to the right: Your left margin is too narrow. Increase it by 0.1" increments.
Text drifts downward on later rows: Your printer may be stretching the page. Set scaling to 100% (not "Fit to Page").
Top row is fine but bottom row is off: This usually means the page size in your print settings doesn't match the actual paper. Confirm you're set to US Letter (8.5" x 11").
Step 2: Configure Printer Settings
These settings matter more than most people realize:
Paper size: US Letter (8.5" x 11")
Scaling: 100% or "Actual Size" (never "Fit to Page" or "Shrink to Fit")
Margins: Use the template's default margins. Don't override them.
Quality: Standard or Normal. High quality uses more ink and doesn't noticeably improve text on small labels.
Paper type: If your printer has a "Labels" media type setting, select it. Otherwise, "Plain Paper" works fine for most label stock.
One setting people often overlook: duplex (two-sided) printing. Make sure it's turned off. Label sheets are only usable on one side, and running them through a second pass can jam your printer or misalign the adhesive backing.
Step 3: Load Label Sheets Correctly
Most inkjet printers feed from the bottom of the tray, print side up. Most laser printers feed face down. Check your printer's manual or run a quick test: mark an X on one side of a plain sheet, feed it through, and see which side gets printed. Then load your label sheets accordingly.
Feed label sheets one at a time if your printer tends to grab multiple pages. Label stock is thicker and stickier than regular paper, so multi-sheet feeds are common culprits for jams.
Step 4: Print and Verify
Hit print. Watch the first sheet come through and immediately check alignment. If it looks good, let the rest of the batch run. If something's off, cancel the job, adjust settings, and try another test on plain paper before using more label stock.
For large batches (100+ labels), consider printing in sets of 3 to 5 sheets at a time. This prevents overheating on some printers and gives you checkpoints to verify quality throughout the run.
Practical Tips for Better File Folder Labels Every Time
Printing labels is straightforward once you've done it a couple of times, but a few extra tips can take your results from "good enough" to genuinely polished.
Font and Formatting Best Practices
File folder labels are tiny. That's the defining constraint you're working with. Here's how to make every character count:
Font choice: Stick with clean sans-serif fonts like Arial, Calibri, or Helvetica. Serif fonts like Times New Roman look elegant in documents but become hard to read at small sizes.
Font size: 8 to 10 points is the sweet spot for Avery 5366 and 5266 labels. Anything larger risks clipping, and anything smaller requires a magnifying glass.
Bold selectively. Bolding the entire label text makes nothing stand out. Instead, bold only the primary identifier (like a last name) and leave the rest in regular weight.
Skip fancy formatting. Underlines, italics, and ALL CAPS reduce readability at small sizes. Keep it simple.
Building a Color-Coded Filing System with Avery 5266
If you chose the Avery 5266 multicolor labels, plan your color assignments before printing. Write out a legend and tape it to the inside of your filing cabinet door:
🔵 Blue: Financial records
🟢 Green: Human resources
🟠 Orange: Marketing materials
🔴 Red: Urgent or time-sensitive
🟡 Yellow: Pending review
⚪ White: General or miscellaneous
Sort your spreadsheet by category before printing so that all labels of one color print together. This way, you load the matching color sheets in order rather than swapping them back and forth.
Scaling Up for Large Projects
If you're labeling hundreds of folders for an office move, a new filing system, or an archival project, batch processing saves time. Break your spreadsheet into groups of 30 (one sheet's worth) and print in manageable chunks. This approach lets multiple people apply labels simultaneously and reduces the cost of reprinting if one batch has an error.
For ongoing label needs, like new employee files or monthly project folders, keep a running Google Sheet that you update and reprint as needed. The Foxy Labels add-on remembers your template selection, so reprinting takes just a few clicks each time. Explore the Foxy Labels pricing page to find a plan that fits your volume, whether you print labels once a quarter or every week.
Troubleshooting Common Issues
Even with perfect preparation, things occasionally go sideways. Here are the most common problems and their fixes:
Labels peel off after application: The folder surface might be dusty or oily. Wipe folders with a dry cloth before applying labels. Also confirm you're using permanent adhesive stock (both 5366 and 5266 are permanent by default).
Ink smears on labels: Let printed sheets sit for 30 seconds before handling. Inkjet prints on glossy label surfaces need a moment to dry.
Template doesn't match my label sheet: Double-check the product number on your label packaging. Third-party "compatible" sheets sometimes have slightly different dimensions. Searching the Foxy Labels catalog by exact product number helps you find the right match.
Text wraps to a second line unexpectedly: Shorten your label text or reduce font size by one point. File folder labels don't have room for two lines of text unless you design them that way intentionally.
File folder labels might seem like a small detail, but they're the backbone of any physical filing system. A clearly labeled cabinet saves minutes every time someone searches for a document, and those minutes add up fast across a team.
Start with a clean spreadsheet, pick the right Avery template (5366 for white, 5266 for color-coded), and let the Foxy Labels add-on handle the heavy lifting. Your first batch of labels is just a few clicks away. Head to the step-by-step guide on printing labels from Google Sheets and get your folders looking sharp.
Install Foxy Labels
Get started with Foxy Labels and create perfectly aligned labels in minutes.
Get Started