How to Print File Folder Labels Using Google Docs at Home
Print professional file folder labels at home using Google Docs and free templates. This step-by-step guide covers setup, printing tips, and building a lasting organization system.
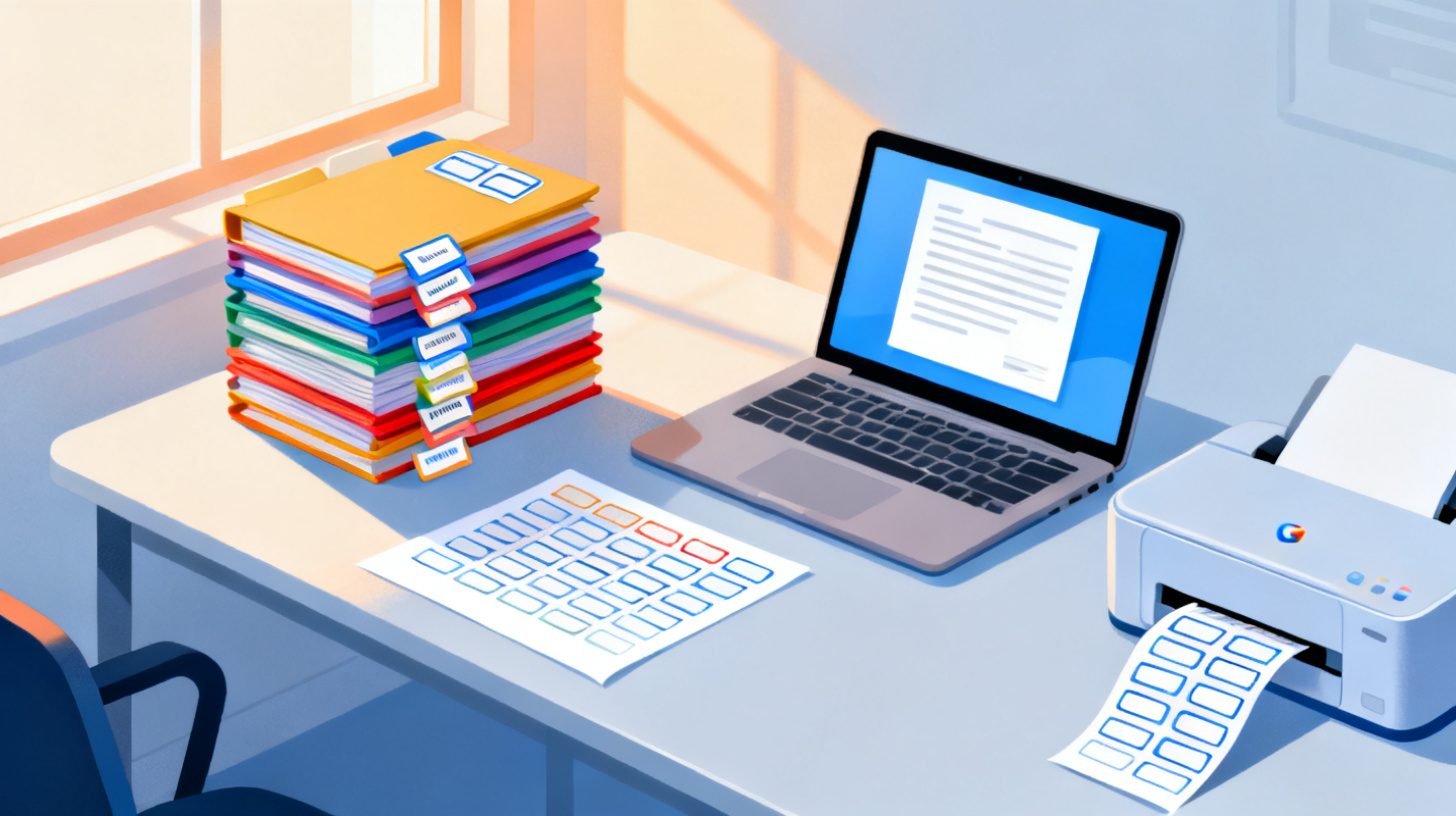
A messy filing cabinet is more than an eyesore. It's a productivity killer. Every minute you spend rummaging through unmarked folders is a minute stolen from actual work, creative thinking, or simply enjoying your afternoon. The good news? Printing clean, professional file folder labels at home is surprisingly simple when you use Google Docs and the right template.
Whether you're organizing tax documents, client files, medical records, or school paperwork, this guide walks you through the entire process. You'll learn how to choose the right label sheets, set up your template, customize your labels, and print them perfectly on your first try. And if you want to skip the manual formatting headaches, tools like those in the FoxyLabels template catalog make it even faster by providing pre-built templates that match popular label sheets like Avery 5366.
Let's turn that chaotic drawer into a system you're actually proud of.
Why File Folder Labels Matter More Than You Think
Organization sounds boring until you need to find something fast. Picture this: it's the evening before a big meeting, and you need a specific contract buried somewhere in your home office. Or tax season rolls around, and you're staring at a pile of receipts, bank statements, and W-2 forms with zero structure to guide you. According to the IRS, individuals and small businesses should keep certain financial records for three to seven years. That's a lot of paper to keep track of without a solid system.
File folder labels solve a deceptively big problem. They transform a stack of identical manila folders into a navigable, intuitive filing system. And printing them yourself, rather than handwriting them, offers a few key advantages.
First, printed labels are legible. No more squinting at rushed handwriting or deciphering abbreviations you created six months ago. Second, they look consistent. When every label uses the same font, size, and layout, your filing system feels polished and professional, whether it's in a home office or a shared workplace. Third, printing labels is fast once you have a template set up. Need 30 labels for a new client onboarding? You can print the entire sheet in under five minutes.
The most common file folder label size is 3-7/16" x 2/3", which fits standard 1/3-cut file folder tabs. Avery 5366 and Avery 5066 are among the most popular label sheets for this purpose, and you can find compatible sheets from many store brands as well. Each sheet typically holds 30 labels arranged in three columns of ten rows.
Here's what people often get wrong: they assume they need Microsoft Word or expensive design software to print labels. You don't. Google Docs is free, works on any computer with a browser, and handles label printing beautifully when paired with the right template. The key is getting the page layout, margins, and cell sizes to match your specific label sheet. That alignment is where most DIY attempts go sideways, but we'll fix that in the next section.
Before you start, gather what you need:
A label sheet (Avery 5366, 5066, or a compatible generic brand)
A printer (inkjet or laser, depending on your label sheets)
Google Docs (free with any Google account)
A template that matches your label sheet dimensions
With those four things in hand, you're ready to go.
Setting Up Your File Folder Label Template in Google Docs
The trickiest part of printing file folder labels isn't the printing itself. It's getting the template right. If your margins are off by even a fraction of an inch, your text will print crooked, overlap the label edges, or land in the gaps between labels. That's wasted sheets and wasted time.
You have two paths here: build a template from scratch or use a pre-made one. Let's cover both.
Option A: Use a Pre-Made Template
This is the faster, more reliable approach. Pre-made templates are already configured with the exact margins, cell sizes, and spacing for specific label products. You just open the template, type your labels, and print.
The FoxyLabels template catalog offers templates for dozens of label formats, including file folder labels like Avery 5366. You can browse by label type, find the product number that matches your sheets, and open a template directly in Google Docs. Everything is pre-aligned, so you skip the measurement guesswork entirely.
If you'd rather see a visual walkthrough, the FoxyLabels tutorials page has step-by-step guides that show exactly how to open a template, fill it in, and send it to your printer.
Option B: Build a Template from Scratch
If you want full control (or you're using an unusual label sheet), you can create a template manually in Google Docs. Here's how:
Step 1: Check Your Label Sheet Dimensions
Look at the packaging or manufacturer's website for your label sheets. You need three measurements:
Label width and height (e.g., 3-7/16" x 2/3" for Avery 5366)
Number of columns and rows (typically 3 columns, 10 rows for file folder labels)
Page margins (top, bottom, left, right)
Step 2: Set Up Page Layout in Google Docs
Open a new Google Doc. Go to File > Page setup and set your margins to match the label sheet specifications. For Avery 5366, the top margin is typically around 0.5", the bottom margin is about 0.5", and the side margins are roughly 0.28". Set the page to Letter size (8.5" x 11") and Portrait orientation.
Step 3: Insert a Table
Go to Insert > Table and create a table with 3 columns and 10 rows. This gives you 30 cells, one for each label on the sheet.
Now you need to resize the cells to match your label dimensions. Right-click the table, select Table properties, and set:
Column width: approximately 3.4375" (which is 3-7/16")
Row height: approximately 0.667" (which is 2/3")
Cell padding: a small value like 0.05" to keep text from touching label edges
Step 4: Remove Table Borders
The table borders are just guides for you. They shouldn't print on your labels. Set the border width to 0 pt so borders become invisible when printed. You can keep them visible on screen by using light gray borders, then switching to 0 pt right before printing.
Step 5: Format Your Text
Select all cells and set a font that's clean and readable at small sizes. Arial, Calibri, or Helvetica work well. A font size between 8pt and 10pt is typical for file folder labels. Center the text vertically within each cell if your labels look better that way, or align to the left for a more traditional filing look.
A quick warning: building templates from scratch requires patience and test prints. Even small measurement errors compound across 30 labels. This is exactly why pre-made templates save so much frustration. But if you enjoy the DIY approach, it's absolutely doable.
Customizing and Printing Your Labels Perfectly
Once your template is ready, the fun part begins: filling in your labels and getting them printed cleanly.
Filling In Your Labels
Click into each cell in your table and type the label text. For file folder organization, keep labels short and consistent. Some tips:
Use a naming convention. Decide upfront whether you'll use categories ("Taxes," "Insurance," "Medical"), dates ("2023 Q1," "2023 Q2"), or a combination. Stick with one system across all your folders.
Be specific but concise. "Car Insurance – State Farm" is better than just "Insurance" when you have multiple policies. But keep it short enough to fit the label without shrinking the font to unreadable sizes.
Use ALL CAPS or Title Case consistently. Mixing styles makes your filing system look messy. Pick one and commit.
Color-code if your printer supports it. You can change the text color or add a small colored background to cells to create visual categories. Blue for financial, green for medical, red for urgent. This makes grabbing the right folder almost instant.
If you have many labels to create, consider building your list in Google Sheets first, then transferring the text. This is especially handy if you're labeling dozens of folders at once. For a detailed walkthrough of that approach, check out how to print file folder labels from Google Sheets.
Running a Test Print
Before you load your expensive label sheets, always print a test page on regular paper. Here's a reliable method:
Print the template on a plain sheet of paper.
Hold the printed sheet up against your label sheet (with a light behind them if possible).
Check that the text aligns with the labels. Look at all four corners of the sheet, not just the center. Misalignment often gets worse toward the edges.
If the alignment is off, adjust your margins by small increments (0.05" at a time) and test again. With pre-made templates from FoxyLabels, this step usually confirms everything is already perfect. But it's still worth the 30 seconds to verify.
Printer Settings That Matter
When you're ready to print on actual label sheets:
Go to File > Print in Google Docs.
Set the scale to 100% (or "Actual size"). Never use "Fit to page" because it will resize your carefully measured template.
Select the correct paper size (Letter, 8.5" x 11").
Choose the right print quality. For labels, "Normal" or "Best" quality works well. Draft mode can look faded.
Feed label sheets one at a time if your printer tends to grab multiple sheets. Labels are thicker than regular paper, and jams are annoying.
One more thing: check whether your label sheets are designed for inkjet or laser printers. Using laser label sheets in an inkjet (or vice versa) can cause smearing, poor adhesion, or even damage to your printer. The packaging will clearly state which type you have.
Troubleshooting Common Issues
Even with a great template, small problems can pop up. Here are the most common ones and how to fix them:
Text is cut off at the edges. Increase cell padding or reduce your font size by 1 point.
Labels are slightly shifted down the page. Your top margin needs to be a tiny bit smaller. Adjust by 0.05" and retest.
One column prints fine but the others are off. Your column widths aren't equal. Go back to Table properties and set all three columns to the exact same width.
Labels peel off after printing. This is usually a sheet quality issue, not a template issue. Make sure you're using sheets appropriate for your printer type and that you're storing them in a cool, dry place before use.
Building a File Organization System That Actually Lasts
Printing labels is step one. Building a system that survives daily use is the real goal. Let's talk about how to design a filing structure that works long-term, whether you're managing a household, a small business, or both.
Start with broad categories. Most home filing systems work well with five to eight top-level categories:
Financial (taxes, bank statements, investments)
Insurance (health, auto, home, life)
Medical (records, prescriptions, test results)
Housing (mortgage/rent, repairs, warranties)
Employment (pay stubs, benefits, retirement)
Personal (IDs, passports, birth certificates)
Education (transcripts, certifications, student loans)
Within each category, create sub-folders as needed. For example, your Financial category might contain folders labeled "Tax Returns," "Bank Statements," "Investment Accounts," and "Receipts." Print a label for each one.
Here's a practical approach to getting started:
List all the document types you currently have scattered around
Group them into 5-8 broad categories
Create sub-folder names within each category
Type all labels into your Google Docs template
Print a test page on plain paper
Print on label sheets and apply to folders
File existing documents into the new system
Set a quarterly reminder to purge outdated files
That last point is important. A filing system only stays organized if you maintain it. Set a recurring calendar reminder to go through your folders every few months. Shred what you no longer need, and print fresh labels for any new categories that have emerged.
For office environments, the same principles apply at a larger scale. Consider adding department prefixes to your labels ("HR – Onboarding," "FIN – Invoices") so files are easy to re-sort if they end up on the wrong desk. If you're printing labels for a shared office, using a consistent template ensures everyone's folders match, which makes the whole system more navigable for the entire team.
The beauty of using Google Docs for your labels is that your template lives in the cloud. You can access it from any computer, update it when your filing needs change, and share it with family members or coworkers. Save your master template with a clear name like "File Folder Labels – Master Template" so you can find it quickly the next time you need to print a batch.
If you find yourself printing labels frequently, or if you want access to a wider variety of label formats for shipping, address labels, or product packaging, take a look at FoxyLabels pricing plans. Having a full library of templates at your fingertips eliminates the setup work every time you start a new labeling project.
Getting organized doesn't require fancy software or a professional organizer. It takes a free Google Doc, a $5 pack of label sheets, and about 20 minutes of your time. The result is a filing system that saves you hours of searching over the months and years ahead. Open up your template, type your first batch of labels, and give that filing cabinet the upgrade it deserves.
Install Foxy Labels
Get started with Foxy Labels and create perfectly aligned labels in minutes.
Get Started