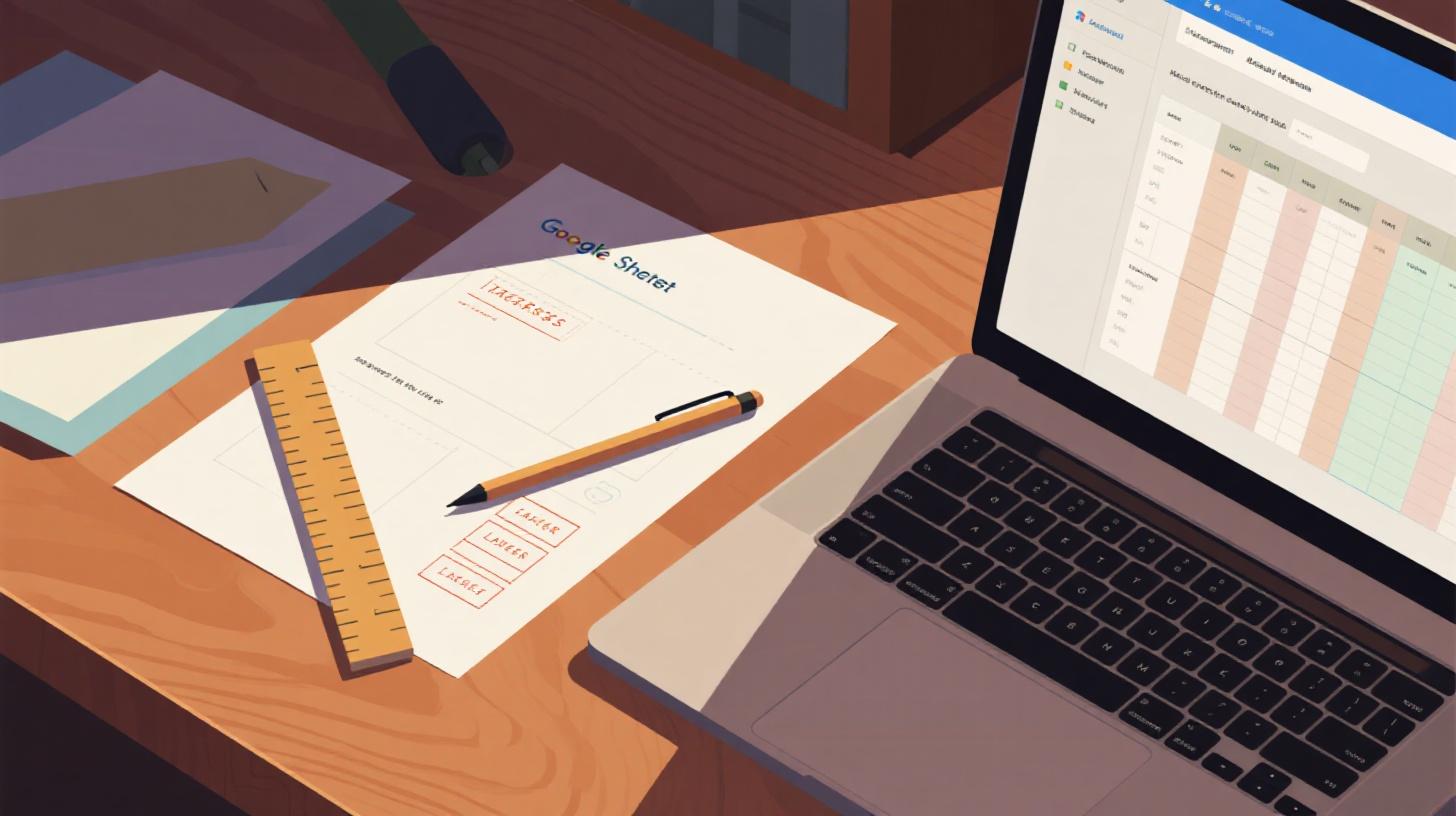
How to Print Labels from Google Sheets Without Any Add-on
Want to print labels from Google Sheets without installing anything? This complete guide walks through the manual table method in Google Docs, from data setup to perfect alignment.
You've got a spreadsheet full of addresses, a stack of label sheets sitting in your printer tray, and one burning question: can you actually turn those rows of data into printed labels without installing anything? The short answer is yes. The longer answer involves a fair amount of copying, pasting, formatting, and patience.
This guide walks you through every step of the manual method for printing labels from Google Sheets, using only the tools Google gives you for free. No extensions, no add-ons, no third-party software. Just you, your data, and a Google Doc acting as your label template. By the end, you'll understand exactly what's involved, and you'll be able to decide whether the manual route fits your workflow or whether a streamlined tool like the one described on the how to print labels from Google Sheets guide makes more sense for your situation.
Let's get into it.
Setting Up Your Google Sheets Data for Label Printing
Before you touch a Google Doc or think about page margins, the quality of your labels depends entirely on how well your spreadsheet is organized. Messy data produces messy labels, and when you're working without an add-on, there's no software layer to catch mistakes for you.
Structuring Your Spreadsheet Correctly
Open your Google Sheet and make sure every column has a clear header in Row 1. For mailing labels, a typical setup looks like this:
Column A | Column B | Column C | Column D | Column E | Column F |
First Name | Last Name | Street Address | City | State | ZIP Code |
Maria | Gonzalez | 742 Evergreen Terrace | Springfield | IL | 62704 |
James | Nakamura | 1600 Pennsylvania Ave | Washington | DC | 20500 |
A few rules to follow:
One piece of information per column. Don't cram full names and addresses into a single cell. Splitting them out gives you control over formatting later.
No blank rows in the middle of your data. Blank rows will throw off any formulas or concatenation you do later.
Consistent formatting. If some ZIP codes have leading zeros (like 01234), format that column as plain text so Google Sheets doesn't strip them.
Remove duplicates before you start. Use Data > Remove duplicates to clean things up. Once you're manually placing labels into a document, fixing a duplicate means redoing physical layout work.
Creating a Combined Label Field
Since you'll be copying text into a Google Doc manually, it helps to create one column that combines all your address fields into a single, label-ready block. In a new column (say, Column G), enter a formula like this:
The CHAR(10) function inserts a line break, so each label reads naturally:
Maria Gonzalez
742 Evergreen Terrace
Springfield, IL 62704
Drag this formula down for every row of data. Now you have a single column of formatted labels ready to transfer into your document. Select the cells, copy them, and you're ready for the next phase.
One thing to watch out for: if your data includes special characters, company names with ampersands, or international addresses with accented letters, double-check them in the combined column. Formulas can occasionally behave unexpectedly with unusual characters, and you won't have an automated system catching these issues.
For those working with popular label formats like Avery 5160 (the most common address label sheet), you can find specific sizing details in this guide on how to print Avery 5160 labels from Google Sheets, which covers exact measurements you'll need for the next section.
Building a Label Template Manually in Google Docs
This is where the real work begins. You need to create a document that perfectly matches the physical label sheet sitting in your printer. Every fraction of an inch matters, because misaligned labels mean wasted sheets and reprinted jobs.
Measuring Your Label Sheet
Grab your label sheet and either look up the specifications from the manufacturer or measure them yourself. For a standard Avery 5160 sheet (30 labels per page), the specs are:
Page size: 8.5" x 11" (US Letter)
Label dimensions: 2.625" wide x 1" tall
Columns: 3 across
Rows: 10 down
Top margin: 0.5"
Side margin: 0.1875" (3/16")
Gutter (horizontal gap between labels): 0.125"
Vertical gap between labels: 0"
If you're using a different label size, check the packaging or visit the manufacturer's website for exact measurements. Getting these wrong by even a small amount compounds across the page. A 1/16" error per row becomes nearly 5/8" off by the bottom of the sheet.
Creating the Table Structure
Open a new Google Doc. First, set your page margins:
Go to File > Page setup
Set the top margin to match your label sheet's top margin (0.5" for Avery 5160)
Set the bottom margin to 0.5" as well
Set left and right margins to match the side margins (0.19" for Avery 5160)
Click OK
Now insert a table that matches your label grid:
Go to Insert > Table
Select a 3-column by 10-row table (for Avery 5160)
Click anywhere inside the table, then right-click and choose Table properties
Here's where precision matters. In Table properties:
Set Column width to 2.625" for each column
Set Minimum row height to 1" for each row
Set Cell padding to about 0.05" to 0.1" so text doesn't press against the edges
Under Table border, set the border width to 0 pt (you want invisible borders for printing, though you may want to keep them visible at 0.5 pt while you're working, then set them to 0 before printing)
The tricky part is the gutter, the horizontal space between columns. Google Docs tables don't have a native "column spacing" setting, so you have two options:
Option A: Add extra narrow columns between your label columns to act as spacers. For Avery 5160, insert 2 extra columns (between columns 1-2 and 2-3), each set to 0.125" wide. Your table becomes 5 columns, but only 3 contain label text.
Option B: Adjust your label column widths slightly narrower and accept minor alignment differences. This is less precise but faster.
Option A is recommended if accuracy is a priority. Yes, it means you now have a 5x10 table, and you need to leave the spacer columns empty. It's tedious, but it works.
Pasting Your Data Into the Table
Now comes the most labor-intensive part. Go back to your Google Sheet, copy the content from your combined label field (Column G), and paste each label into its corresponding table cell in the Google Doc.
There's no automatic "mail merge" happening here. You are physically copying and pasting each label, one cell at a time. For 30 labels on a page, that's 30 copy-paste actions. For 150 addresses, that's 5 full pages of manual placement.
A few tips to speed things up:
Use Ctrl+Shift+V (Cmd+Shift+V on Mac) to paste without formatting. This keeps your Google Doc formatting consistent.
Set your font before pasting. Select the entire table first, set the font to something readable at a small size (Arial 10pt or 9pt works well for address labels), and then paste.
Work in batches. Do one page at a time, print a test on plain paper, hold it up against a label sheet to check alignment, and then proceed.
This process is manageable for a one-time batch of 30 to 60 labels. But if you're regularly printing labels for your business, events, or holiday mailings, the manual approach becomes a significant time investment. That's why many people eventually look for tools with 5,000+ pre-built templates that handle the measurement and alignment work automatically.
Printing, Troubleshooting, and Getting Alignment Right
You've built your template, pasted your data, and the document looks good on screen. But the gap between "looks good on screen" and "prints perfectly on label sheets" is where most manual label projects fall apart.
Test Printing on Plain Paper
Before you load a single label sheet into your printer, print your document on regular paper. This is non-negotiable. Label sheets cost money, and a misaligned print wastes an entire sheet.
Print the document on plain paper
Hold the printed page up to a window or light source with a label sheet behind it
Check whether the text blocks align with the label boundaries
Pay special attention to the bottom rows, where small margin errors accumulate into visible misalignment
If the alignment is off, here's a troubleshooting checklist:
Verify your page margins match the label sheet specs exactly
Confirm your table column widths add up correctly (all columns plus gutters should equal the printable width)
Check that your printer isn't scaling the document (look for "Actual size" or "100%" in print settings, not "Fit to page")
Make sure headers and footers are turned off in your Google Doc print settings
Confirm row heights are consistent throughout the table
The most common culprit is printer scaling. Many printers default to "Fit to page" or "Shrink to fit," which reduces your carefully measured layout by a few percent. Always select "Actual size" or set the scale to 100%.
Common Problems and How to Fix Them
Text overflows the cell. If an address is too long for the label cell, reduce the font size or abbreviate parts of the address (St instead of Street, Apt instead of Apartment). In a manual workflow, you need to spot these overflows visually because nothing flags them automatically.
Labels shift progressively down the page. This usually means your row heights are slightly too tall. Even 0.01" extra per row adds up to 0.1" by row 10. Go back to table properties and verify each row height precisely.
Horizontal alignment is off. Check your spacer columns (if you used Option A) or your column widths. Also verify that your left margin is set correctly. Some printers have a slight offset on one side, so you might need to adjust the left margin by a tiny amount after your test print.
The second page doesn't align. If you're printing multiple pages, make sure you haven't accidentally added extra paragraph spacing between pages. Page breaks should happen naturally at the end of each full table. If you're creating separate tables for each page, ensure the spacing before each table is set to 0.
The Programmatic Alternative Using Apps Script
For users comfortable with a bit of code, there's a middle ground between fully manual and using an add-on. Google Apps Script can automate the label generation process using the Document Service API. You can write a script that reads your spreadsheet data, creates a Google Doc, inserts a table, and populates it with your addresses automatically.
Here's a simplified example of what the script structure looks like:
This approach eliminates the repetitive copy-paste work, but you still need to handle table sizing, margins, and formatting in the script. It's powerful but requires debugging and testing, especially when you need precise measurements for different label sizes.
When Manual Methods Hit Their Limits
Let's be honest about what the manual method does well and where it breaks down.
The manual method works fine when:
You're printing a single sheet of labels (30 or fewer)
You have time to spend on setup and testing
You need labels once in a while, not regularly
You're comfortable with precise table formatting in Google Docs
The manual method becomes painful when:
You're printing hundreds of labels across multiple pages
You need to switch between different label sizes (every size requires a new template from scratch)
Multiple people on your team need to print labels with consistent formatting
You're on a deadline and can't afford alignment trial-and-error
You need to do this more than a few times per year
The math tells the story. Setting up a manual template takes roughly 20 to 40 minutes for your first attempt, including test printing and adjustments. Pasting data for a full sheet takes another 10 to 15 minutes. Each additional page adds time, and any label size change means starting over.
Compare that to a dedicated label tool where you select a template, connect your spreadsheet, and print. The entire process takes a few minutes regardless of how many labels you need.
If you're finding that the manual approach outlined in this guide feels like more work than it should be, you're not wrong. The process exists as a workaround for something that should be simpler. Foxy Labels was built specifically to solve this problem, letting you create perfectly aligned labels directly from Google Sheets and Google Docs with pre-configured templates for thousands of label products.
Here's a quick comparison of the two approaches:
Feature | Manual Method | Dedicated Label Tool |
Setup time | 20-40 minutes | Under 5 minutes |
Template accuracy | Depends on your measurements | Pre-configured and precise |
Supported label sizes | One at a time, built from scratch | Over 5,000 templates available |
Data connection | Copy-paste from Sheets | Direct spreadsheet integration |
Reusability | Template can be reused, data must be re-pasted | Fully reusable with any data |
Learning curve | Moderate (table formatting) | Low (select template, connect data) |
The manual method has its place. It gives you full control, requires no installations, and works entirely within Google's free tools. For a quick one-off project, it does the job. But for anything beyond that, the time and effort cost adds up faster than most people expect.
Whatever path you choose, start with clean data in your spreadsheet, test print on plain paper first, and always double-check your printer scaling settings. Those three habits will save you more wasted label sheets than any tool or technique.
Ready to skip the manual formatting altogether? Check out the complete walkthrough on how to print labels from Google Sheets and see how much time you can save on your next label project.
Install Foxy Labels
Get started with Foxy Labels and create perfectly aligned labels in minutes.
Get Started