How to Print Shipping Labels from Google Sheets for Small Business
Turn your Google Sheets order data into professional 4x6, Avery 5163, or 5164 shipping labels. Learn spreadsheet setup, print settings, and scaling tips for small business.
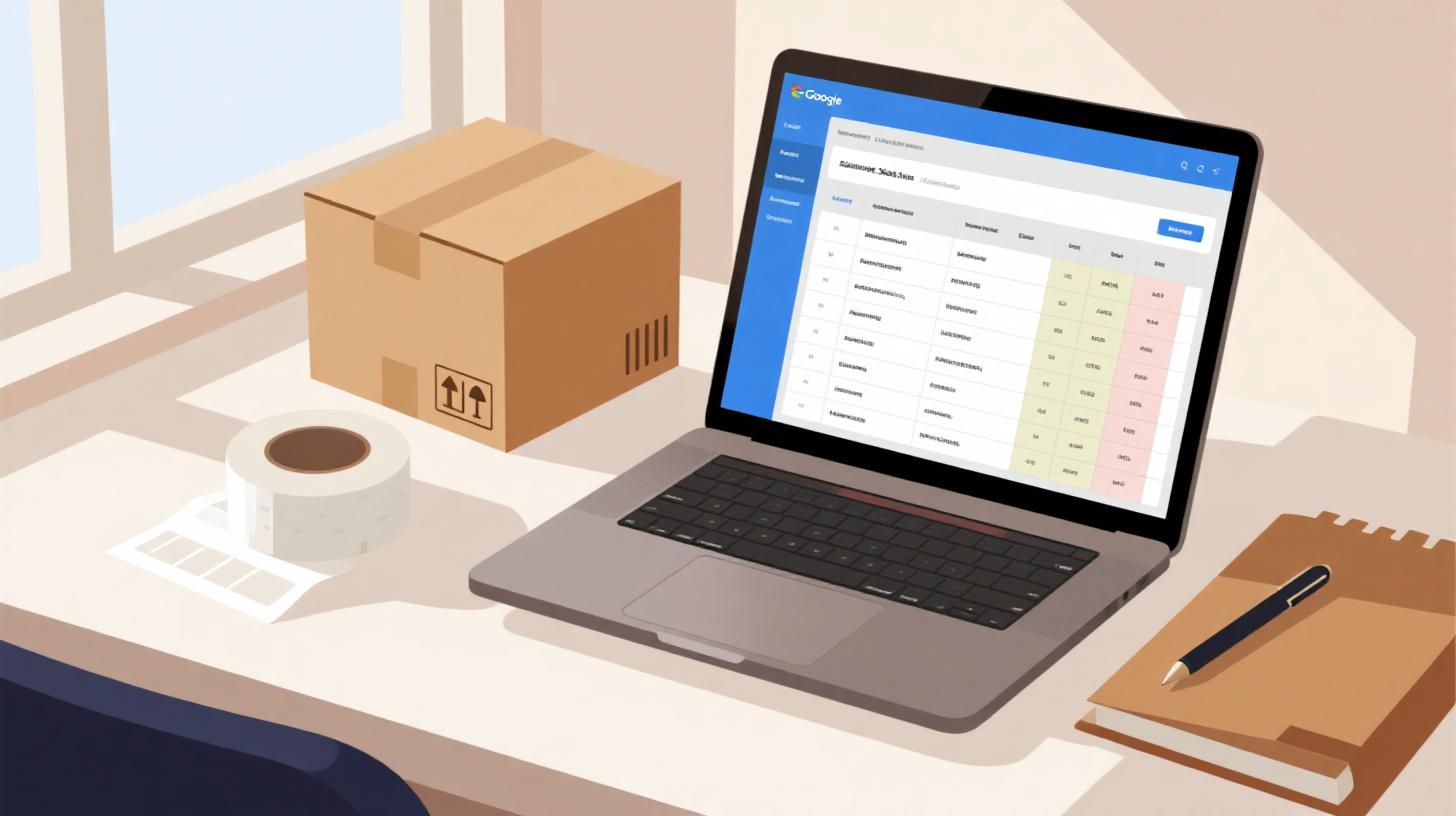
You've got 200 orders sitting in a Google Sheets spreadsheet, and you need shipping labels printed before the end of the day. Copying and pasting each address into a word processor one at a time? That's not going to cut it. Whether you're running an Etsy shop from your kitchen table or fulfilling wholesale orders from a small warehouse, printing shipping labels directly from your spreadsheet data saves hours of tedious work and virtually eliminates address errors.
The good news is that you don't need expensive shipping software or a dedicated label printer to get started. With the right template and a simple workflow, you can turn your Google Sheets data into professional 4x6 shipping labels or Avery 5163 and 5164 labels ready for any standard printer. In this guide, you'll learn exactly how to set up your spreadsheet, choose the right label format, and print labels that look like they came from a major fulfillment center. If you want to explore compatible templates before diving in, the FoxyLabels Template Catalog has a full library organized by brand and size.
Let's break down everything you need to know.
Choosing the Right Shipping Label Format for Your Needs
Before you touch a single cell in Google Sheets, you need to pick the label format that matches your shipping workflow. This decision affects everything from paper cost to printer compatibility, and choosing wrong means wasted labels and frustration. The three most popular options for small businesses are 4x6 shipping labels, Avery 5163 labels, and Avery 5164 labels. Each has distinct advantages depending on your order volume, package size, and printer setup.
4x6 Shipping Labels
The 4x6 label is the standard in e-commerce shipping. If you've ever received a package from Amazon or any major retailer, the label on the outside was almost certainly a 4x6. These labels measure 4 inches wide by 6 inches tall, giving you plenty of room for the sender address, recipient address, a barcode, and carrier routing information.
4x6 labels work best when you're printing one label per sheet or using a thermal label printer like a DYMO or Rollo. They're ideal for businesses that ship 10 or more packages per day because the one-label-per-sheet format keeps things simple and fast. You grab a label, peel it, stick it on the box, and move on. No cutting, no aligning multiple labels on a page.
The downside? If you're using a standard inkjet or laser printer, you'll go through paper quickly since each sheet only holds one label. For lower volume operations, this can feel wasteful.
Avery 5163 Labels
Avery 5163 labels measure 2" x 4" and fit 10 labels per standard 8.5" x 11" sheet. These are a popular choice for small businesses that ship smaller packages, envelopes, or poly mailers. Because you get 10 labels per sheet, your cost per label drops significantly compared to the 4x6 format.
These labels work beautifully with any standard inkjet or laser printer, which means you don't need to invest in specialized equipment. They're also great for double duty. When you're not printing shipping labels, the same sheets work perfectly for return address labels, product labels, or inventory tags.
The trade-off is space. At 2" x 4", you have less room to work with. Long addresses or addresses with suite numbers and apartment details can get cramped. You'll need to be thoughtful about font size and layout.
Avery 5164 Labels
Avery 5164 labels hit the sweet spot for many small businesses. At 3.33" x 4", they give you 6 labels per sheet, offering more room than the 5163 while still being efficient with paper. These labels are large enough to comfortably fit a full shipping address block with sender information, and they look clean and professional on medium-sized packages.
If your typical shipment is a padded envelope or a shoebox-sized package, the 5164 is probably your best bet. The larger label is easier to read, which reduces the chance of delivery errors, and the 6-per-sheet format keeps printing costs reasonable.
Here's a quick comparison to help you decide:
Feature | 4x6 Label | Avery 5163 | Avery 5164 |
Label Size | 4" x 6" | 2" x 4" | 3.33" x 4" |
Labels Per Sheet | 1 | 10 | 6 |
Best For | High-volume shipping | Small packages, envelopes | Medium packages |
Printer Type | Thermal or standard | Standard inkjet/laser | Standard inkjet/laser |
Cost Per Label | Higher | Lowest | Moderate |
Address Space | Very spacious | Compact | Comfortable |
Once you know your format, it's time to set up your data.
Setting Up Your Google Sheets Spreadsheet for Label Printing
The quality of your printed labels depends entirely on how well your spreadsheet is organized. A messy spreadsheet with inconsistent formatting, merged cells, or missing fields will produce labels with errors, and nothing kills your credibility with customers faster than a package that gets lost because the zip code was in the wrong column.
Here's how to structure your data so it flows cleanly into any label template.
Step 1: Create a Clean Column Structure
Your spreadsheet should have one row per shipment and separate columns for each piece of address data. Resist the temptation to put the entire address in a single cell. Splitting the data into individual fields gives you flexibility to format labels differently for different templates and makes it easy to catch errors.
A solid column structure looks like this:
Order # | Full Name | Company | Street Address | Apt/Suite | City | State | Zip Code | Country |
1001 | Maria Gonzalez | 742 Evergreen Terrace | Apt 3B | Springfield | IL | 62704 | US | |
1002 | James Chen | Chen Electronics | 1200 Industrial Blvd | Suite 400 | Portland | OR | 97201 | US |
1003 | Sarah Williams | 88 Maple Drive | Austin | TX | 78701 | US |
A few critical details to get right:
Format zip codes as plain text. This is the single biggest mistake people make. If your Zip Code column is formatted as a number, Google Sheets will strip leading zeros. The zip code 01234 becomes 1234, and your package heads to the wrong sorting facility. Select the column, go to Format > Number > Plain Text before entering any data.
Keep the Company field even if it's often empty. Some shipments go to businesses, and having a dedicated column prevents you from cramming company names into the street address line.
Use consistent state abbreviations. Pick either full state names or two-letter abbreviations and stick with one format throughout the sheet.
Remove extra spaces. Use the
=TRIM()function to clean up any trailing or leading spaces that can throw off label formatting.
Step 2: Validate Your Data Before Printing
Before generating a single label, run a quick quality check. You can use Google Sheets formulas to flag problems automatically.
To find rows missing a zip code, add a helper column with this formula:
To check that state abbreviations are exactly two characters:
Filter your helper columns to show only rows with issues, fix them, and then you're ready to generate labels. This five-minute check can save you from reprinting an entire batch.
Step 3: Connect Your Data to a Label Template
With your data clean and validated, you need a way to map each row of data onto a label layout. This is where a mail merge approach comes in. Rather than manually positioning each address, you use a tool that pulls data from your columns and places it into the correct spots on a label template.
For a deeper walkthrough on connecting Google Sheets data to Avery label layouts, check out this guide on how to mail merge labels from Google Sheets to Avery templates. It covers the merge process step by step, including how to handle special characters and international addresses.
The key principle is simple: your column headers become merge fields. The template knows that {{Full Name}} should be replaced with the value from your Full Name column, {{Street Address}} maps to the address field, and so on. When the merge runs, it generates a complete document with every label filled in and ready to print.
Printing and Troubleshooting Your Shipping Labels
Getting the data onto labels is half the battle. The other half is making sure what comes out of your printer actually looks right and sticks to your packages properly. Printing labels involves a surprising number of settings that can go wrong, from page scaling to margin offsets. Here's how to get it right the first time.
Configuring Your Print Settings
The number one reason labels come out misaligned is incorrect page scaling. When you open your label document and hit print, your printer's default settings may try to "fit to page" or add margins that shift everything slightly. On a single-label 4x6 sheet, this might mean a small offset. On a 10-per-sheet Avery 5163 layout, that small offset cascades across every row, and by the bottom of the page, labels are printing half on one sticker and half on another.
Follow these settings for every print job:
Set scaling to 100% or "Actual Size." Never use "Fit to Page" or "Shrink to Fit" for label printing.
Set margins to the template's specified values. For Avery 5163, the standard margins are 0.5" top/bottom and approximately 0.16" on the sides. For Avery 5164, margins are similar. Your template should already account for this, but double-check that your printer isn't adding extra margins on top.
Select the correct paper size. For 4x6 labels, set the page size to 4" x 6" (not Letter). For Avery labels on standard sheets, use US Letter (8.5" x 11").
Print a test page on plain paper first. Before loading your expensive label sheets, print on regular paper. Hold it up against a label sheet with the light behind it. If the printed text falls within each label's boundaries, you're good to go.
Fixing Common Alignment Issues
Even with correct settings, alignment problems happen. Here are the most common issues and their fixes:
Labels shift progressively down the page. This usually means your vertical spacing between label rows is slightly off. Adjust the row gap by 0.01" to 0.02" and reprint the test page. Small adjustments make a big difference across 6 or 10 rows.
The first row prints fine but subsequent rows are off. Your top margin is likely correct, but the label height in your template doesn't match the physical label height. Measure one label on your sheet with a ruler and compare it to the template dimensions.
Text is cut off on the edges of labels. You're either using a font size that's too large or your padding inside each label cell is too small. Reduce the font by 1-2 points or add 0.05" of internal padding.
Inkjet prints look smudged on glossy labels. Switch your printer to "high quality" or "photo" mode, which uses a slower drying process. Alternatively, use matte-finish label sheets, which absorb ink faster.
Making Labels Look Professional
A professional-looking shipping label builds trust. When a customer receives a package with a clean, well-formatted label, it reinforces that they're buying from a legitimate business.
Here are a few formatting tips:
Use a clean sans-serif font like Arial or Helvetica at 10-12pt for addresses. These fonts are easy for both humans and postal scanners to read.
Put the recipient's name and address in bold, and keep the return address in regular weight at a smaller size.
Add your business logo to the label if space allows, particularly on 4x6 labels where you have plenty of room.
Include a "SHIP TO:" and "FROM:" label above each address block for absolute clarity.
If you're exploring different label sizes or want to find templates compatible with your specific label sheets, the FoxyLabels Template Catalog lets you search by brand and dimensions to find an exact match.
Scaling Your Label Printing Workflow as You Grow
Printing 20 labels for this week's orders is one thing. Printing 200 or 2,000 is another challenge entirely. As your small business grows, your label printing workflow needs to grow with it. Here's how to build a process that handles volume without breaking down.
Start by creating a master template spreadsheet that you reuse for every batch. This sheet should have your column headers locked in, data validation rules already applied, and a helper column for error checking built in. When new orders come in, you paste the data into this template, run your validation formulas, and generate labels immediately. No setup time, no remembering which columns go where.
For businesses processing orders from multiple sales channels like Etsy, Shopify, Amazon, or manual orders, create a standardized import format. Most platforms let you export order data as CSV files. Write a simple script or use Google Sheets' IMPORTDATA function to pull that CSV into your master template, mapping each platform's column names to your standardized headers. This way, regardless of where the order originated, your label data always looks the same.
Consider automating repetitive steps. Google Sheets add-ons can handle the merge process automatically, pulling data from your sheet and generating a ready-to-print label document in seconds. This eliminates manual formatting work and ensures consistency across every batch. For advanced automation features including direct Google Sheets integration, take a look at FoxyLabels pricing and plans to see what fits your volume.
Batch processing is another efficiency lever. Instead of printing labels as orders trickle in throughout the day, set specific print times. Maybe you process all orders received before 2 PM in one batch and all afternoon orders in an evening batch. This approach lets you:
Minimize printer warm-up cycles and paper waste
Catch errors in bulk rather than one at a time
Coordinate label printing with your packing workflow so labels and packages are ready simultaneously
Finally, keep a record of what you've printed. Add a "Label Printed" checkbox column or timestamp column to your spreadsheet. After each batch, mark those rows as complete. This prevents duplicate shipments and gives you a quick reference if a customer calls about a missing package.
A small investment in workflow design now pays off exponentially as your order volume increases. The businesses that scale successfully aren't the ones working harder. They're the ones who built repeatable systems early.
With the right template, clean data, and a repeatable process, printing shipping labels from Google Sheets becomes one of the easiest parts of running your business. Pick your label format, set up your spreadsheet with the column structure above, run a test print, and start shipping. Your future self, buried under a mountain of holiday orders, will thank you.
Install Foxy Labels
Get started with Foxy Labels and create perfectly aligned labels in minutes.
Get Started