How to Print Waterproof Labels at Home with Google Docs
Learn how to print professional waterproof labels at home using Google Docs and free templates. Covers choosing materials, printer settings, and sealing for durability.
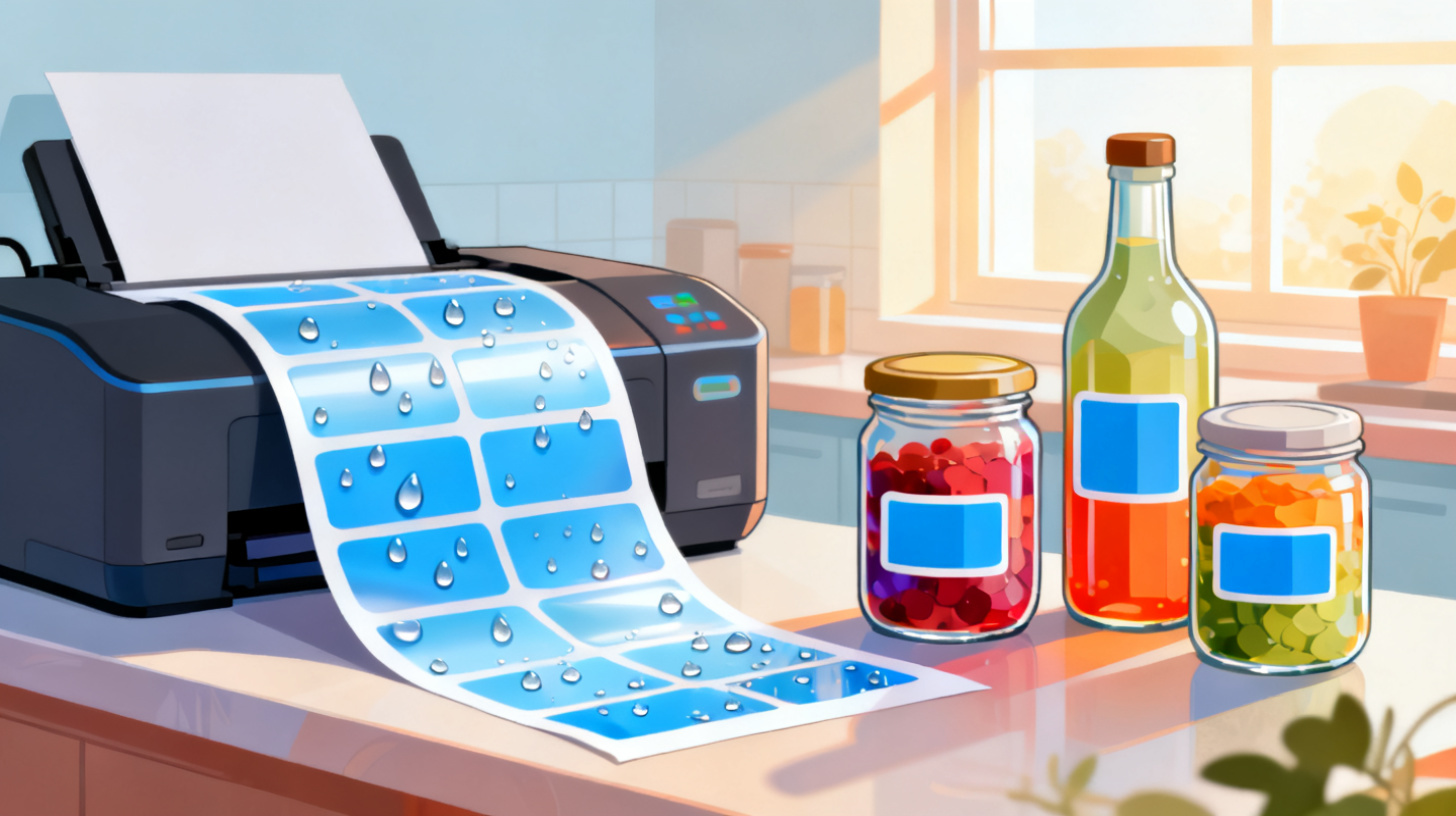
You've spent hours designing the perfect label for your homemade hot sauce, only to watch the ink smear the moment a drop of condensation hits the bottle. Sound familiar? Printing labels at home is straightforward enough, but printing labels that survive water, humidity, and refrigeration takes a bit more know-how. The good news? You don't need expensive software or a commercial printing setup. With the right materials, a standard home printer, and a free tool like FoxyLabels for Google Docs, you can produce waterproof labels that look professional and hold up in real-world conditions.
Whether you're labeling bath products, organizing outdoor storage bins, or branding bottles for a farmers market, this guide walks you through everything: choosing the right waterproof label material, setting up your design in Google Docs, printing with the correct settings, and applying a protective finish that lasts.
Choosing the Right Waterproof Label Material
Before you open Google Docs or fire up your printer, the single most important decision is your label stock. The paper (or film) you print on determines whether your label will survive a splash, a fridge, or a rain shower. Let's break down your options so you can pick the right one for your project.
Vinyl vs. Polyester vs. Waterproof Paper
Vinyl labels are the gold standard for waterproof durability. They're flexible, tear-resistant, and naturally repel water without any additional coating. If your labels will sit on a bottle that gets submerged in an ice bucket or stored in a shower, vinyl is your best bet. Most vinyl sheets designed for home printers come with a self-adhesive backing, and they're compatible with both inkjet and laser printers (though always check the packaging).
Polyester (sometimes sold as "clear glossy" or "silver" label stock) is thinner than vinyl but extremely durable. It resists tearing, chemicals, and moisture. Polyester works well for product labels that need to look sleek and semi-transparent. It's also an excellent choice if you're using a laser printer, since polyester handles heat better than vinyl.
Waterproof paper is standard paper that's been treated with a moisture-resistant coating. It's the most affordable option and feels the most like regular paper, which some people prefer for a craft or artisanal aesthetic. However, it's not as durable as vinyl or polyester. It handles splashes and humidity well but won't survive prolonged submersion.
Here's a quick comparison to help you decide:
Feature | Vinyl | Polyester | Waterproof Paper |
Water resistance | Excellent (submersible) | Excellent | Good (splash-proof) |
Tear resistance | High | Very high | Low to moderate |
Printer compatibility | Inkjet, some laser | Laser preferred | Inkjet and laser |
Look and feel | Glossy, plastic-like | Sleek, semi-transparent | Paper-like, matte or glossy |
Cost per sheet | $$ | $$$ | $ |
Best for | Bottles, outdoor, bath | Product labels, equipment | Jars, pantry, light moisture |
Matching Material to Printer Type
This is where many DIY labelers run into trouble. Using the wrong material with your printer can cause smearing, jamming, or wasted sheets.
Inkjet printers work well with vinyl and waterproof paper. Look for label sheets specifically marked "inkjet compatible." Inkjet ink sits on the surface of waterproof materials rather than absorbing into fibers, so you'll often want to apply a clear sealant spray after printing (more on that later).
Laser printers use heat to fuse toner onto the surface, which makes them naturally more water-resistant right out of the printer. Laser-compatible polyester and vinyl sheets produce labels that resist smearing even without a topcoat. If you own a laser printer, you already have a head start on waterproof label printing.
A quick tip: never put vinyl sheets designed for inkjet printers into a laser printer. The heat can melt the vinyl, damaging both the sheet and your printer's fuser. Always read the label stock packaging carefully.
Where to Buy Waterproof Label Sheets
You can find waterproof label sheets from major brands like Avery, Online Labels, and Neato at most office supply stores and online retailers. When shopping, look for sheets that match common label template sizes. This matters because FoxyLabels has templates for hundreds of standard label sizes, so choosing a popular sheet format means you can skip the guesswork on measurements and margins.
Designing Waterproof Labels in Google Docs
Once you've got your waterproof label sheets in hand, it's time to design. Google Docs might not be the first tool that comes to mind for label design, but paired with FoxyLabels, it becomes surprisingly powerful. You get precise templates, easy formatting tools, and the ability to collaborate or access your designs from any device.
Step 1: Find Your Template
Start by visiting the FoxyLabels template catalog and searching for the template that matches your label sheet. You can search by brand name (like Avery), product number, or label dimensions. Each template page shows you the label size, how many labels fit per sheet, and which brands are compatible.
Once you've found the right template, open it directly in Google Docs. The template loads with placeholder cells that match the exact dimensions and spacing of your physical label sheet. No measuring, no trial-and-error printing.
Step 2: Design Your Label Content
With the template open, click into any label cell and start designing. Here are some practical design tips that work especially well for waterproof labels:
Use bold, high-contrast colors. Waterproof materials sometimes cause ink to appear slightly lighter than on regular paper. Bump up the saturation of your colors and use dark text on light backgrounds for maximum readability.
Choose simple, clean fonts. Sans-serif fonts like Arial, Montserrat, or Open Sans print crisply on vinyl and polyester. Avoid thin, decorative script fonts that may look blurry on non-porous surfaces.
Add images thoughtfully. Google Docs lets you insert logos, icons, and photos directly into your label cells. For waterproof labels, use high-resolution images (300 DPI or higher) so they look sharp even on glossy surfaces that magnify imperfections.
Leave a small margin inside each label. Even with a perfect template, slight printer variations can cause edge trimming. Keep your text and important design elements at least 2mm from the label edge.
If you're making labels for jars or bottles specifically, check out this detailed walkthrough on printing jar and bottle labels at home using Google Docs for additional design strategies tailored to curved surfaces.
Step 3: Use the FoxyLabels Add-On for Batch Printing
Designing one label is easy. But what if you need 60 address labels, each with different information? The FoxyLabels Google Sheets add-on lets you pull data from a spreadsheet, like names, addresses, or product details, and automatically populate your label template. This is a huge time-saver for small businesses producing product labels in batches or anyone printing waterproof mailing labels for outdoor packages.
The workflow is simple: organize your data in Google Sheets, select your label template, and let the add-on generate a print-ready document. Every label is correctly positioned, and you just hit print.
Printing and Sealing for Maximum Durability
You've picked your material, designed your labels, and loaded the sheet into your printer tray. This final stretch, the actual printing and post-print finishing, makes or breaks waterproof label quality.
Step 1: Adjust Your Printer Settings
Don't just hit "Print" with default settings. Taking 30 seconds to tweak your printer preferences can dramatically improve results on waterproof materials.
For inkjet printers:
Set the paper type to "Glossy Photo Paper" or "Premium Glossy" (even if your labels aren't glossy). This tells the printer to lay down ink more carefully, preventing pooling and smearing on non-absorbent surfaces.
Set print quality to "High" or "Best." Higher quality means slower printing but sharper results.
If your printer has a straight-through paper path (a rear tray that feeds paper without bending it), use it. Thick vinyl sheets can jam on curved paper paths.
For laser printers:
Set the paper type to "Labels" or "Heavy Paper/Cardstock."
Print quality on "Standard" or "High" both work well since laser toner fuses consistently.
Make sure your label stock is rated for the temperature your laser printer's fuser reaches (usually listed in the label sheet specifications).
For both printer types:
Print a test page on regular paper first. Hold it up against your label sheet to confirm alignment before committing a waterproof sheet.
Feed one sheet at a time to prevent jams, especially with thicker vinyl or polyester stock.
Step 2: Let Ink Dry Completely
This step is simple but often skipped. After printing, let your labels dry for at least 15 to 30 minutes before handling them. Inkjet ink on waterproof surfaces takes longer to dry than ink on regular paper because the surface doesn't absorb moisture. Touching labels too soon will smudge your design.
Laser-printed labels can be handled almost immediately since toner is dry upon exiting the printer.
Step 3: Apply a Clear Protective Sealant
For inkjet-printed labels, a clear sealant spray is the final layer of defense that turns a water-resistant label into a truly waterproof one. Here's how to do it right:
Place your printed label sheet on newspaper or a drop cloth in a well-ventilated area.
Hold the spray can about 12 inches from the surface.
Apply a thin, even coat using a sweeping motion. Don't saturate the sheet.
Let it dry for 10 minutes, then apply a second coat.
Allow at least one hour of full drying time before cutting or applying labels.
Popular sealant options include Krylon Clear Coat, Mod Podge Clear Acrylic Sealer, and Aleene's Spray Acrylic Sealer. Look for "waterproof" or "water-resistant" on the label. Matte sealants preserve a natural paper look, while gloss sealants add a professional sheen.
Laser-printed labels on polyester or vinyl generally don't need a sealant since toner is already water-resistant. But if your labels will face harsh conditions (outdoor weather, chemical exposure, frequent handling), a sealant adds extra insurance.
Pro tip: Run a "splash test" on a single label before applying your entire batch. Spray a finished label with water, rub it gently with your thumb, and check for any ink movement. If the ink stays put, you're good to go. If it smears, add another coat of sealant and test again.
Real-World Applications and Troubleshooting
Knowing the process is one thing. Applying it to real scenarios, and knowing what to do when things go wrong, is what separates a frustrating afternoon from a stack of beautiful, durable labels.
Practical Use Cases
Homemade products for sale. If you're selling candles, soaps, hot sauces, or skincare at a market or online, waterproof labels are non-negotiable. A customer's first impression of your product is the label, and a label that smudges or peels in transit signals low quality. Use vinyl sheets with the FoxyLabels template that matches your container size, and apply a gloss sealant for a polished, retail-ready finish.
Kitchen and pantry organization. Waterproof labels on spice jars, oil bottles, and fridge containers withstand cooking splashes and condensation. Waterproof paper stock works great here since your jars aren't getting submerged, just exposed to occasional steam and drips.
Outdoor storage and gardening. Plant markers, shed bin labels, and outdoor toolbox tags all need to survive rain and sun. Vinyl labels with UV-resistant sealant handle outdoor conditions for months. Print your plant names in bold black text on white vinyl for easy reading even after sun exposure.
Shipping and mailing. Packages left on doorsteps in the rain need labels that won't dissolve. A waterproof address label ensures your package reaches its destination even after a downpour.
Common Problems and Fixes
Ink smears immediately after printing. You're likely using an inkjet printer with a paper-type setting meant for absorbent paper. Switch to "Glossy Photo Paper" in your printer settings and make sure you're using label stock rated for inkjet printers.
Labels jam in the printer. Thick vinyl or polyester sheets can jam on curved paper paths. Use the rear feed tray if your printer has one. Feed one sheet at a time and make sure the sheets aren't sticking together (fan them apart before loading).
Colors look washed out. Non-porous surfaces sometimes cause ink to spread slightly, reducing vibrancy. Increase color saturation in your design by 10 to 15 percent before printing. Also, make sure you're printing on the correct (printable) side of the label sheet. Most sheets have one coated side and one backing side.
Labels peel off after application. This usually means the surface wasn't clean when you applied the label. Wipe your jar, bottle, or container with rubbing alcohol before sticking the label. Let the surface dry completely, then press the label firmly from the center outward to eliminate air bubbles.
Sealant makes the print look cloudy. You've applied too much sealant at once. Thin, multiple coats always look better than one heavy coat. If cloudiness occurs, let the sealant cure fully (24 hours). Some cloudiness clears as the sealant dries completely.
With the right materials, proper print settings, and a quick sealant step, your home-printed waterproof labels will rival anything from a professional print shop. Ready to get started? Browse the FoxyLabels template catalog to find the exact template for your label sheets, open it in Google Docs, and start designing labels that look great and last. Your hot sauce bottles (and your customers) will thank you.
Install Foxy Labels
Get started with Foxy Labels and create perfectly aligned labels in minutes.
Get Started