How to Use Avery 5163 Shipping Label Template in Google Docs
Set up and print Avery 5163 shipping labels in Google Docs with exact specifications, step-by-step template instructions, and troubleshooting tips for perfect alignment on every print.
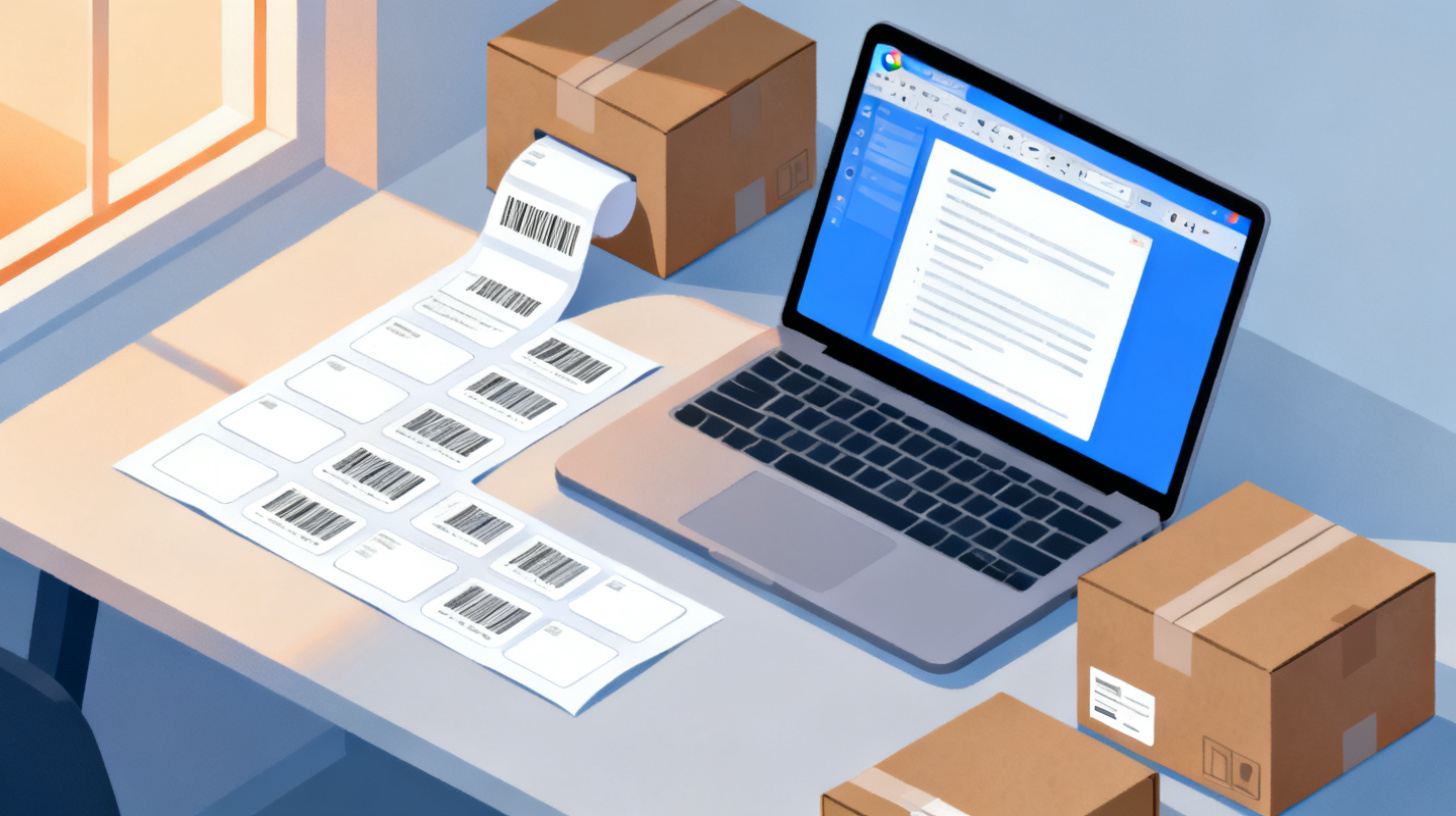
Printing shipping labels shouldn't feel like solving a puzzle. Yet if you've ever tried to align text on Avery 5163 labels using Google Docs, you know the frustration of misaligned prints, wasted label sheets, and multiple test runs. The good news? Once you understand the exact dimensions and setup process, printing professional shipping labels from Google Docs becomes straightforward and repeatable.
The Avery 5163 (and its identical counterpart, the Avery 8163) is one of the most popular shipping label formats available. Each sheet holds 10 labels arranged in two columns of five rows, with each label measuring 2" x 4". Whether you're shipping products from a small business, organizing bulk mailings, or labeling storage boxes, this template works for dozens of everyday scenarios. Let's walk through exactly how to set it up in Google Docs and get perfect prints every time.
Understanding the Avery 5163 Label Layout and Specifications
Before you open Google Docs, it helps to know exactly what you're working with. The Avery 5163 label sheet uses a standard US Letter page (8.5" x 11") and contains 10 labels per sheet. Each individual label measures 2 inches tall by 4 inches wide. The labels are arranged in a 2-column, 5-row grid with specific margins and gutters that keep everything aligned during printing.
Here are the exact specifications you'll need:
Specification | Measurement |
Page size | 8.5" x 11" (US Letter) |
Labels per sheet | 10 |
Label width | 4" |
Label height | 2" |
Top margin | 0.5" |
Bottom margin | 0.5" |
Left margin | 0.1563" (5/32") |
Right margin | 0.1563" (5/32") |
Horizontal gutter | 0.1875" (3/16") |
Vertical gutter | 0" |
Columns | 2 |
Rows | 5 |
The Avery 8163 template uses identical dimensions, so any template built for the 5163 works perfectly for 8163 labels as well. Many third-party label brands also manufacture labels with these same measurements, including brands you'll find at office supply stores and online retailers.
Why Dimensions Matter for Clean Prints
Even a small margin error of 1/16 of an inch can cause text or graphics to drift off the label edge by the time you reach the bottom rows. This is because errors compound as the printer moves down the page. If your top margin is off by just a tiny amount, that error multiplies across five rows, leaving your bottom labels noticeably misaligned.
This is why using a properly configured template is far more reliable than trying to manually set up a table in Google Docs. A pre-built template with verified measurements saves you from trial-and-error printing and wasted label sheets. FoxyLabels offers a free Avery 5163 template that's already configured with the correct dimensions, ready for immediate use in Google Docs.
Avery 5163 vs. Other Common Shipping Labels
The 5163 format is specifically designed for shipping and mailing. Compared to the smaller Avery 5160 address labels (1" x 2.625", 30 per sheet), the 5163 gives you significantly more space per label. This makes it ideal for including return addresses, tracking barcodes, company logos, or multi-line recipient addresses with plenty of breathing room. If you've worked with the similar Avery 5263 shipping label template, you'll find the 5163 setup process nearly identical since both share the same 2" x 4" label dimensions.
Setting Up Your Avery 5163 Template in Google Docs
Google Docs doesn't include built-in label templates like Microsoft Word does, but you can still create perfectly aligned labels using a table-based approach or by downloading a pre-made template. Let's cover both methods.
Method 1: Using a Pre-Built Template (Recommended)
The fastest and most accurate approach is to start with a template that already has the correct page setup, margins, and table dimensions configured. Here's how:
Download a free 5163 label template in a Google Docs compatible format (such as .docx or .odt)
Open Google Drive and upload the template file
Right-click the uploaded file and select "Open with > Google Docs"
The document will open with a pre-configured table matching the exact label grid
Click into any cell to start typing your label content
With FoxyLabels, you can download templates in multiple formats including PDF, DOCX, ODT, and Pages. The DOCX format opens seamlessly in Google Docs while preserving all margin and table settings.
Method 2: Building the Template Manually
If you prefer to build your own template from scratch, follow these steps carefully:
Step 1: Set Page Margins
Go to File > Page setup in Google Docs. Set your margins to:
Top: 0.5"
Bottom: 0.5"
Left: 0.156"
Right: 0.156"
Make sure the page size is set to Letter (8.5" x 11") and orientation is Portrait.
Step 2: Insert a Table
Go to Insert > Table and create a 2-column by 5-row table. This gives you your 10 labels per page.
Step 3: Configure Cell Dimensions
Right-click the table and select "Table properties." Set:
Column width: 4"
Row height: 2" (set minimum row height)
Cell padding: 0.1" on all sides (gives text a small buffer from label edges)
Step 4: Account for the Gutter
The trickiest part is the 3/16" horizontal gutter between columns. In Google Docs, you can approximate this by slightly adjusting column widths or adding a narrow third column (0.1875" wide) between the two label columns. Set this middle column's borders to invisible if your version of Docs supports it.
Step 5: Remove Table Borders for Printing
Select the entire table, go to Table properties, and set the border width to 0pt. This prevents border lines from printing on your labels. You may want to keep a light gray border visible while editing, then remove it before printing.
Formatting Your Label Content
Once your template is ready, formatting each label is straightforward. For a standard shipping label, consider this layout:
Use bold text for the recipient name so package handlers can quickly identify the destination. Keep your font size between 10pt and 12pt for readability. Sans-serif fonts like Arial or Open Sans work best for address labels because they remain clear even at smaller sizes.
Printing Avery 5163 Labels from Google Sheets
If you need to print multiple shipping labels with different addresses, typing each one manually into a Google Docs template gets tedious fast. This is where printing Avery 5163 labels from Google Sheets becomes incredibly powerful, especially for batch mailings or e-commerce order fulfillment.
Preparing Your Spreadsheet Data
Organize your shipping data in Google Sheets with clear column headers:
Name | Address Line 1 | Address Line 2 | City | State | ZIP |
Jane Smith | 456 Oak Lane | Apt 2B | Portland | OR | 97201 |
Mike Johnson | 789 Pine Road | Austin | TX | 78701 | |
Sarah Williams | 321 Maple Dr | Suite 100 | Denver | CO | 80202 |
Keep your data clean by:
Using consistent formatting (no extra spaces, consistent capitalization)
Keeping one address per row
Including a header row that clearly identifies each field
Leaving Address Line 2 blank (not deleted) when not needed
Using a Mail Merge Approach
Google Docs supports add-ons that can pull data from Google Sheets and populate label templates automatically. The general workflow looks like this:
Create or open your Avery 5163 template in Google Docs
Set up placeholder fields that correspond to your spreadsheet columns (like {{Name}}, {{Address Line 1}}, etc.)
Use a label generation tool or add-on to merge your spreadsheet data into the template
Review the populated labels before printing
Print on your Avery 5163 label sheets
FoxyLabels integrates directly with Google Sheets to generate labels from your spreadsheet rows. You select your template (including Avery 5163), map your columns to label fields, and generate a print-ready document in seconds. This eliminates the manual copy-paste process entirely and handles formatting automatically.
Print Settings for Perfect Alignment
When you're ready to print, these settings prevent the most common alignment issues:
Set paper size to US Letter (8.5" x 11")
Set scaling to "Actual size" or 100% (never "Fit to page")
Disable any "headers and footers" options in the print dialog
Set margins to "None" or "Minimum" in the browser print dialog
Use the correct paper tray if your printer has multiple trays
Always do a test print on plain paper first. Hold the printed sheet up against a label sheet with light behind it to verify alignment before committing your label stock.
Troubleshooting Common Avery 5163 Printing Problems
Even with a perfect template, printing labels can hit snags. Here are the most frequent issues people encounter and how to fix them immediately.
Labels Print Off-Center or Misaligned
This is the number one complaint with label printing. Common causes include:
Browser print scaling: Your browser may add its own margins or scale the document. Always check that "Scale" is set to 100% and margins are set to "None" in the print preview.
Printer margin limitations: Some printers have a non-printable area around the page edges. If your printer can't print within 0.15" of the edge, the left-column labels may clip. Test with your specific printer model.
Google Docs conversion: When Google Docs converts a .docx template, it occasionally shifts table dimensions slightly. Compare your table measurements after opening to confirm they match the specifications above.
Text Overflows the Label Boundary
If your content extends beyond the label area, you'll get text printed on the gaps between labels (or worse, on the label below). Solutions:
Reduce font size to 9pt or 10pt
Remove unnecessary blank lines
Abbreviate state names (use postal codes like CA, NY, TX)
Use a condensed font variant if available
Ensure cell padding isn't eating into your usable space
Labels Jam in the Printer
Label sheets are thicker than standard paper and have a different surface texture. To prevent jams:
Feed label sheets one at a time if your printer struggles with the stack
Use the manual feed tray or rear feed slot (straighter paper path)
Make sure the label sheet is oriented correctly (labels face up for most inkjet printers, face down for many laser printers)
Never run a label sheet through the printer twice, as the heat from laser printers can cause labels to peel and jam
Template Looks Different After Opening in Google Docs
Format conversion between .docx and Google Docs isn't always pixel-perfect. If your table looks off after opening:
Check table properties to verify column width is exactly 4" and row height is 2"
Verify page margins match the specifications listed earlier
Look for extra spacing above or below the table that might shift everything down
Check that paragraph spacing within cells is set to 0pt before and after
If issues persist, try opening the template in a different format. ODT files sometimes convert more reliably for certain document structures.
Printing shipping labels on Avery 5163 sheets from Google Docs is entirely doable once you have the right template and understand the key settings. Whether you're printing five labels for a small batch of packages or five hundred for a major mailing campaign, the process stays the same: get the measurements right, format your content cleanly, verify your print settings, and always test on plain paper first.
Ready to skip the manual setup and start printing immediately? Try FoxyLabels to access free, pre-configured Avery 5163 templates that work perfectly with Google Docs and Google Sheets. Your labels will be aligned, professional, and ready to stick on packages in minutes.
Install Foxy Labels
Get started with Foxy Labels and create perfectly aligned labels in minutes.
Get Started