How to Use Avery 5263 Shipping Label Template in Google Docs
Set up and print Avery 5263 shipping labels in Google Docs with correct margins, cell sizes, and printer settings. Free step-by-step guide with troubleshooting tips for perfect alignment every time.
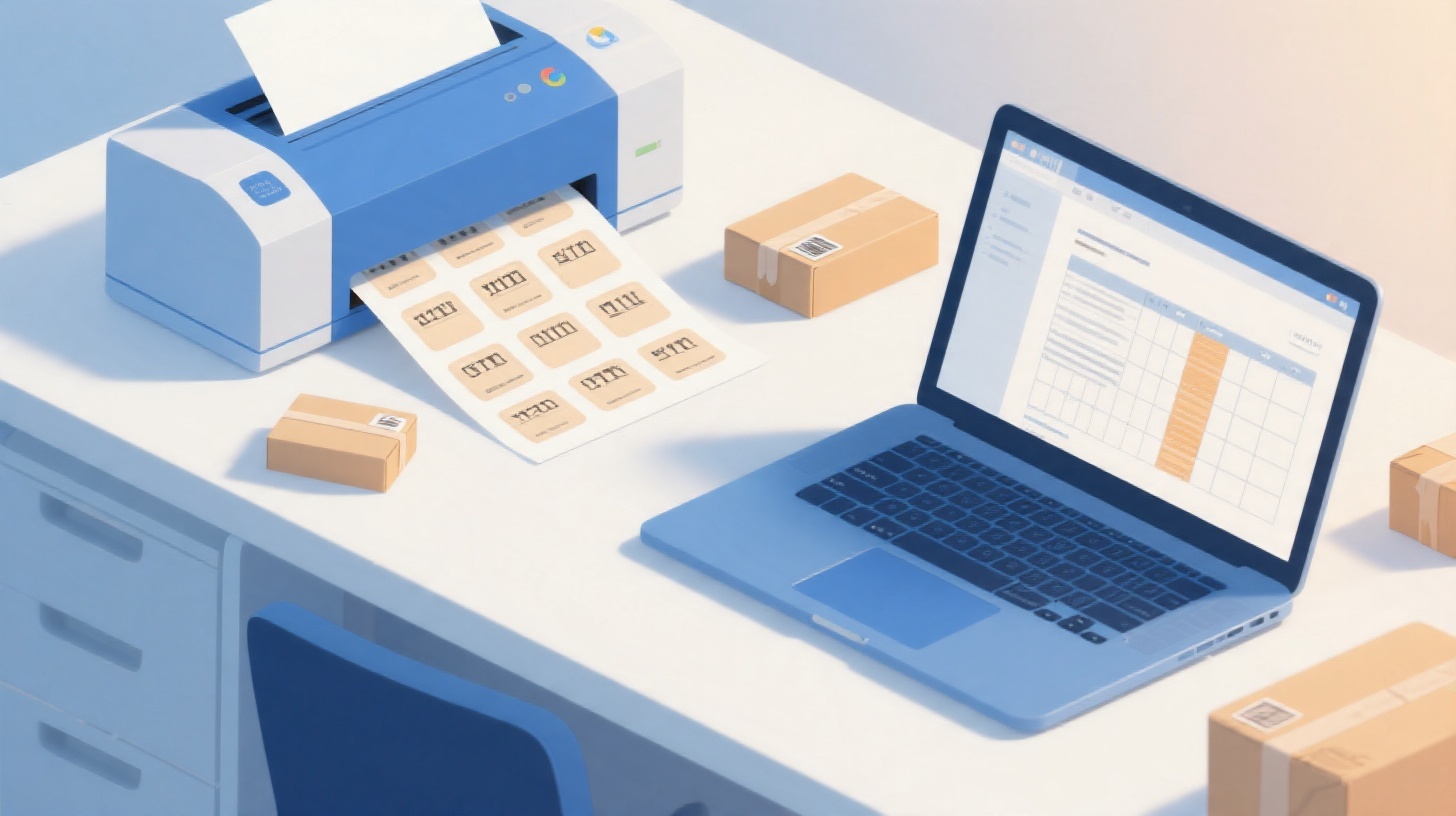
You've got a stack of orders to ship, a sheet of Avery 5263 labels sitting in your printer tray, and absolutely no desire to pay for expensive label software. Good news: Google Docs can handle shipping labels beautifully, and setting up an Avery 5263 template takes less time than you'd spend waiting in line at the post office.
The Avery 5263 is one of the most popular shipping label formats for a reason. Each sheet holds 10 labels arranged in two columns and five rows, with each label measuring 2" x 4". That's the perfect size for shipping addresses, return labels, and even product identification stickers. Whether you're running a small e-commerce shop or organizing a bulk mailing from your home office, this template gets the job done without any specialized software.
In this guide, you'll learn exactly how to set up, customize, and print Avery 5263 labels using Google Docs. If you want to skip ahead and grab a ready-made template, the FoxyLabels Template Catalog has pre-formatted options that work right out of the box with Avery 5263 sheets.
Understanding the Avery 5263 Label Specifications
Before you start building or downloading a template, knowing the exact specifications of the Avery 5263 sheet prevents frustrating alignment issues that waste labels and time. These numbers matter because even a millimeter off can mean text bleeding over label edges or addresses printing in the gaps between labels.
The Avery 5263 uses standard US Letter paper (8.5" x 11") and contains 10 labels per sheet. Each individual label measures exactly 2 inches tall by 4 inches wide. The sheet has a top margin of 0.5 inches, a bottom margin of 0.5 inches, side margins of approximately 0.1563 inches (5/32 of an inch), and a vertical gap of approximately 0 inches between rows. The horizontal gutter between the two columns is roughly 0.1875 inches (3/16 of an inch).
Here's a quick reference table for the Avery 5263 layout:
Specification | Measurement |
Sheet size | 8.5" x 11" (US Letter) |
Labels per sheet | 10 |
Columns | 2 |
Rows | 5 |
Label width | 4" |
Label height | 2" |
Top margin | 0.5" |
Side margins | ~0.156" |
Horizontal gap | ~0.188" |
Vertical gap | ~0" |
Why These Numbers Matter for Google Docs
Google Docs uses tables to simulate label layouts. When you create a table with the right cell dimensions and page margins, each cell corresponds to one label on your physical sheet. If your margins or cell sizes are even slightly off, the entire alignment shifts progressively down the page. By the time you reach the fifth row of labels, your text could be printing completely outside the label boundaries.
This is also why generic "shipping label" templates from random websites often don't work with Avery 5263 sheets specifically. Avery makes dozens of different label sizes, and a template designed for the Avery 5164 (which uses 3.33" x 4" labels with 6 per sheet) will absolutely not align with your 5263 sheets. Always verify you're working with the correct template number.
Compatible Sheets and Cross-References
The Avery 5263 format isn't exclusive to the Avery brand. Several other manufacturers produce labels with identical dimensions that work with the same template:
Avery 5263 (white shipping labels)
Avery 5523 (weatherproof shipping labels)
Avery 8163 (inkjet shipping labels)
Avery 15163 (clear shipping labels)
Most generic 2" x 4" label sheets from office supply stores
This means once you have a working Avery 5263 template, you can use it with any of these compatible products without making adjustments. It's all about the dimensions, not the brand name.
Setting Up Your Avery 5263 Template in Google Docs Step by Step
Creating an Avery 5263 template from scratch in Google Docs requires careful attention to page setup and table formatting. Follow these steps precisely, and you'll have a reusable template that aligns perfectly every time you print.
Step 1: Configure Page Margins
Open a new Google Doc and navigate to File > Page setup. Set the following values:
Paper size: Letter (8.5" x 11")
Top margin: 0.5"
Bottom margin: 0.5"
Left margin: 0.16"
Right margin: 0.16"
Click "OK" to apply. These margins position the printable area so that your table cells will align with the physical labels on the sheet.
Step 2: Insert and Size the Table
Go to Insert > Table and create a 2x5 table (2 columns, 5 rows). This gives you 10 cells, one for each label on the sheet.
Now you need to size the cells correctly:
Click anywhere inside the table
Right-click and select Table properties
Under Column width, set each column to 4"
Under Row height, check "Specify row height" and set minimum height to 2"
Set cell padding to approximately 0.08" on all sides (this keeps text from touching label edges)
Step 3: Adjust Table Borders for Printing
Here's a detail many people miss. The table borders appear on screen to help you see the cell boundaries, but you don't want them printing on your actual labels. To remove visible borders:
Select the entire table (Ctrl+A while cursor is in the table)
In the toolbar, find the border formatting options
Set border width to 0 pt (or border color to white)
This makes the cell divisions invisible in the final print while keeping the structure intact for editing.
Step 4: Format Text Within Cells
For shipping labels, you'll typically want:
Font: Arial or Helvetica at 10-12pt for readability
Alignment: Left-aligned with some vertical centering
Line spacing: Single spacing works best for addresses
A typical shipping label cell might look like this:
Keep text within 4-5 lines to avoid overflow. If you're including tracking barcodes or QR codes as images, make sure they're sized to fit within the 2" x 4" boundary with some padding.
Step 5: Save as a Reusable Template
Once your template is set up correctly, rename the document something memorable like "Avery 5263 Shipping Labels - Master Template." Each time you need to print labels, make a copy of this document (File > Make a copy) and fill in your addresses on the copy. This way your blank template stays clean and ready for future use.
If building this from scratch feels tedious, pre-built templates save significant time. The FoxyLabels Template Catalog offers Avery 5263 compatible templates that are already formatted with correct margins, cell sizes, and formatting. You just download, open in Google Docs, and start typing.
Printing and Troubleshooting Your Avery 5263 Labels
Getting the template right is only half the battle. Printing labels correctly requires attention to your printer settings and a bit of testing to avoid wasting entire sheets of expensive label stock.
Step 1: Run a Test Print on Plain Paper
Before loading your Avery labels, always print a test page on regular paper. Hold the printed page up against a fresh label sheet (against a window or light source works well) and check whether your printed text aligns with the label boundaries. This single step can save you from wasting 5 or 10 label sheets troubleshooting alignment.
Step 2: Configure Print Settings Correctly
When you click File > Print in Google Docs, a print dialog appears. Pay attention to these settings:
Paper size: Letter (8.5 x 11)
Margins: None or Default (don't override your document margins)
Scale: 100% (never use "Fit to page" or "Shrink to fit")
The scaling option is the single most common cause of label misalignment. If your printer dialog shows "Fit to printable area" or any similar option, disable it. Your template already accounts for the correct dimensions. Scaling even by 1-2% will throw off alignment across the entire sheet.
Step 3: Load Labels Correctly in Your Printer
Most inkjet and laser printers have a specific way to load label sheets:
Inkjet printers: Load labels face-down in most cases (the printable side faces the tray bottom)
Laser printers: Load labels face-up in the manual feed tray (check your printer manual)
Feed direction: The top of the sheet should enter the printer first
If you're unsure, mark a plain sheet of paper with "TOP" and "FRONT" and run it through your printer to see how it comes out. This tells you exactly which direction to load your labels.
Common Problems and Fixes
Problem: Text shifts progressively down each row.
Fix: Your row height is slightly too tall. Reduce it by 0.01-0.02 inches and test again.
Problem: Text is centered on the first label but drifts right on the second column.
Fix: Your horizontal gap (the space between columns) needs adjustment. Try adding a thin middle column of 0.19" width to your table, making it a 3-column table where the middle column acts as a spacer.
Problem: Everything looks perfect on screen but prints too small.
Fix: Your printer is scaling the output. Check print settings and ensure scale is locked at 100%.
Problem: Labels jam in the printer.
Fix: Use the manual feed tray and feed one sheet at a time. Older label sheets where adhesive has dried can curl and cause jams, so check your label stock isn't expired.
For additional help with label printing workflows, the FoxyLabels Tutorials section covers step-by-step troubleshooting for various printer and template combinations.
Scaling Up: Printing Multiple Labels Efficiently
Printing 10 labels manually is manageable. But what happens when you need to print 50, 100, or 500 shipping labels? Manually typing each address into a Google Docs table becomes impractical fast. This is where smart workflows come in.
Using Google Sheets for Bulk Label Printing
If you maintain a customer list or order database in Google Sheets, you can use that data to automatically populate your Avery 5263 labels. The general workflow looks like this:
Organize your address data in Google Sheets with columns for Name, Street, City, State, ZIP, and Country
Use a label generation tool that reads your spreadsheet data
Generate a formatted document with all addresses placed into the correct 2x5 grid
Print on your Avery 5263 sheets
This approach eliminates manual copying, reduces typos, and lets you print hundreds of labels in minutes instead of hours. If you're running a small business that ships regularly, this workflow pays for itself immediately in saved time. You can learn more about this process in this guide on how to print shipping labels from Google Sheets for small business.
When to Consider a Dedicated Label Tool
Google Docs works great for occasional label printing. But if you find yourself printing labels weekly or dealing with variable data (different addresses on every label), a purpose-built label tool removes friction from the process. Look for tools that:
Connect directly to Google Sheets data
Offer pre-built Avery 5263 compatible templates
Handle mail merge automatically
Support batch printing of hundreds of labels
Work entirely in your browser without software installation
The FoxyLabels Pricing Plans page outlines options for users who need regular access to label templates and batch printing features, making it easy to find a plan that matches your volume.
Tips for Professional-Looking Shipping Labels
Regardless of whether you're printing one sheet or fifty, these tips make your labels look polished:
Add your logo: A small logo (0.5" x 0.5") in the upper left corner of each label adds brand recognition. In Google Docs, insert an image into the table cell and resize it.
Use consistent formatting: Pick one font and one size for all labels. Mixing fonts looks unprofessional and makes labels harder to read.
Include a return address: Even on shipping labels, a small return address line at the top helps packages get returned to you if delivery fails.
Bold the recipient name: Making the recipient name bold helps postal workers quickly identify the primary addressee.
Leave breathing room: Don't fill every millimeter of the label. A 0.1" padding on all sides keeps text from being cut off by slight printer alignment variations.
Shipping labels represent your business every time a customer receives a package. A clean, well-formatted label signals professionalism and attention to detail. It's a small thing that makes a surprisingly big impression.
Getting your Avery 5263 shipping labels printing perfectly from Google Docs isn't complicated once you understand the specifications and follow the setup process carefully. Start with a test print, verify alignment, and save your template for reuse. For a faster start, grab a pre-formatted template from the FoxyLabels Template Catalog and you'll be printing professional shipping labels within minutes.
Install Foxy Labels
Get started with Foxy Labels and create perfectly aligned labels in minutes.
Get Started