How to Print Jar and Bottle Labels at Home Using Google Docs
Create professional-looking labels for your homemade jars and bottles using Google Docs. This guide covers sizing, design, printing tips, and alignment tricks to get perfect results every time.
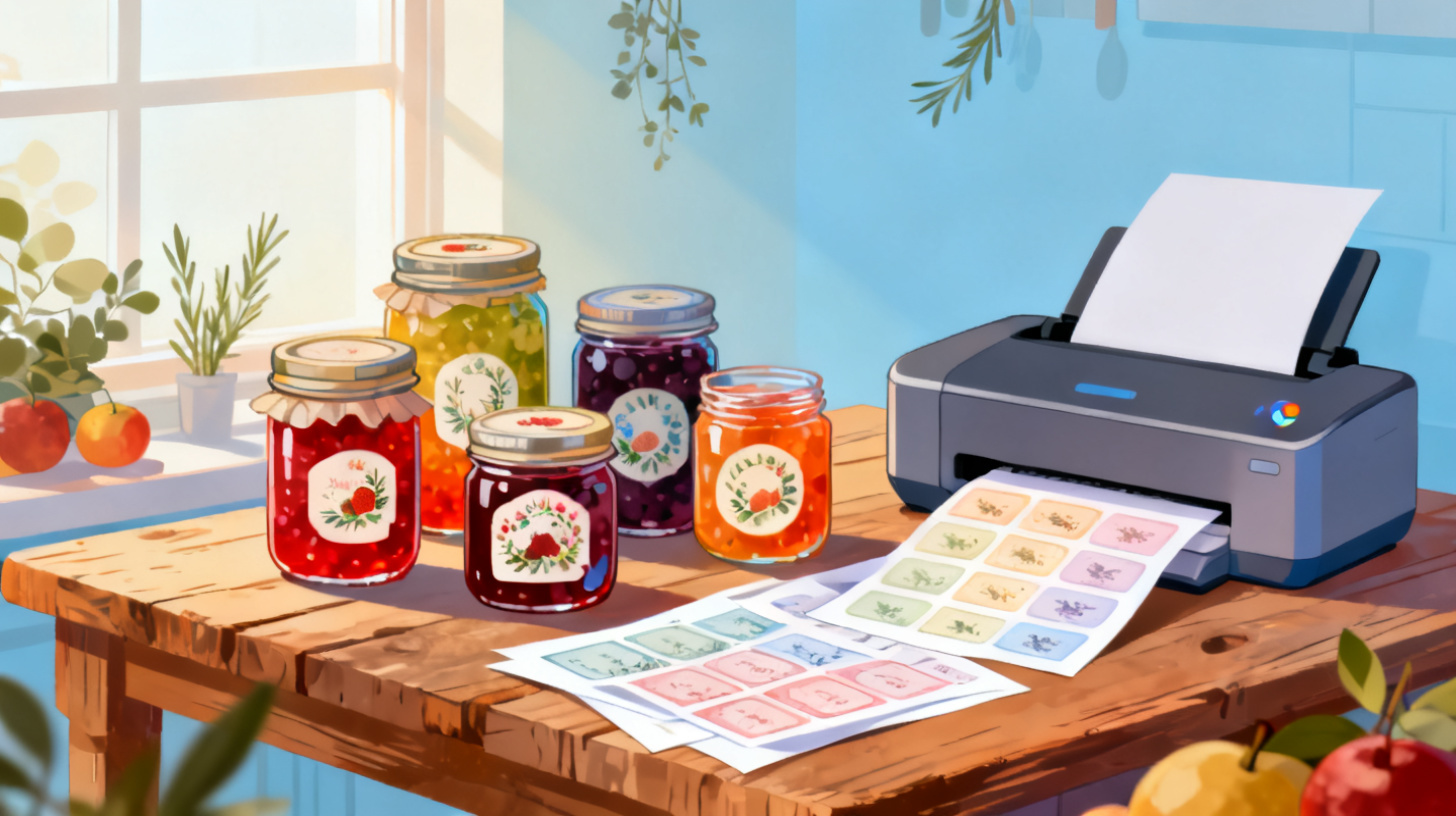
You just finished a batch of homemade strawberry preserves, poured fresh candles into mason jars, or bottled your signature hot sauce. Everything looks gorgeous lined up on the counter. But those plain, unlabeled containers? They make your products look like an afterthought instead of the labor of love they actually are.
Here's the good news: you don't need fancy design software or a commercial print shop to create professional-looking jar and bottle labels. Google Docs, a standard printer, and the right label template are all it takes to go from bare containers to beautifully branded products in under an hour. Whether you're labeling ten jars of honey for a farmers market or two hundred bottles of homemade vanilla extract for holiday gifts, this guide walks you through the entire process from choosing the right label size to printing a perfectly aligned sheet.
If you want to jump straight to finding the perfect template for your jars or bottles, you can browse label templates for Google Docs and filter by shape, size, and brand compatibility.
Let's get your products looking as good on the outside as they taste (or smell, or glow) on the inside.
Choosing the Right Label Size and Shape for Your Containers
Picking the wrong label size is the single most common mistake people make when printing jar and bottle labels at home. A label that's too wide will wrinkle around curves. One that's too tall will overlap the rim or the base. And a label that's too small just looks lost on a big container. Before you open Google Docs, before you think about fonts or colors, you need to nail down your dimensions.
How to Measure Your Jar or Bottle
Grab a flexible measuring tape or a piece of string and a ruler. You're measuring two things: the height of the flat labeling area and the circumference (the distance around the container).
For the height, find the smooth section between the bottom curve and where the jar starts tapering toward the neck or lid. This is your maximum label height. For a standard 8 oz mason jar, that flat area is roughly 2.5 inches tall. For a 16 oz mason jar, it's closer to 3.5 inches.
For the circumference, wrap your tape or string snugly around the widest part of the flat section. A regular mouth mason jar measures about 9.4 inches around, while a wide mouth jar is closer to 11.5 inches. Most people don't want a label that wraps the entire jar, though. A label covering about 60 to 75 percent of the circumference looks balanced and professional, leaving a gap in the back where the overlap would otherwise pucker.
Here's a quick reference for common container sizes:
Container Type | Label Width | Label Height | Common Template |
4 oz mason jar | 3.5" | 1.5" | 2" x 1.5" rectangle |
8 oz mason jar | 5" | 2.5" | 5" x 2.5" rectangle |
16 oz mason jar | 6" | 3.5" | 6" x 3.5" rectangle |
5 oz hot sauce bottle | 4" | 2" | 4" x 2" rectangle |
2 oz round jar (lip balm) | N/A (top) | N/A | 2" round |
16 oz squeeze bottle | 5.5" | 3" | 5.5" x 3" rectangle |
For round containers where you plan to stick the label on top of the lid (think spice jars, small candle tins, or lip balm pots), measure the lid diameter and pick a round label that's about 0.25 inches smaller to avoid overhang.
Matching Your Measurements to a Template
Once you know your dimensions, you need a template that matches those measurements and also matches the label sheets you'll buy. This is where many people get tripped up, because label sheet brands like Avery, OnlineLabels, or SheetLabels each have their own product codes for specific sizes. A template designed for Avery 22805 (oval 2.5" x 1.5") won't print correctly on a Herma sheet with different margins.
The easiest approach is to start with your label sheet choice. Buy the sheets that match your needed label size, note the product number, then find a Google Docs template built for that exact product. The FoxyLabels template catalog lets you search by product code and filter by shape, so you can match round, oval, or rectangular labels to the exact sheet you purchased. This eliminates guesswork about margins, gutters, and label placement.
Pro tip: If you're making products for sale (even at a small farmers market), consider buying waterproof or weatherproof label sheets. Jars sweat in humidity, and bottles get handled with wet hands. A smeared label undermines all your hard work.
Designing Your Jar Labels in Google Docs Step by Step
Google Docs isn't Photoshop, and that's actually a strength here. You don't need to learn complex software. The table-based template approach gives you fixed boundaries for each label, so you design within a cell and the layout stays perfectly aligned for printing.
Step 1: Open Your Template
After finding the right template for your label sheet, open it in Google Docs. You'll see a page filled with a table, and each cell represents one label. The cell dimensions match the physical labels on your sheet, and the margins match the sheet's edge spacing. Don't resize these cells, because doing so will throw off alignment with the adhesive labels.
Step 2: Add Your Background or Border
The simplest way to make a label pop is with a background color or a subtle border. Right-click inside a label cell, choose "Table properties," and set the cell background color. Soft earth tones (warm beige, sage green, dusty rose) work beautifully for homemade products because they convey a handcrafted, artisan feel.
For borders, you can set cell border width and color in the same properties menu. A thin 0.5 pt border in a dark brown or charcoal gives labels a clean, finished edge without looking heavy.
Step 3: Insert Your Product Name and Details
Type your product name directly into the cell. Choose a font that reflects your brand personality. Google Docs offers hundreds of free fonts through "More fonts" in the font dropdown. Some crowd favorites for homemade product labels include:
Playfair Display for an elegant, premium feel (great for candles, soaps, jams)
Amatic SC for a handwritten, artisan vibe (perfect for farmers market goods)
Raleway for clean, modern simplicity (works well for hot sauces, oils, skincare)
Lobster for bold, friendly personality (ideal for baked goods, party favors)
Keep your hierarchy simple. Product name in a larger font size (14 to 18 pt depending on label size), flavor or variant in a medium size (10 to 12 pt), and details like weight, ingredients, or your business name in a smaller size (7 to 9 pt).
One common mistake is cramming too much information onto the label. If you're selling products and need to list ingredients, consider a front label with your brand name and product name, plus a separate back label for required information. Two smaller labels often look better than one overloaded one.
Step 4: Add Images or a Logo
Click "Insert," then "Image," then "Upload from computer" to drop your logo or a small illustration into the label cell. Resize it by clicking the image and dragging the corner handles. For jar labels, a small logo centered above or below the product name looks polished.
If you don't have a logo yet, simple clip art or icons can fill the gap. A small illustration of a strawberry on your jam labels, a flame icon for candles, or a chili pepper for hot sauce adds visual interest without requiring graphic design skills.
For more advanced techniques like adding unique images to every label on a sheet (different flavors, for example), the Foxy Labels tutorials walk through image merging and mail merge features that save enormous amounts of time when you're working with product lines.
Step 5: Copy Your Design Across All Cells
Once one label looks the way you want it, select everything inside that cell (Ctrl+A or Cmd+A while clicked inside the cell), copy it, then paste it into each remaining cell on the page. If you're making labels for different flavors or scents, paste the base design into every cell, then change the product name and any flavor-specific details individually.
This is where a bottle-specific workflow can differ slightly. If you're creating wrap-around bottle labels that are wider and shorter, you may only have four to six labels per sheet instead of the ten to thirty you'd get with smaller jar lid labels. Check your template layout so you know how many labels to fill. For a dedicated walkthrough on bottle shapes, how to create bottle labels with Foxy Labels covers the nuances of wrap-around sizing and alignment.
Printing, Cutting, and Applying Labels Without Mistakes
You've designed gorgeous labels. Now comes the part where small errors can waste entire sheets of expensive label paper. Printing jar labels at home requires a bit more attention than printing a regular document, but the process is straightforward once you know the pitfalls.
Step 1: Run a Test Print on Plain Paper
Before loading a single sheet of label paper, print your template on regular copy paper. Then hold the printed sheet up against a blank label sheet with the light behind them. Do the printed borders or text areas line up with the adhesive labels underneath? If they're off by more than a millimeter, adjust your printer settings.
The most common alignment issue comes from printer margins. Many printers apply their own default margins on top of the template margins, which shifts everything slightly. To fix this, go to File, then Page setup in Google Docs and make sure margins are set to the values specified by your template (often 0.3" to 0.5" depending on the label brand). Also check your printer dialog for any "fit to page" or "scale to fit" options and turn them off. You want to print at exactly 100% scale, no adjustments.
Step 2: Load Label Sheets Correctly
Label sheets have a printable side and a backing side, and loading them wrong means printing on the waxy backing (which won't absorb ink and creates a mess). Most label sheets print face up in inkjet printers and face down in many laser printers, but this varies by printer model. Your test print on plain paper serves double duty here. Mark one side of the plain paper with an X before printing, then see which side the print lands on. That tells you which direction to load your label sheets.
Also, feed label sheets one at a time. Stacking multiple sheets often causes jams because the adhesive edges can catch on rollers or other sheets. One sheet at a time takes longer but avoids wasting expensive supplies.
Step 3: Choose the Right Print Settings
For the best looking labels, adjust two things in your printer settings:
Paper type: Select "Labels" if available, or "Cardstock" or "Heavy paper" as alternatives. This tells the printer to use more ink and slower feed speeds, which improves print quality on the thicker, coated label material.
Print quality: Choose "High" or "Best" quality. The difference between draft and high quality is dramatic on labels, especially for images and colored backgrounds.
Inkjet printers generally produce more vibrant colors on matte label stock, while laser printers are better for waterproof or glossy sheets because the toner bonds instead of sitting on the surface. If your products will encounter moisture (anything in a kitchen or bathroom), laser-printed labels on waterproof sheets are the most durable combination for home printing.
Step 4: Let Ink Dry Before Handling
Inkjet labels need at least five minutes to dry, and ideally fifteen to thirty minutes for full cure. Touching them too soon smudges the ink, and stacking wet sheets transfers ink from one sheet to the backing of the next. Lay printed sheets flat on a clean surface in a single layer. If you're printing many sheets, set up a drying rack with cookie cooling racks.
Laser-printed labels can be handled immediately since toner is heat-fused during printing.
Step 5: Peel and Apply with Precision
Peel labels slowly from one corner to avoid stretching or curling. For rectangular labels on curved surfaces (jars and bottles), apply the center of the label first, pressing it firmly to the container, then smooth outward toward the edges. This prevents air bubbles and wrinkles.
For round labels on flat surfaces (jar lids), center the label above the lid, lower the middle down to make contact, then press from center outward.
If a label goes on crooked, peel it off immediately and reposition. Most quality label sheets use a repositionable adhesive that allows one or two corrections before the adhesive sets permanently.
Scaling Up from Hobby to Small Business Labels
Printing ten labels for your holiday gift jars is a different challenge than printing five hundred labels for your monthly farmers market inventory. As your homemade product venture grows, you'll want systems that save time without sacrificing quality.
The biggest time sink in label printing is manual editing. If you sell six flavors of jam, you don't want to manually change the flavor name on thirty labels one by one. This is where mail merge transforms your workflow. With a Google Sheets spreadsheet listing your product names, flavors, batch numbers, and any other variable information, you can auto-populate an entire sheet of labels in seconds. Each row in your spreadsheet becomes a unique label. The Foxy Labels tutorials include step-by-step guides for setting up mail merge so you can generate hundreds of customized labels from a single template.
Another scaling consideration is consistency. When you're printing labels across multiple sessions (different weeks, different ink cartridges), colors can shift slightly. Print a reference sheet and keep it near your printer so you can compare new prints against your standard and adjust brightness or saturation in your design if needed.
For anyone turning a hobby into a side business, having access to unlimited label printing becomes valuable quickly. Instead of paying per-label at a print shop, Foxy Labels pricing plans let you print unlimited labels from Google Docs and Sheets for a flat rate, which makes the per-label cost nearly zero after the subscription pays for itself.
You might also find it helpful to explore related label projects. If you're someone who likes organizing your workspace or packaging station, printing labels for storage bins and file folders uses the same skills. This guide on how to print round labels for candles and jars using Google Docs dives deeper into circular label techniques that work perfectly for lid labels and round containers.
The bottom line: your homemade products deserve packaging that matches the care you put into making them. With Google Docs, the right template, and a little attention to alignment and print settings, you can create labels that look store-bought while keeping that handmade charm. Start by finding a template that fits your container, design one label you love, and print a test sheet. Once you see that first perfectly labeled jar, you'll wonder why you waited so long to do this.
Ready to find the perfect label template for your jars and bottles? Browse over 1,000 free templates organized by size, shape, and brand compatibility, and start printing today.
Install Foxy Labels
Get started with Foxy Labels and create perfectly aligned labels in minutes.
Get Started