It's a boy! Or a girl! After exhausting anticipation and excitement, happy parents finally discover who was right about their 9-month-long expectations. Guests dressed in blue and pink congratulated the proud parents on their baby's arrival, wishing the now complete and happy family all the best in the future.
One of the reasons behind the festive atmosphere in the home and the influx of guests may be that someone in the family is a Foxy Labels user who used this Google Workspace extension to create memorable birth announcement cards to spread the happy word among family and friends. Here is how they did it.
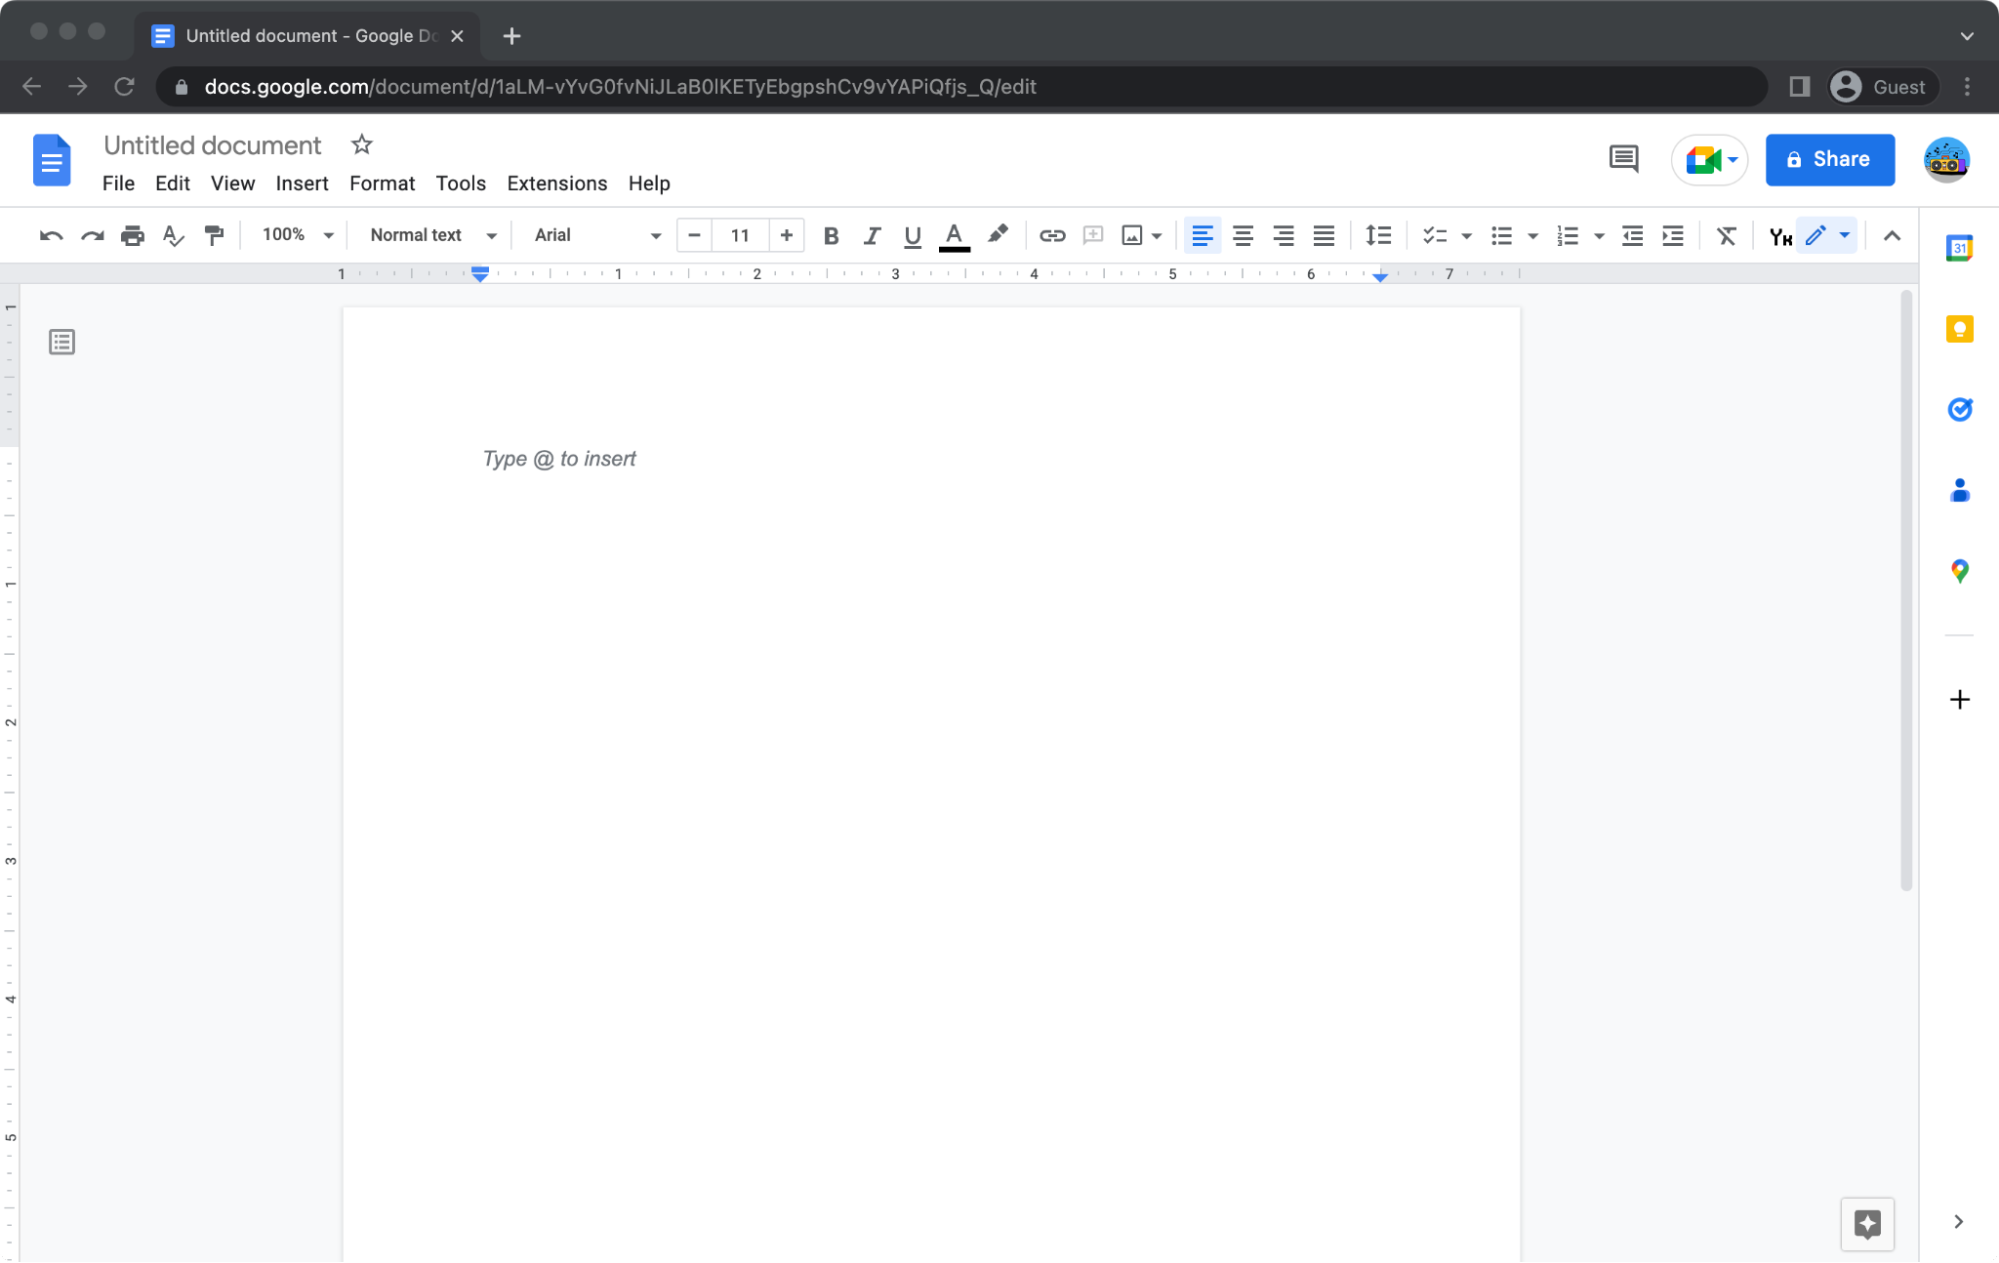
1. Open a blank document
First, you need to open a new Google Document. There are a few ways to do it, but the most convenient is to follow the link https://docs.new to start a new file. This is how it looks.
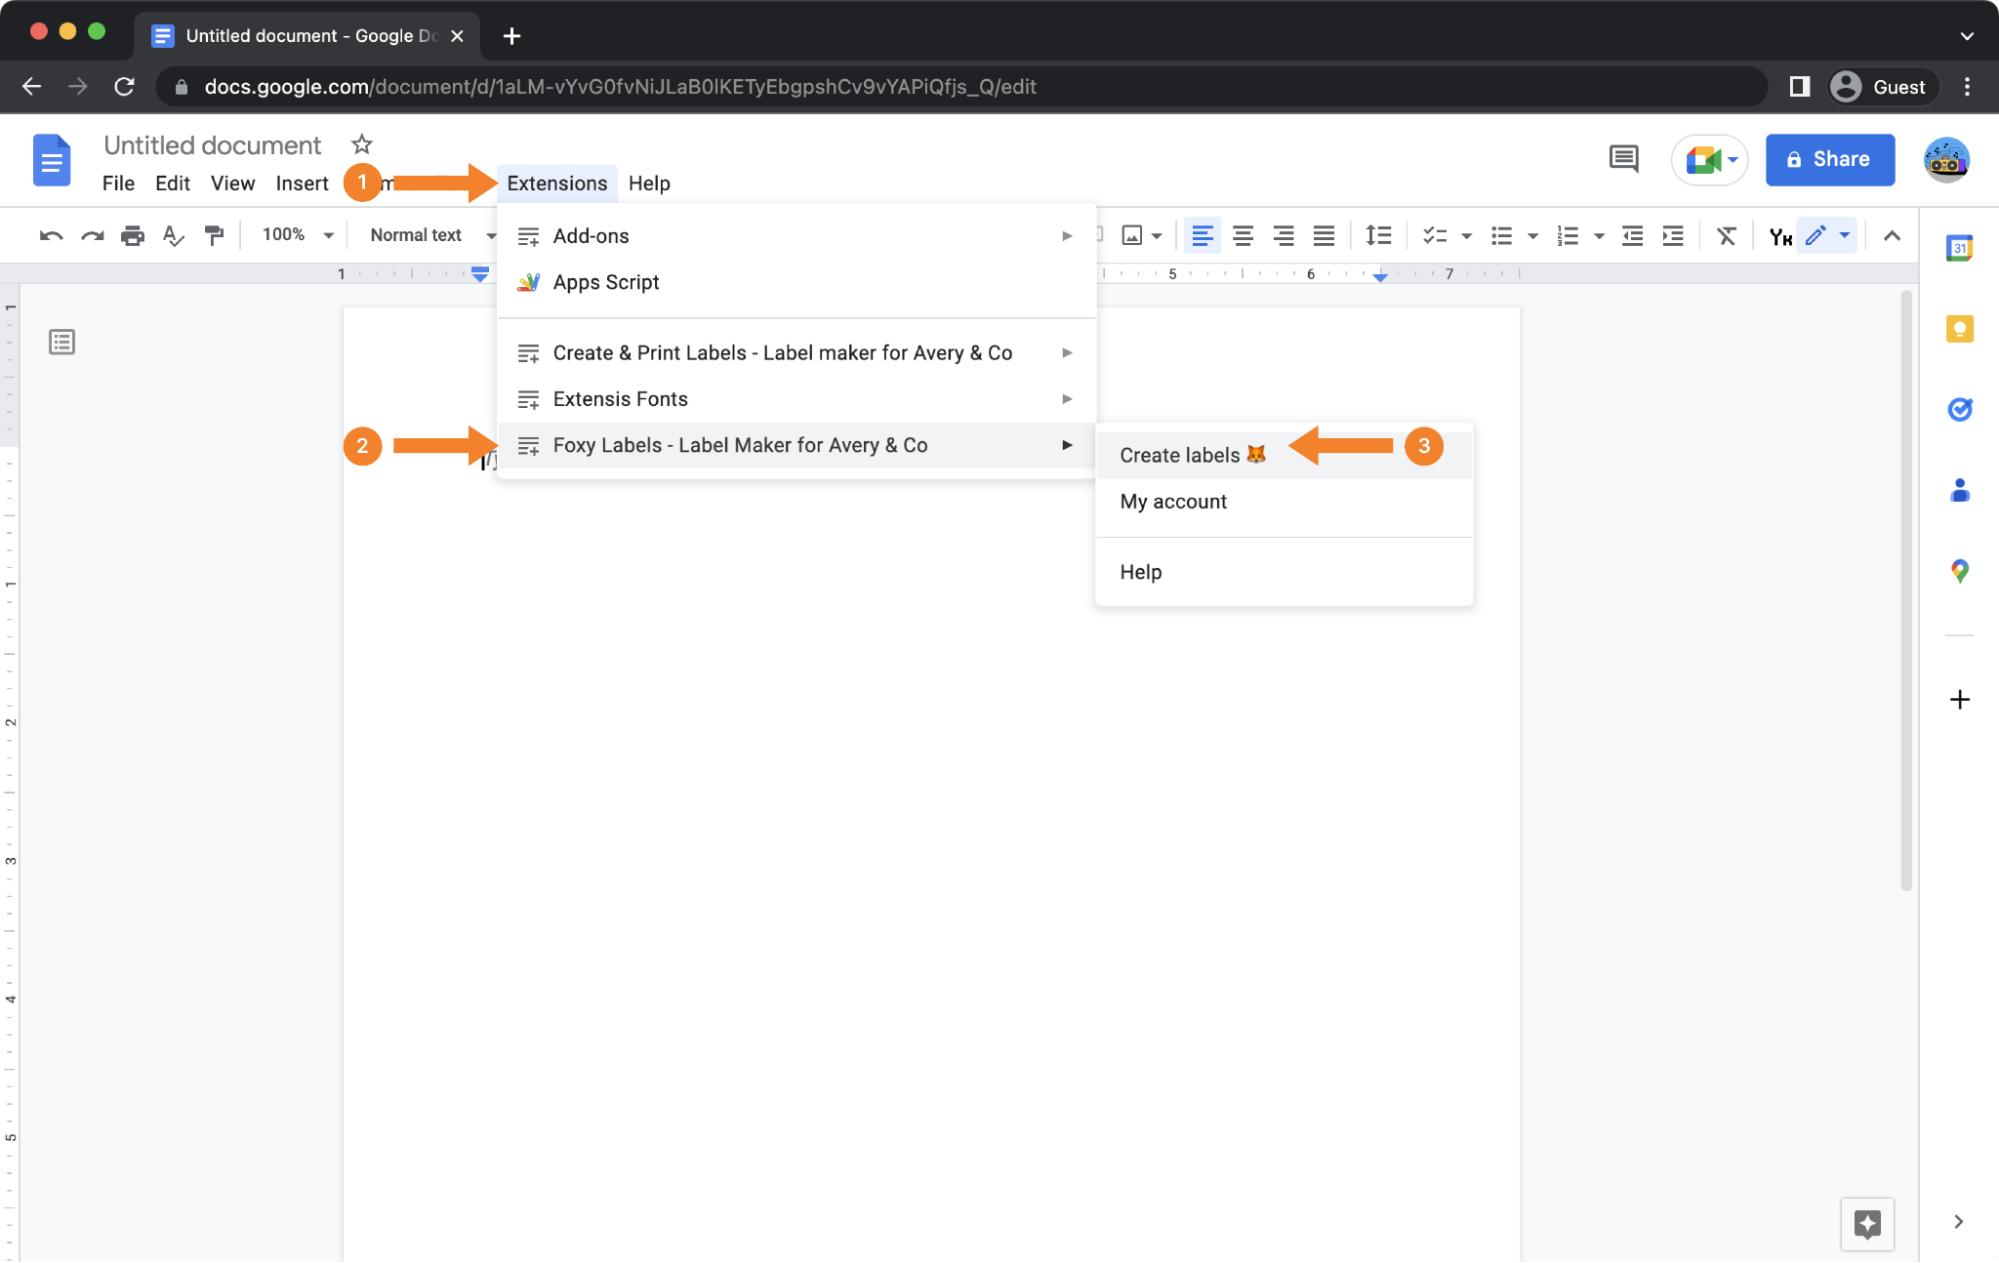
2. Launch Foxy Labels
You first need to install the extension. Then, you need to select "Extensions" (1), open the "Foxy Labels - Label Maker for Avery & Co" menu (2), and choose "Create labels" (3).
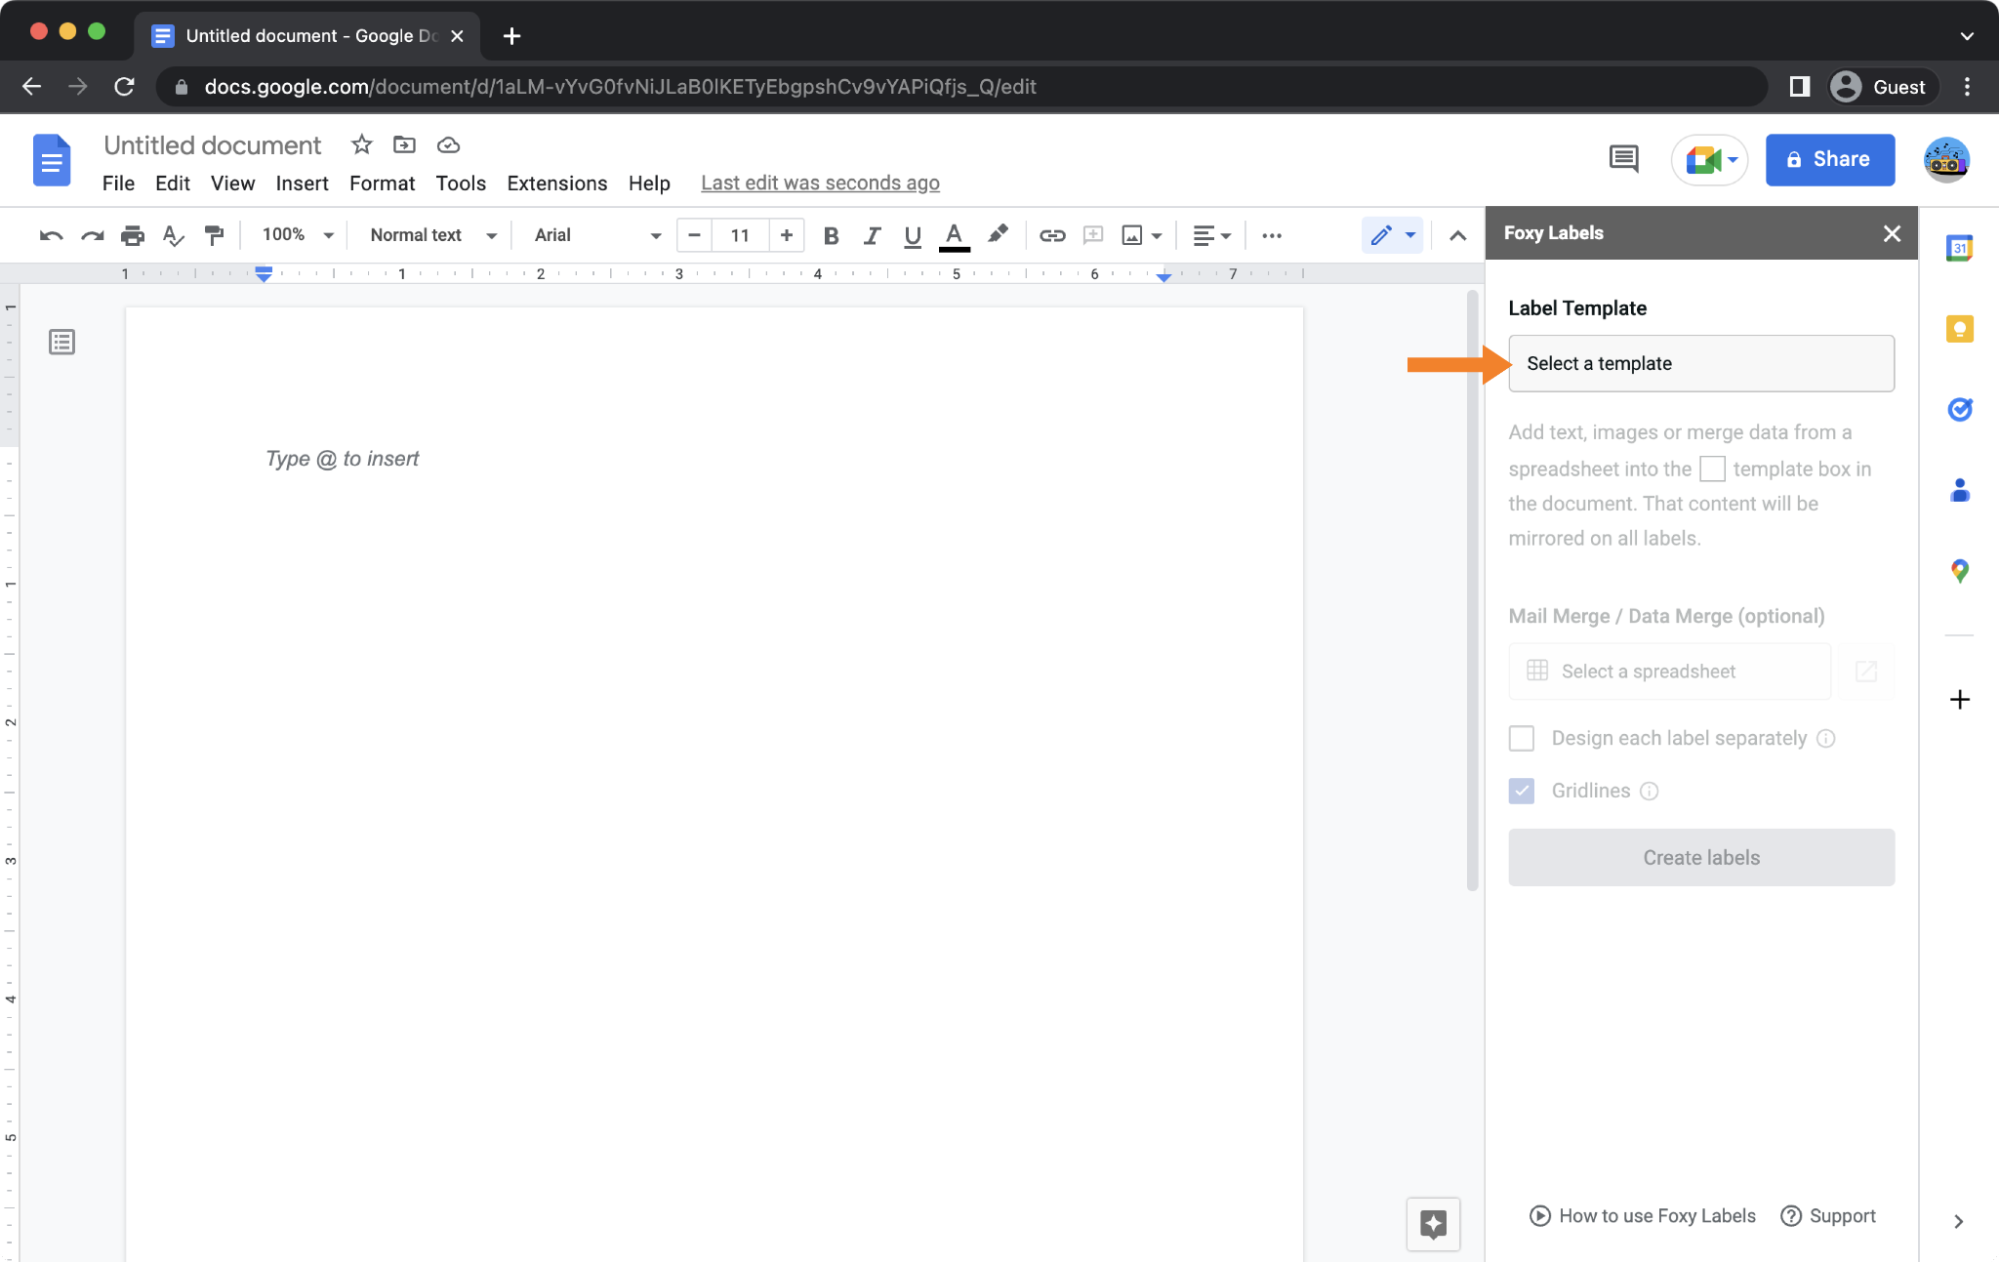
3. Select a template
It's time to choose a template that meets your needs. The Foxy Labels sidebar shows all the available options. To view all templates, click on "Select a template."
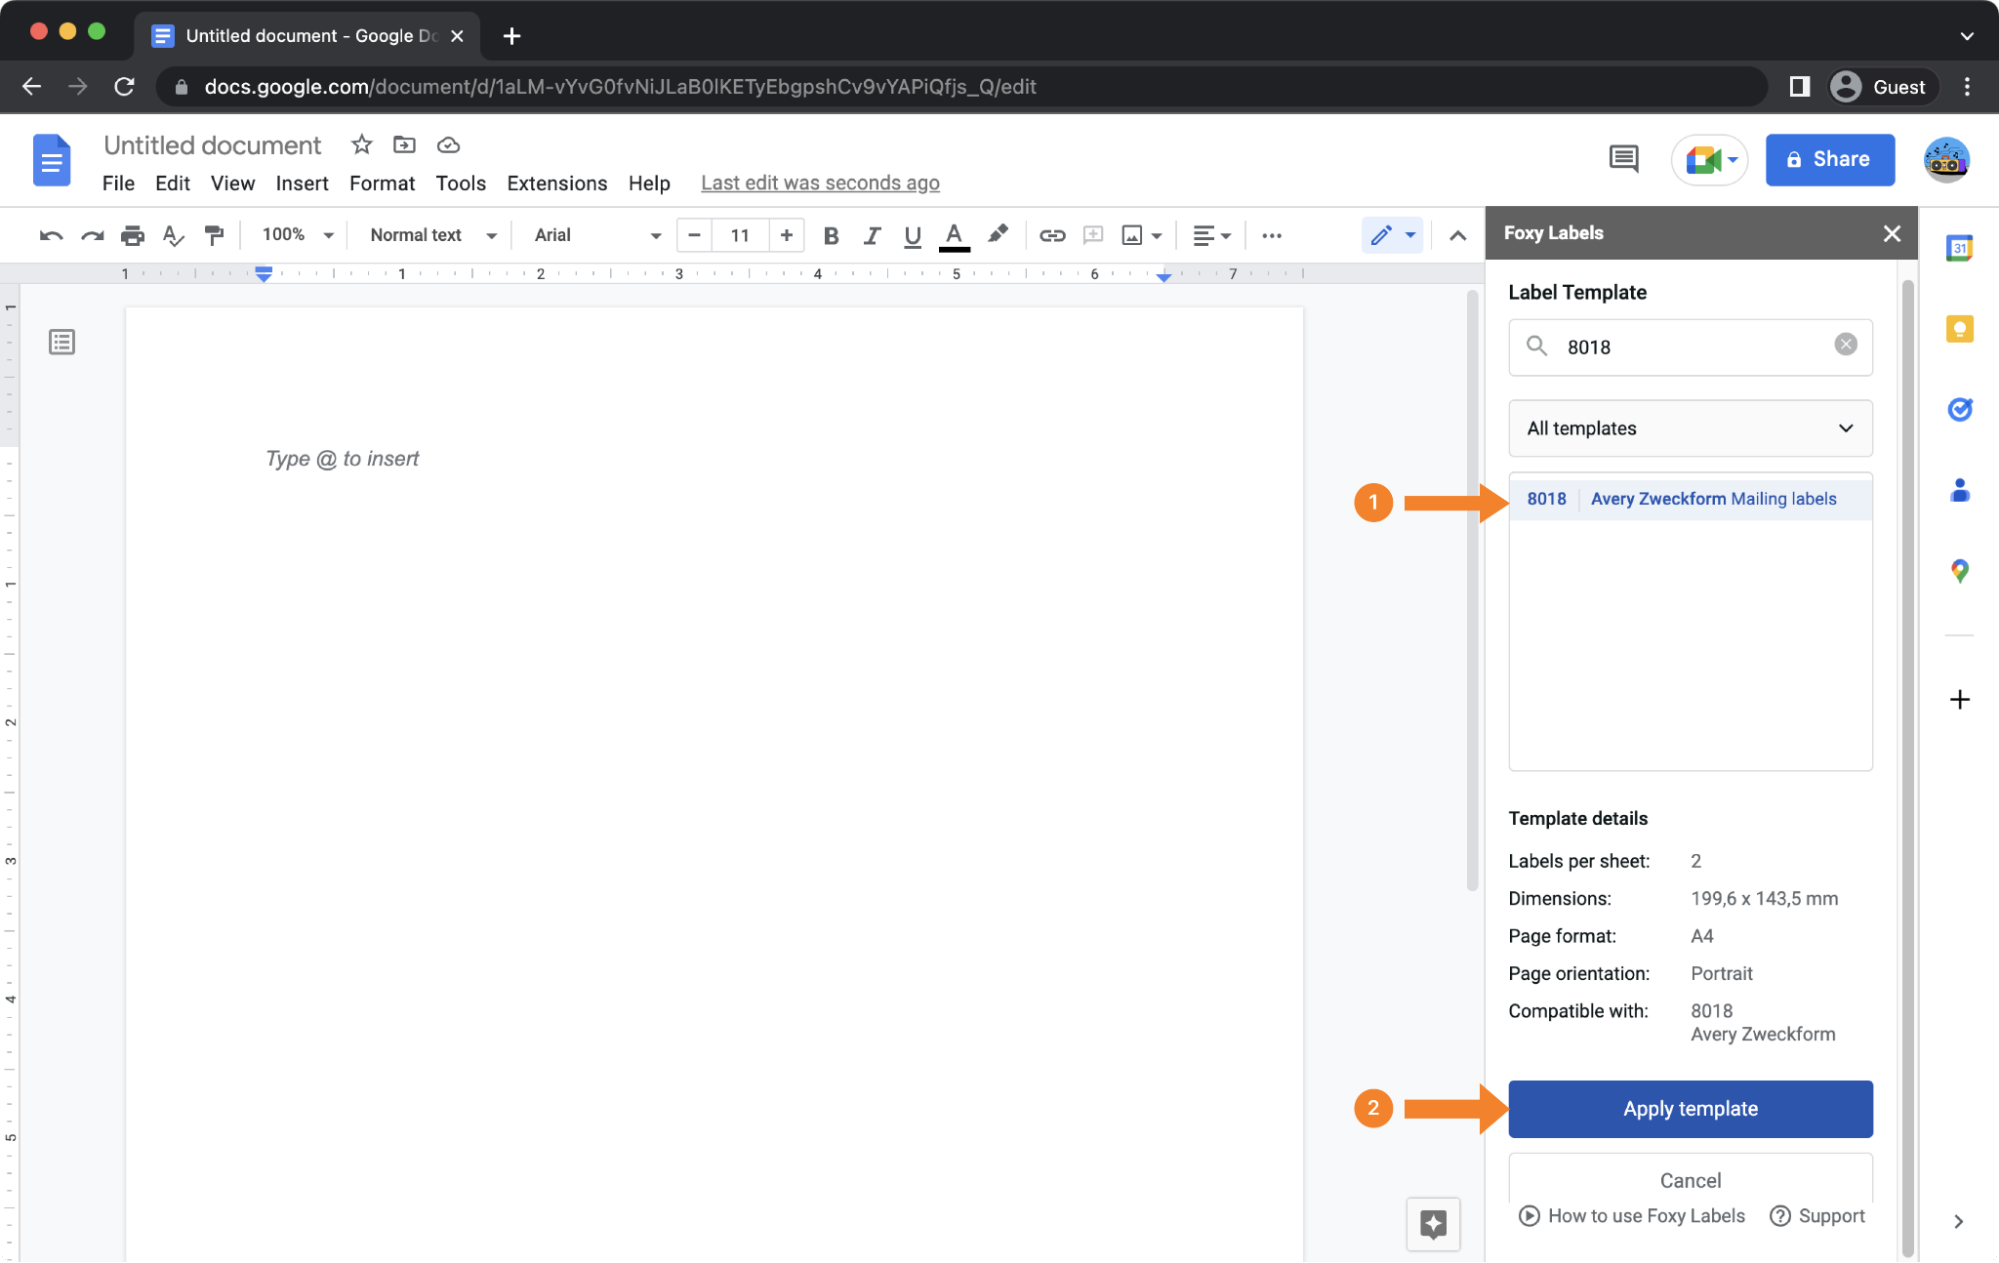
In this tutorial, we'll create birth announcement cards using the template 8018 (1). Once you've chosen a template, click "Apply template" (2).
4. Insert a table
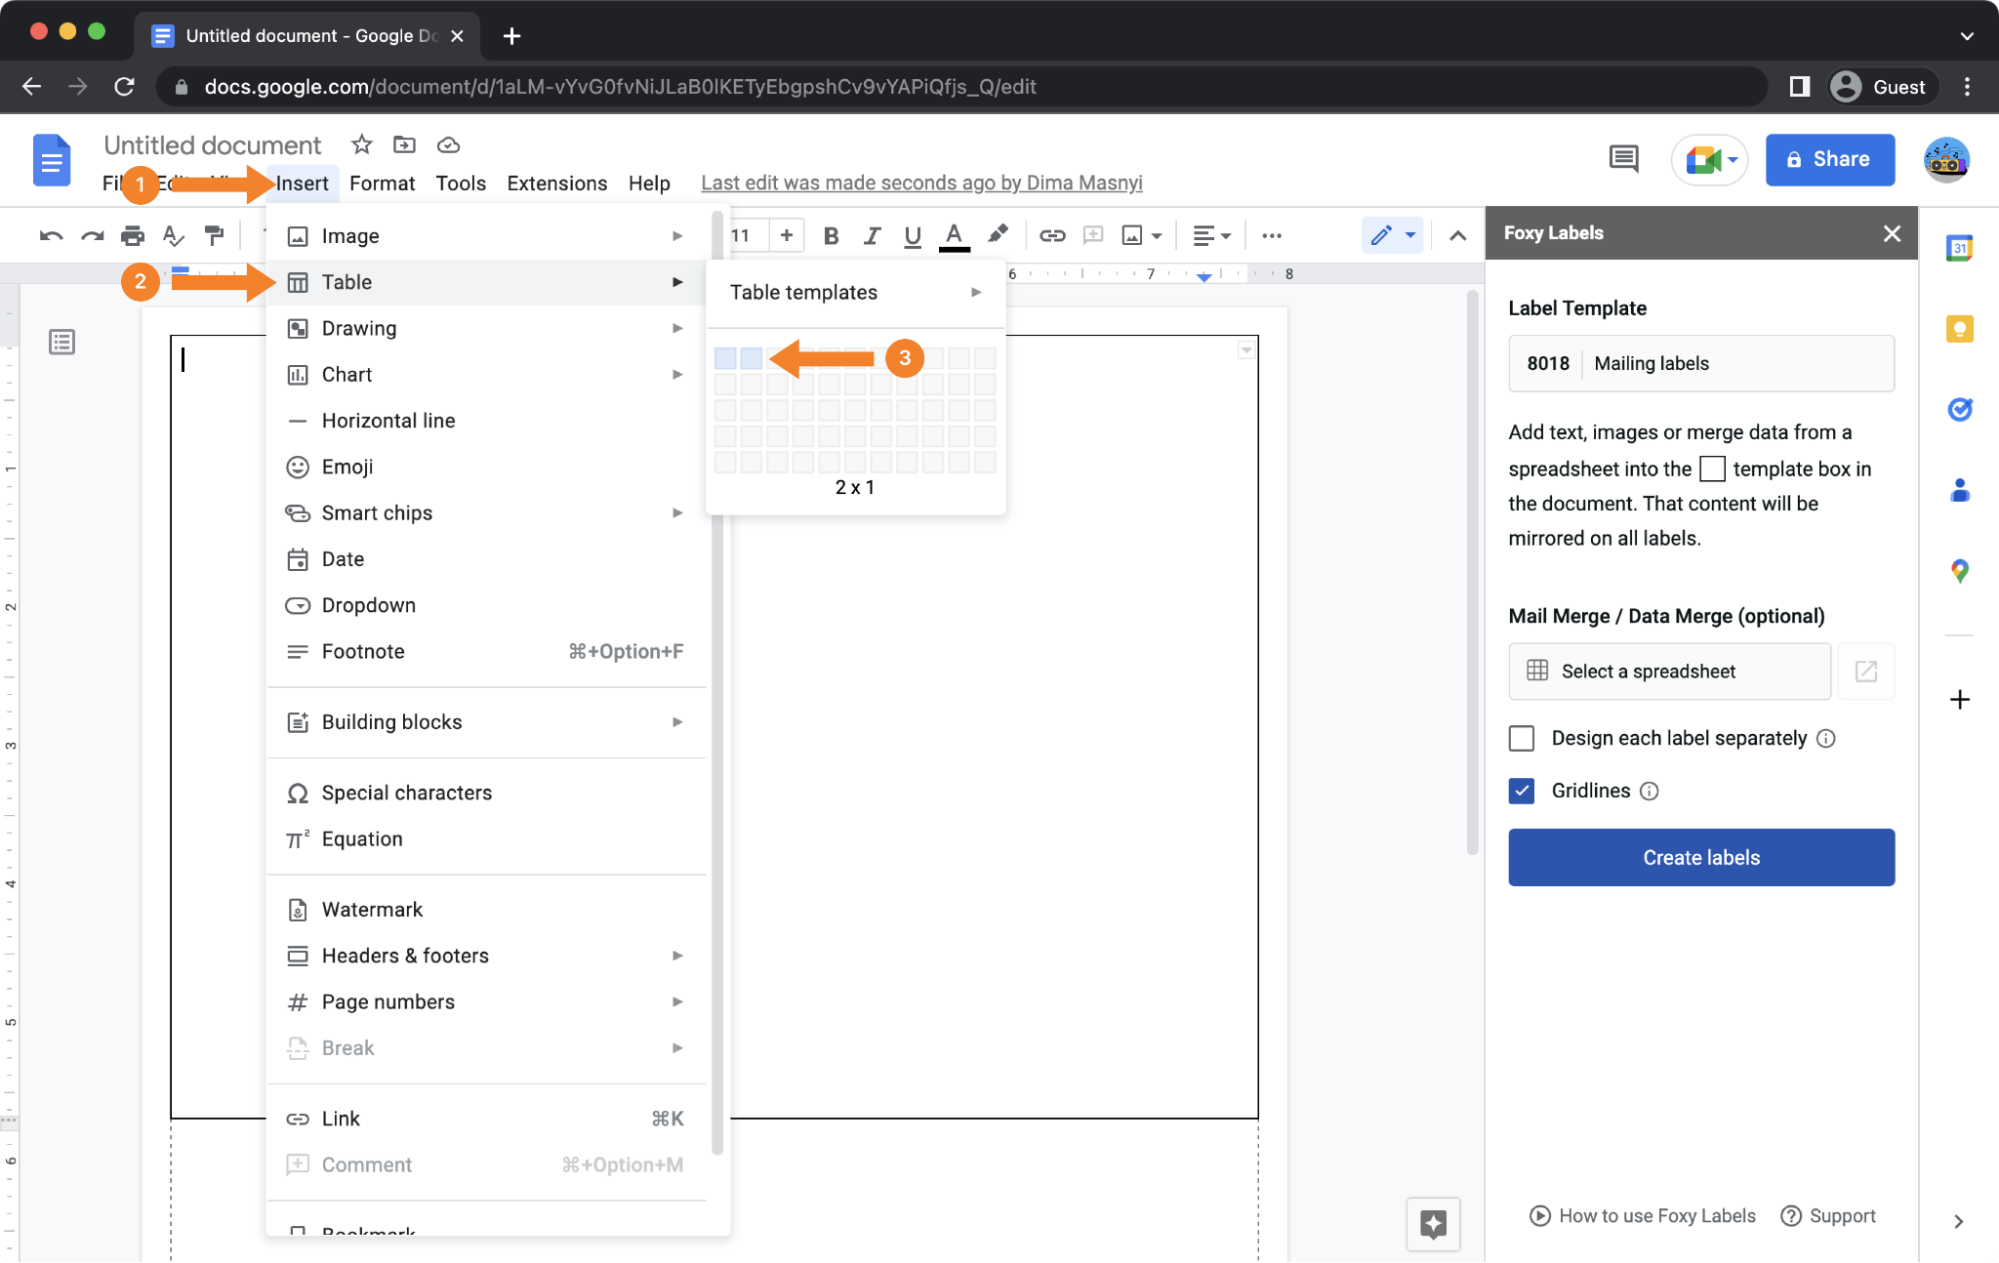
Now, the real fun is about to begin. It's hard to imagine a label or a postcard without an image. It's especially the case with a special occasion, such as childbirth. To add an image to our template, we need to insert a table inside it first. Click inside the newly appeared table.
- Navigate to the "Insert" menu
- Click on "Table"
- Select 2x1 squares
5. Add and edit an image
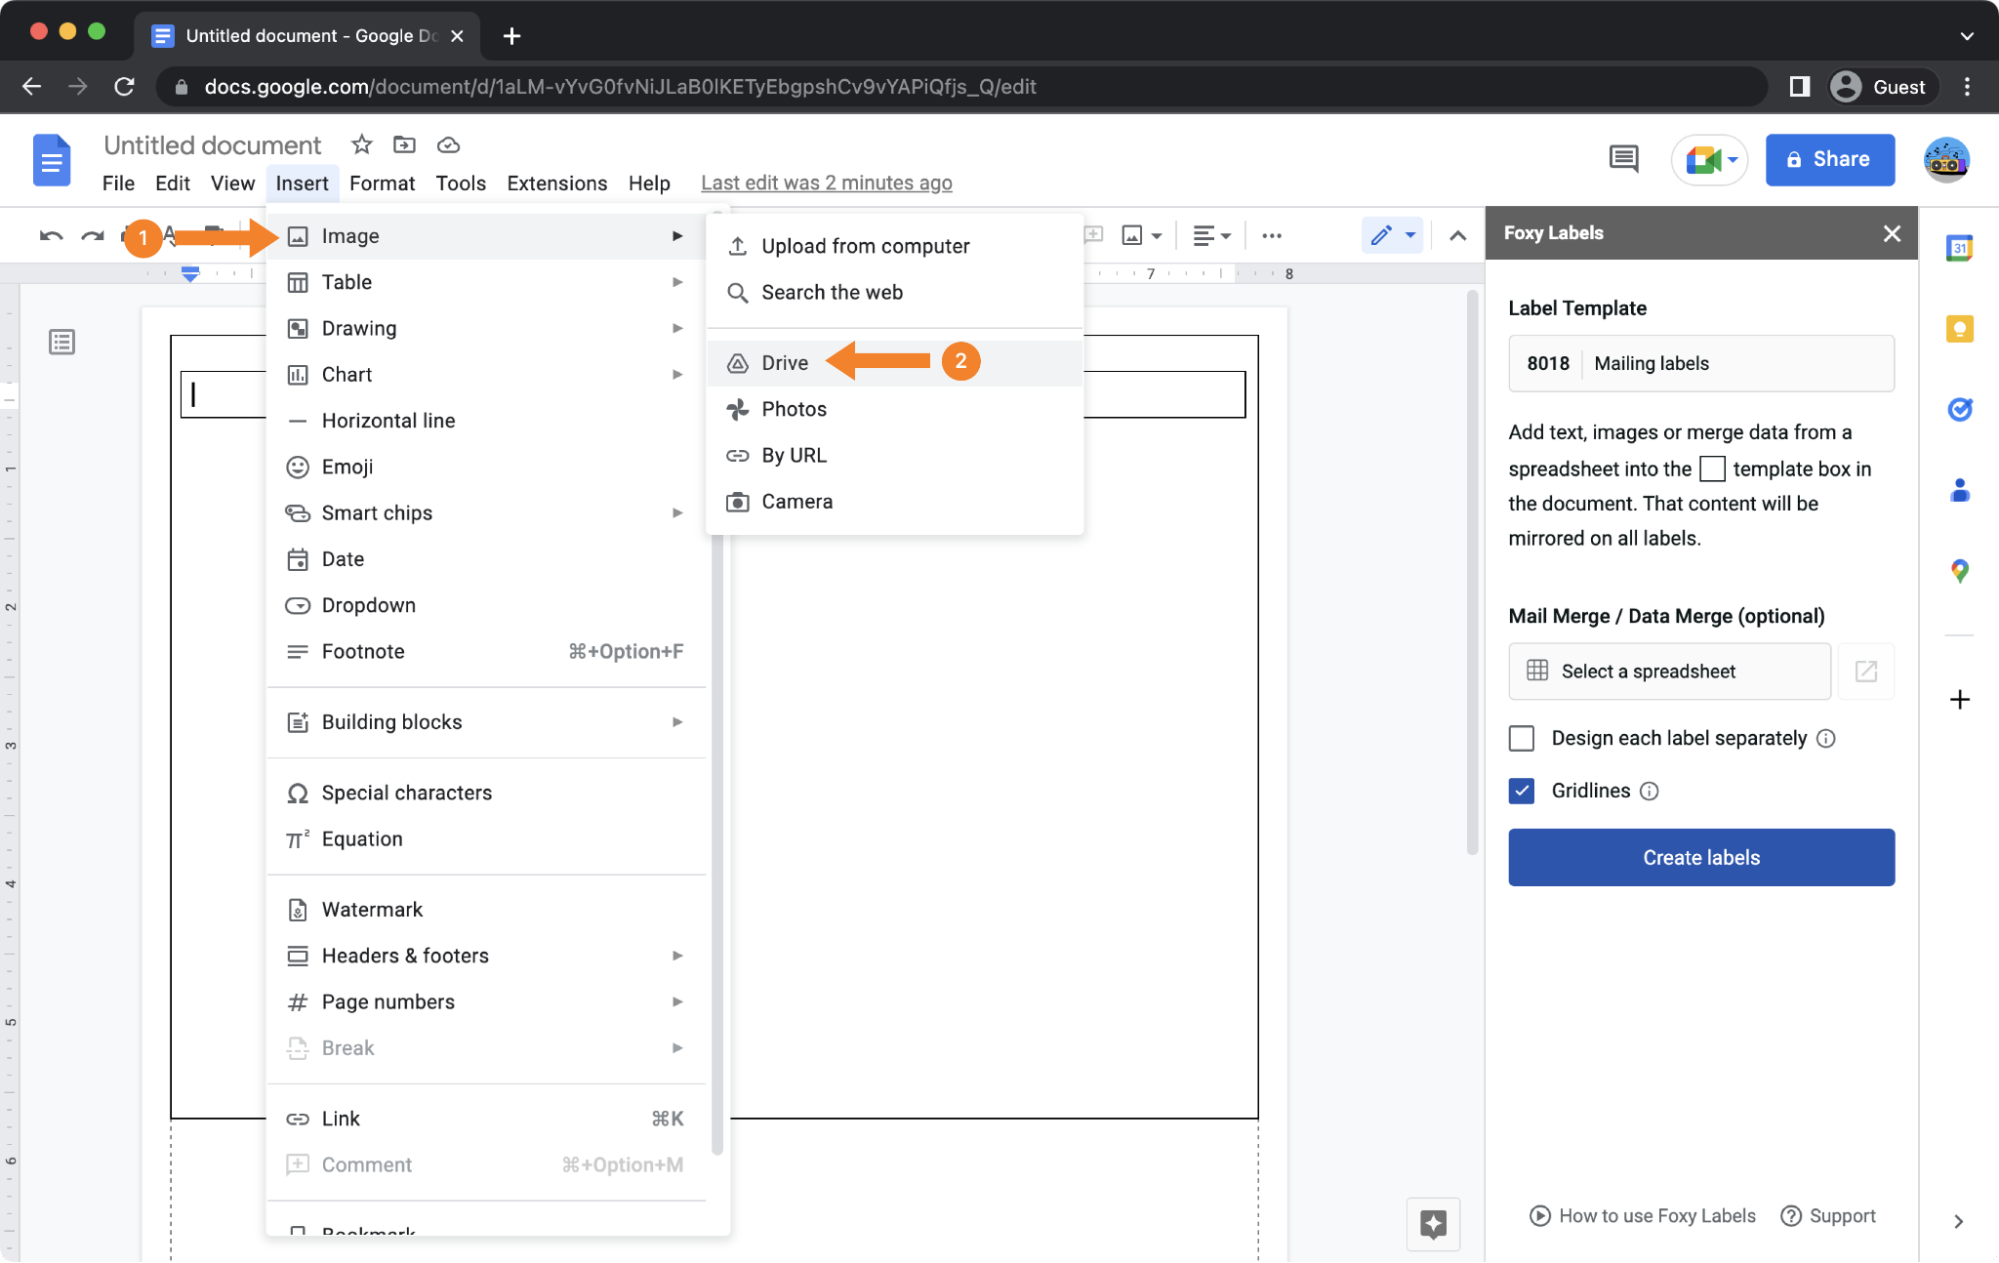
To add an image, place the cursor in your newly-created table's left-hand column.
- Go to the "Insert"
- Select "Image." You will find several different sources depending on where you keep your images. We will upload a picture from Google Drive for this particular guide.
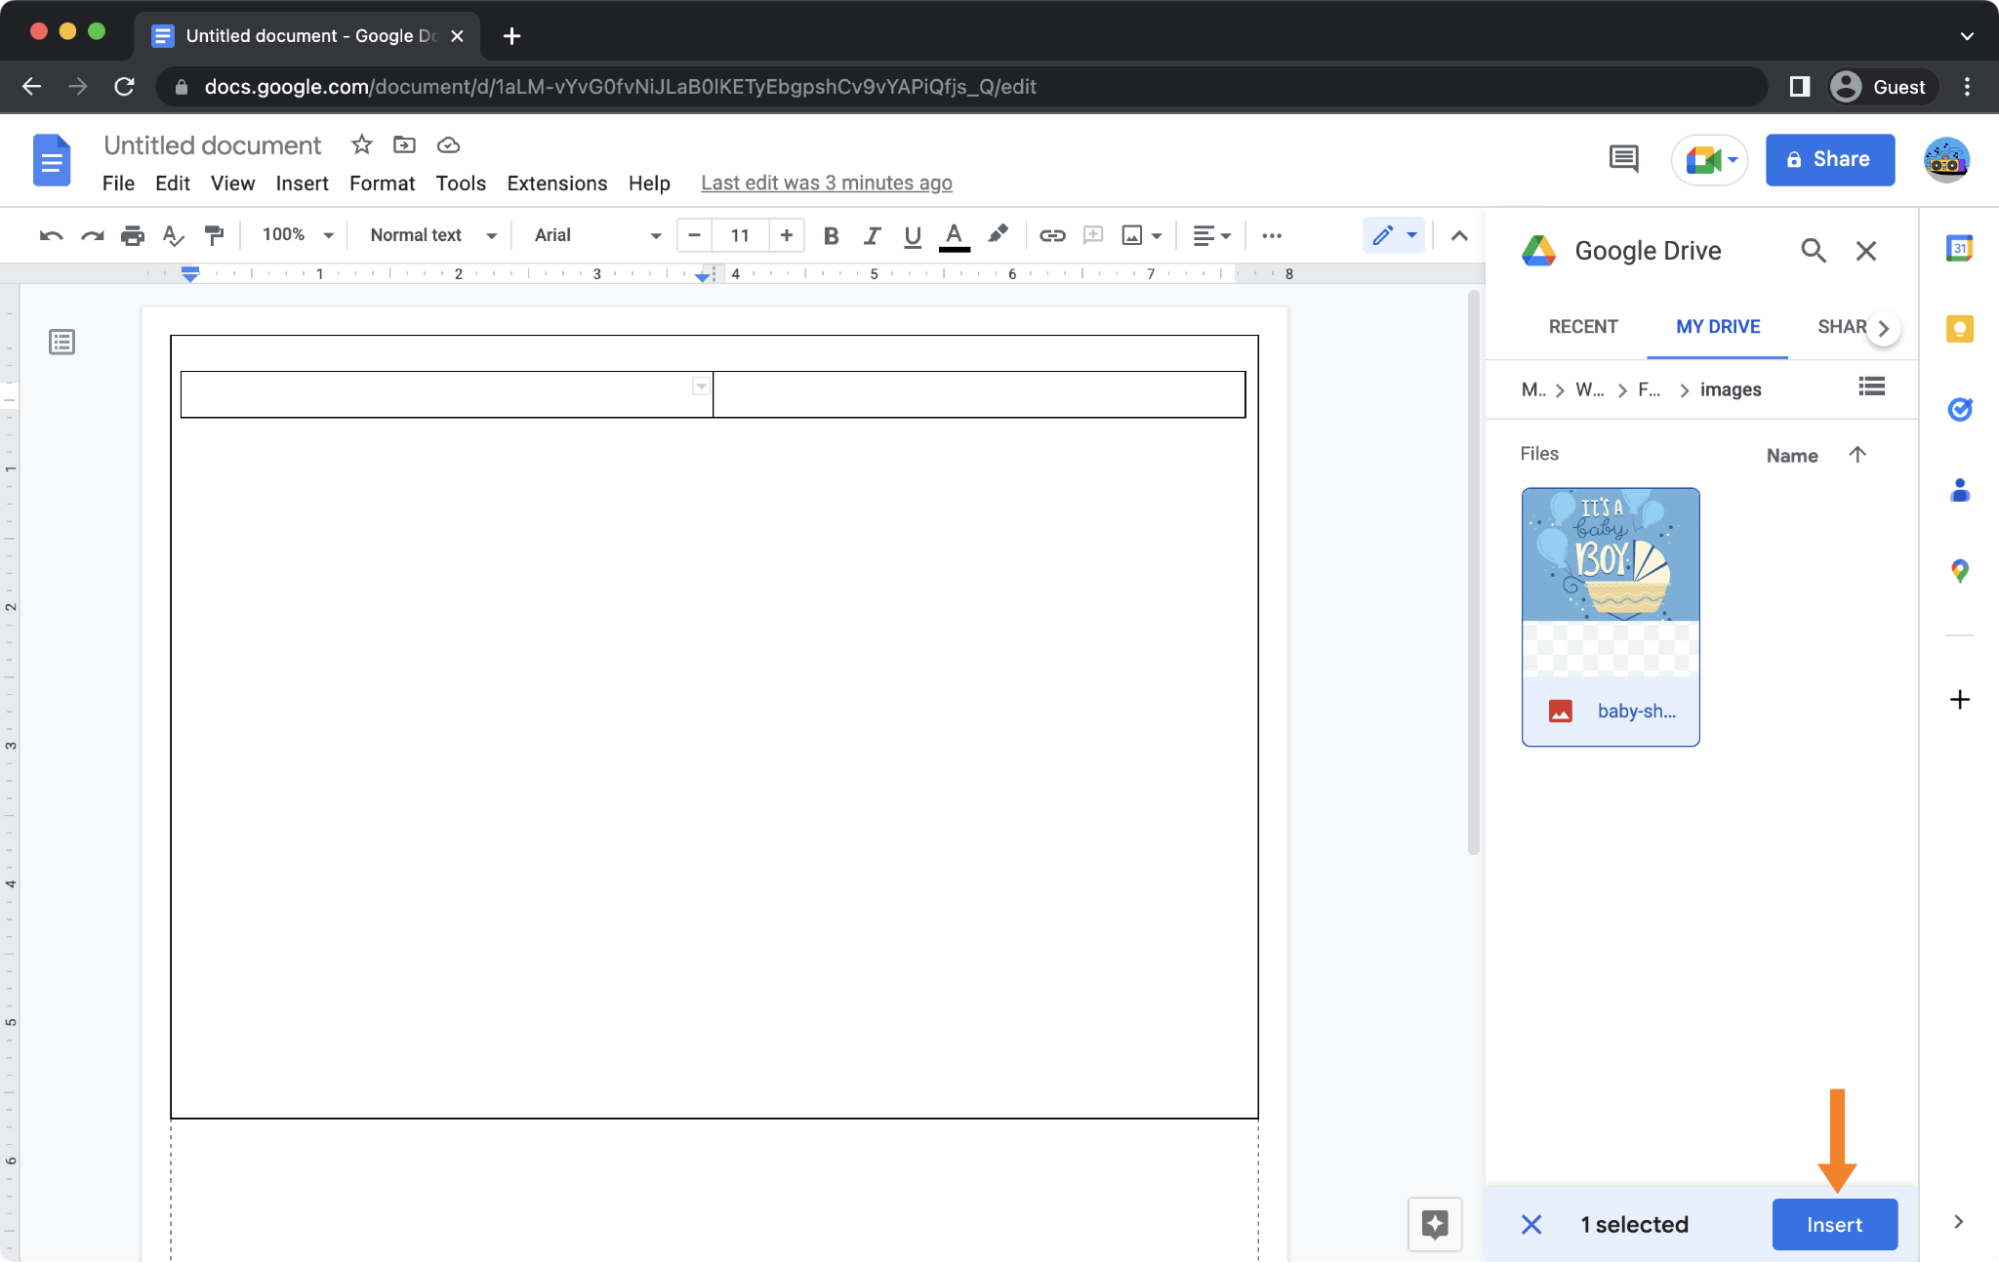
- In the right-hand sidebar, browse your Google Drive for the image you want to use, select it by clicking, and click the “Insert” button.
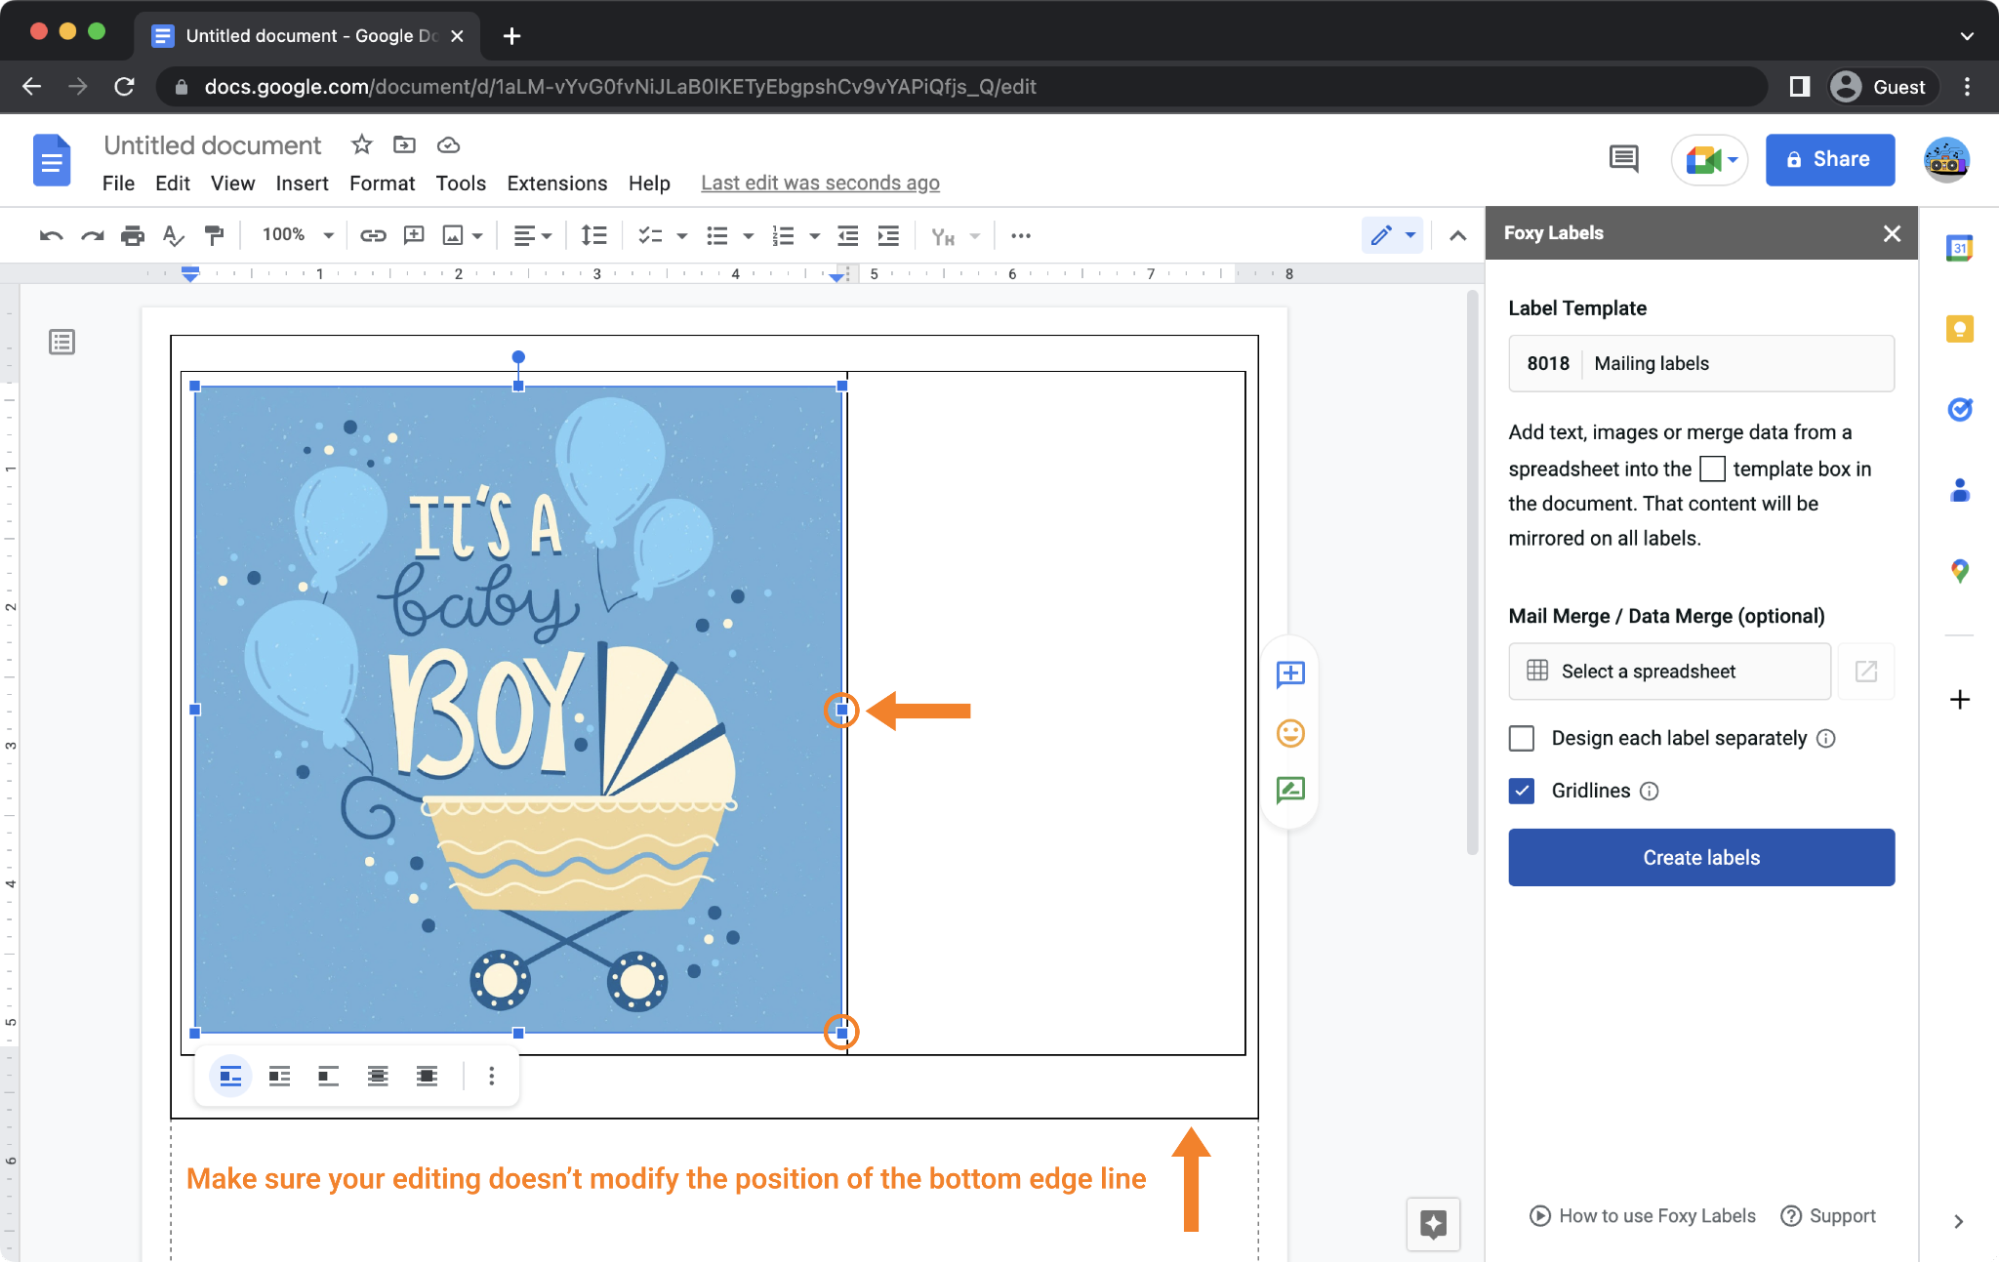
Now you should see your image in the left-hand column of the inner table. It may be bigger or smaller than you need or the template allows, but there is no need to worry. Image editing options enable you to resize the image until it fits properly inside the section of the table where it sits.
Click on one of the highlighted points of the image outline and drag it up or down depending on the original size of your selected image. Keep in mind that the result of your resizing and other editings must not change the initial position of the bottom edge of the template’s frame.
6. Add text and apply formatting
Let's move on to the most important part of the document and add all the information you have about the newborn child. This is done beside the image on the other half of the table. All of your word-processing tools are available to you - color, size, alignment, etc. Remember: as mentioned in the previous step, the cell's external frame must remain the same height. Therefore, the only limitation to your editing freedom is the cell dimensions.

7. Remove the borders
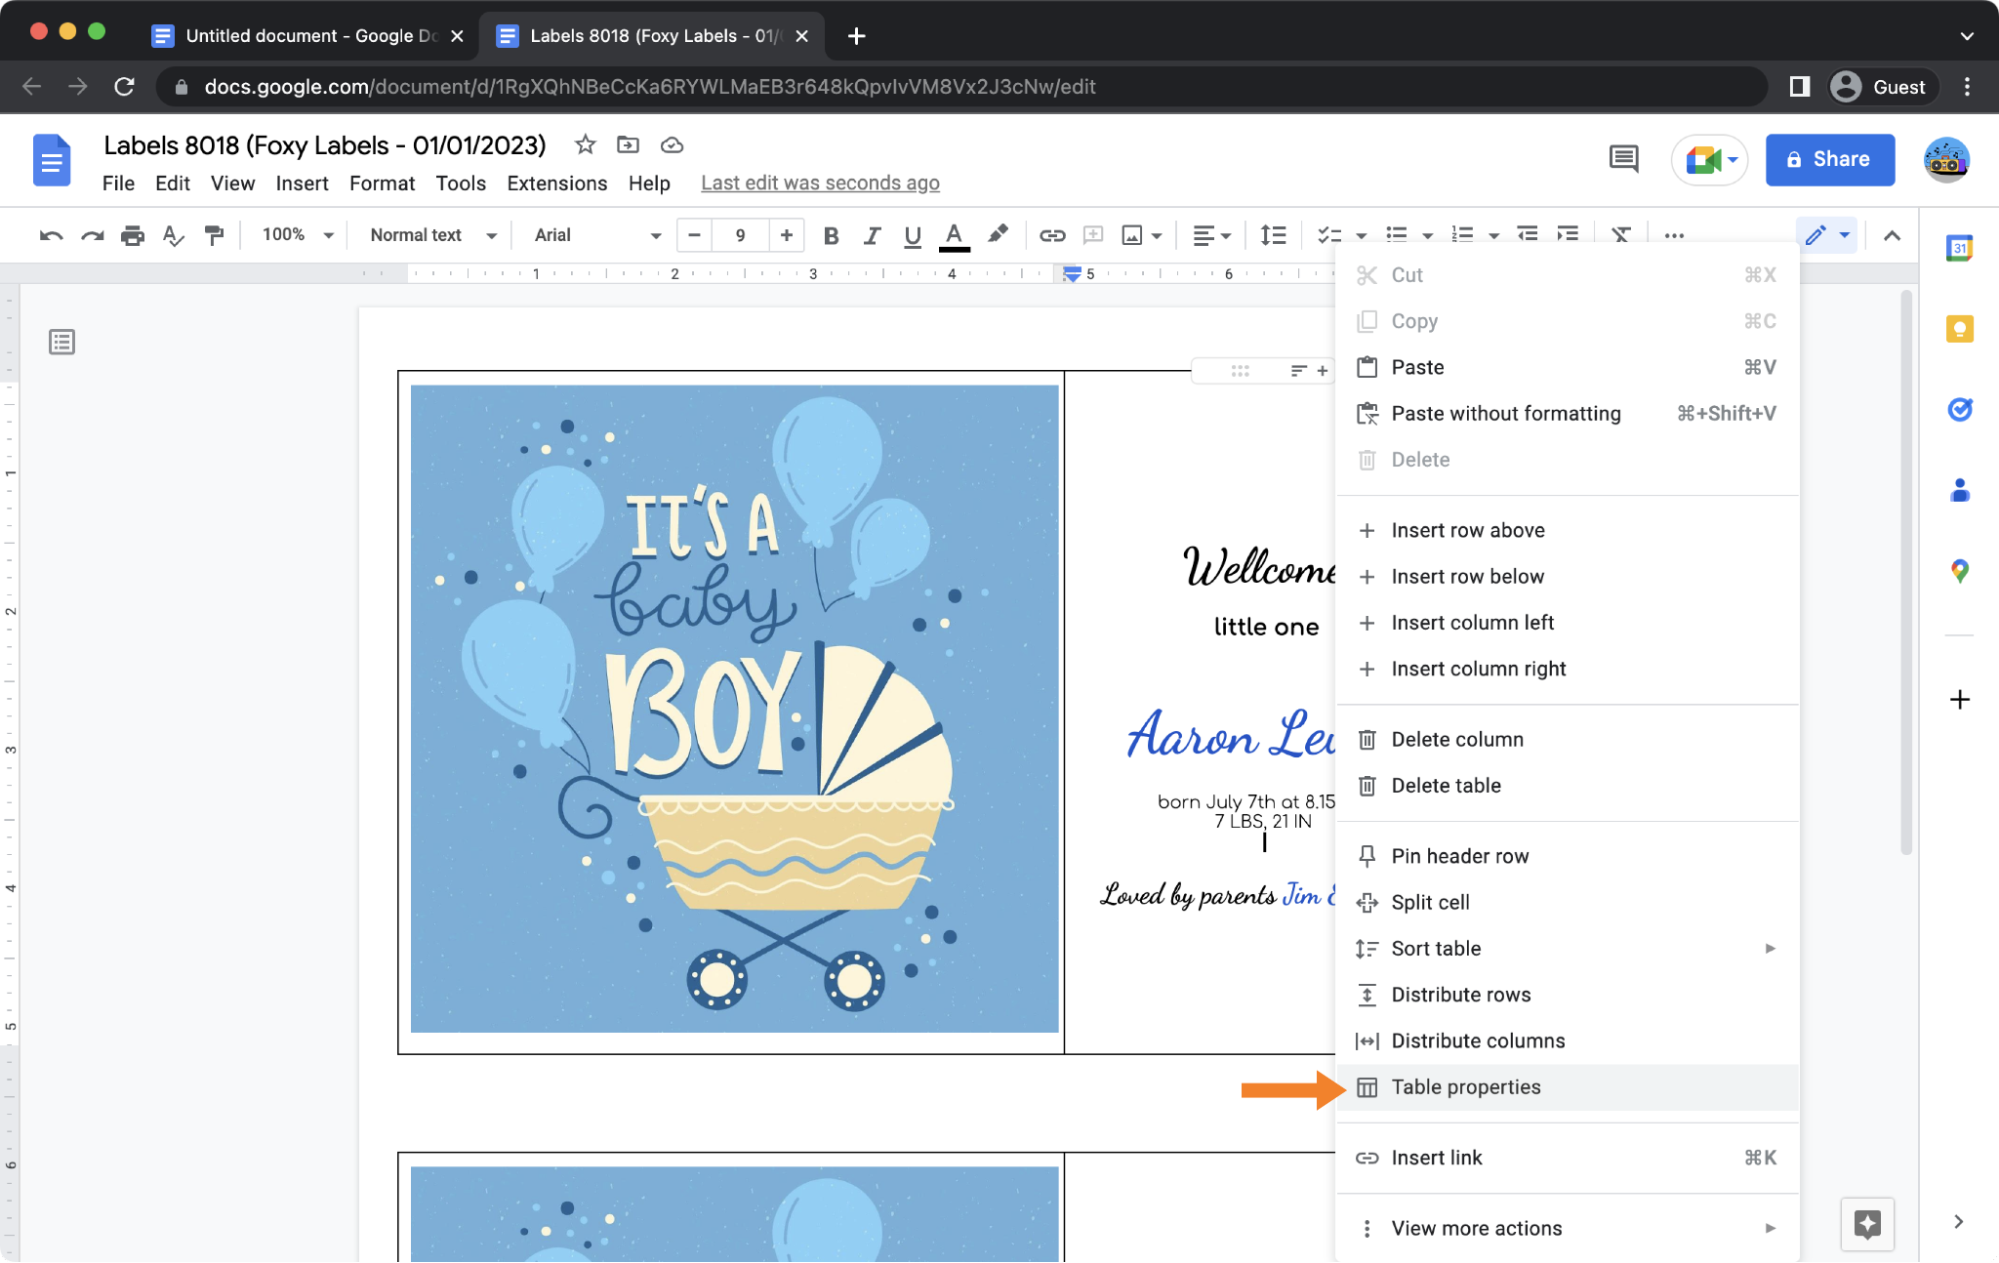
Your finished cards will look better if you remove the black borders from the outside of your design so they won't appear on your printed document. Right-click on the inner table and select "Table properties."
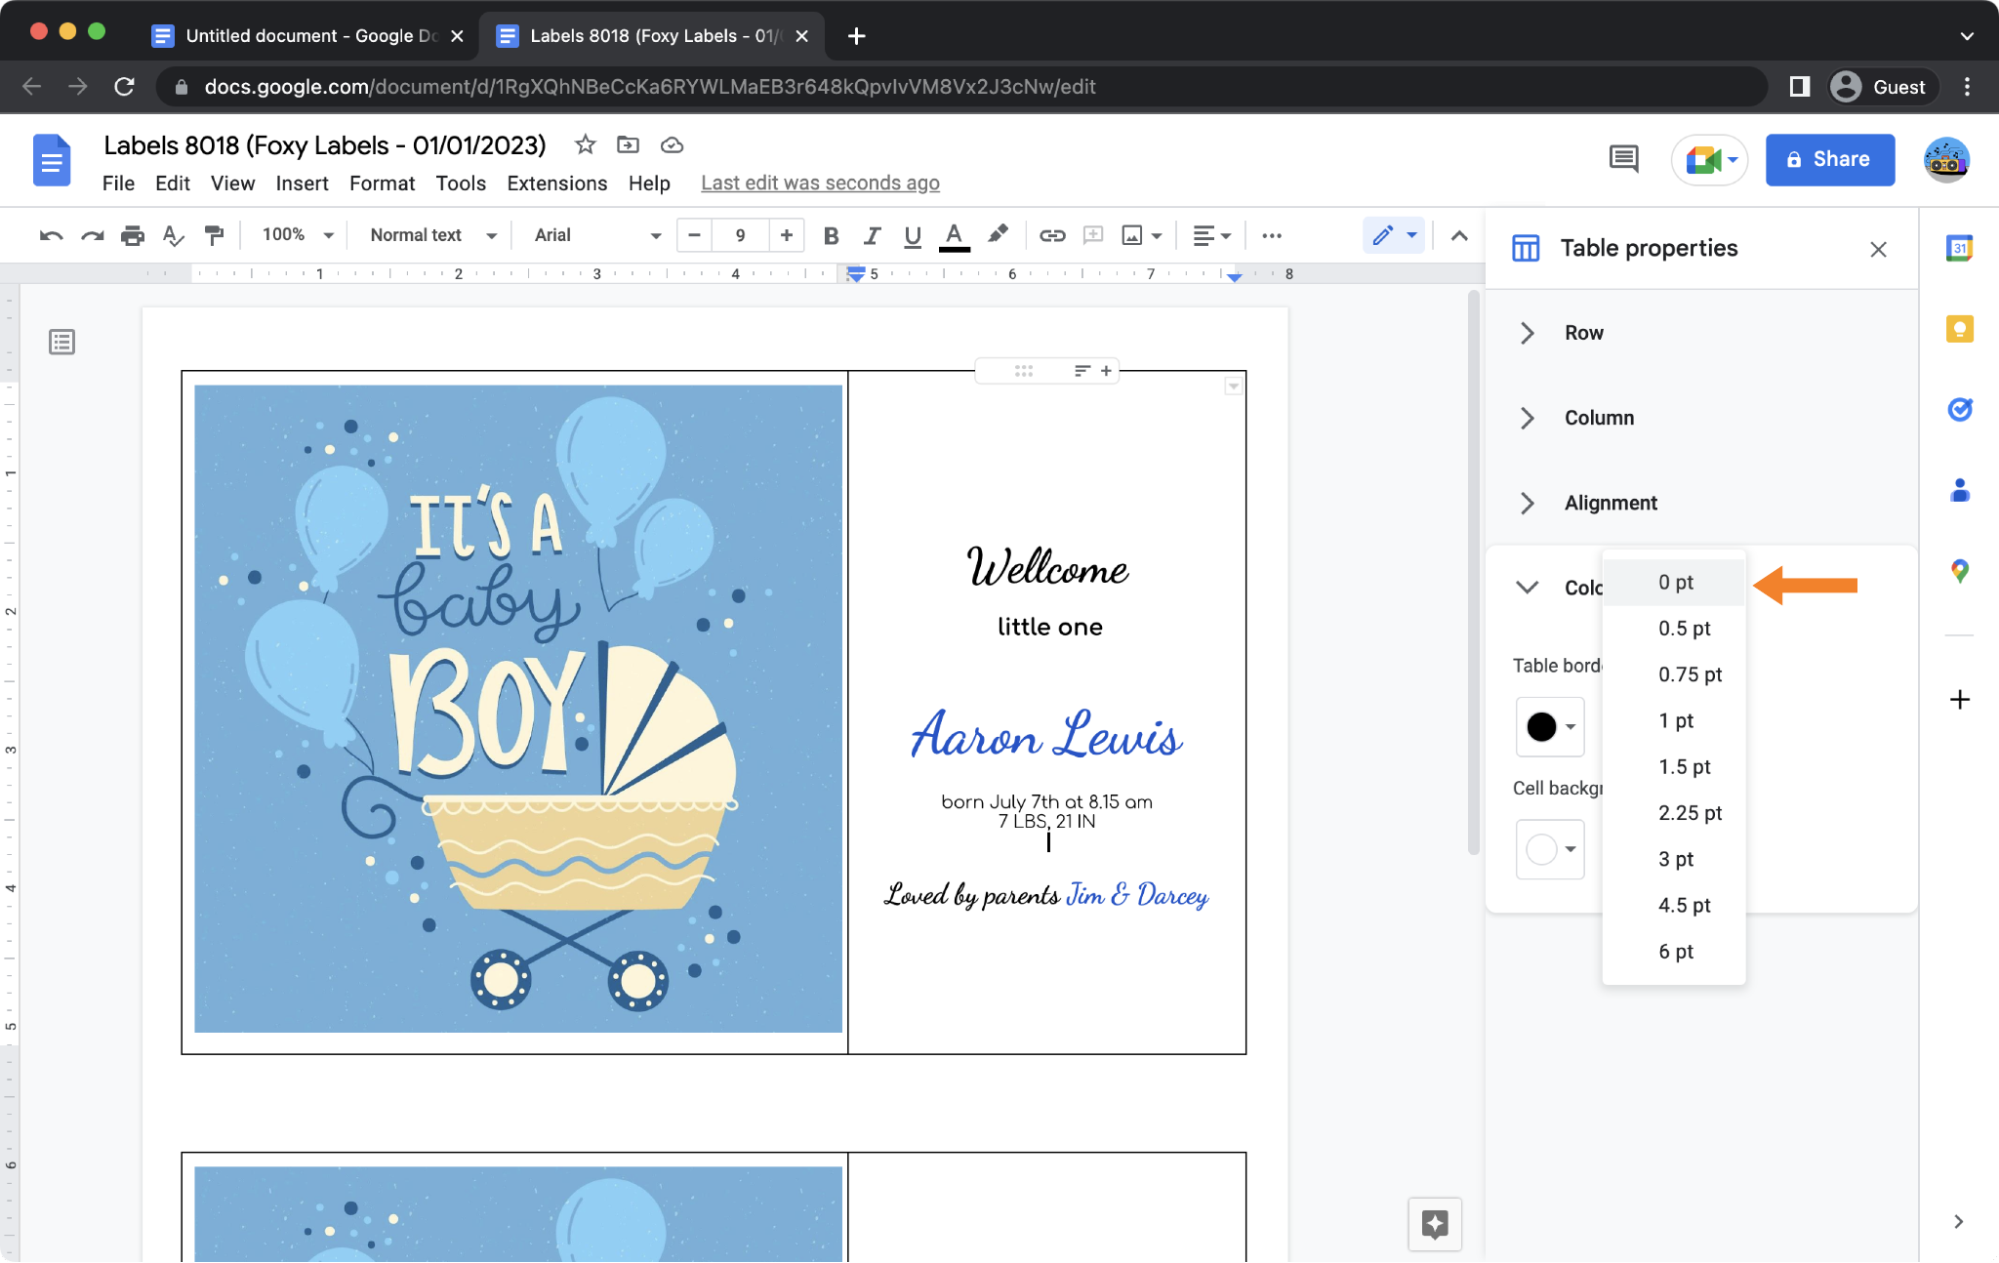
In the “Table border” section under the “Color” menu, change the value to “0 pt.”
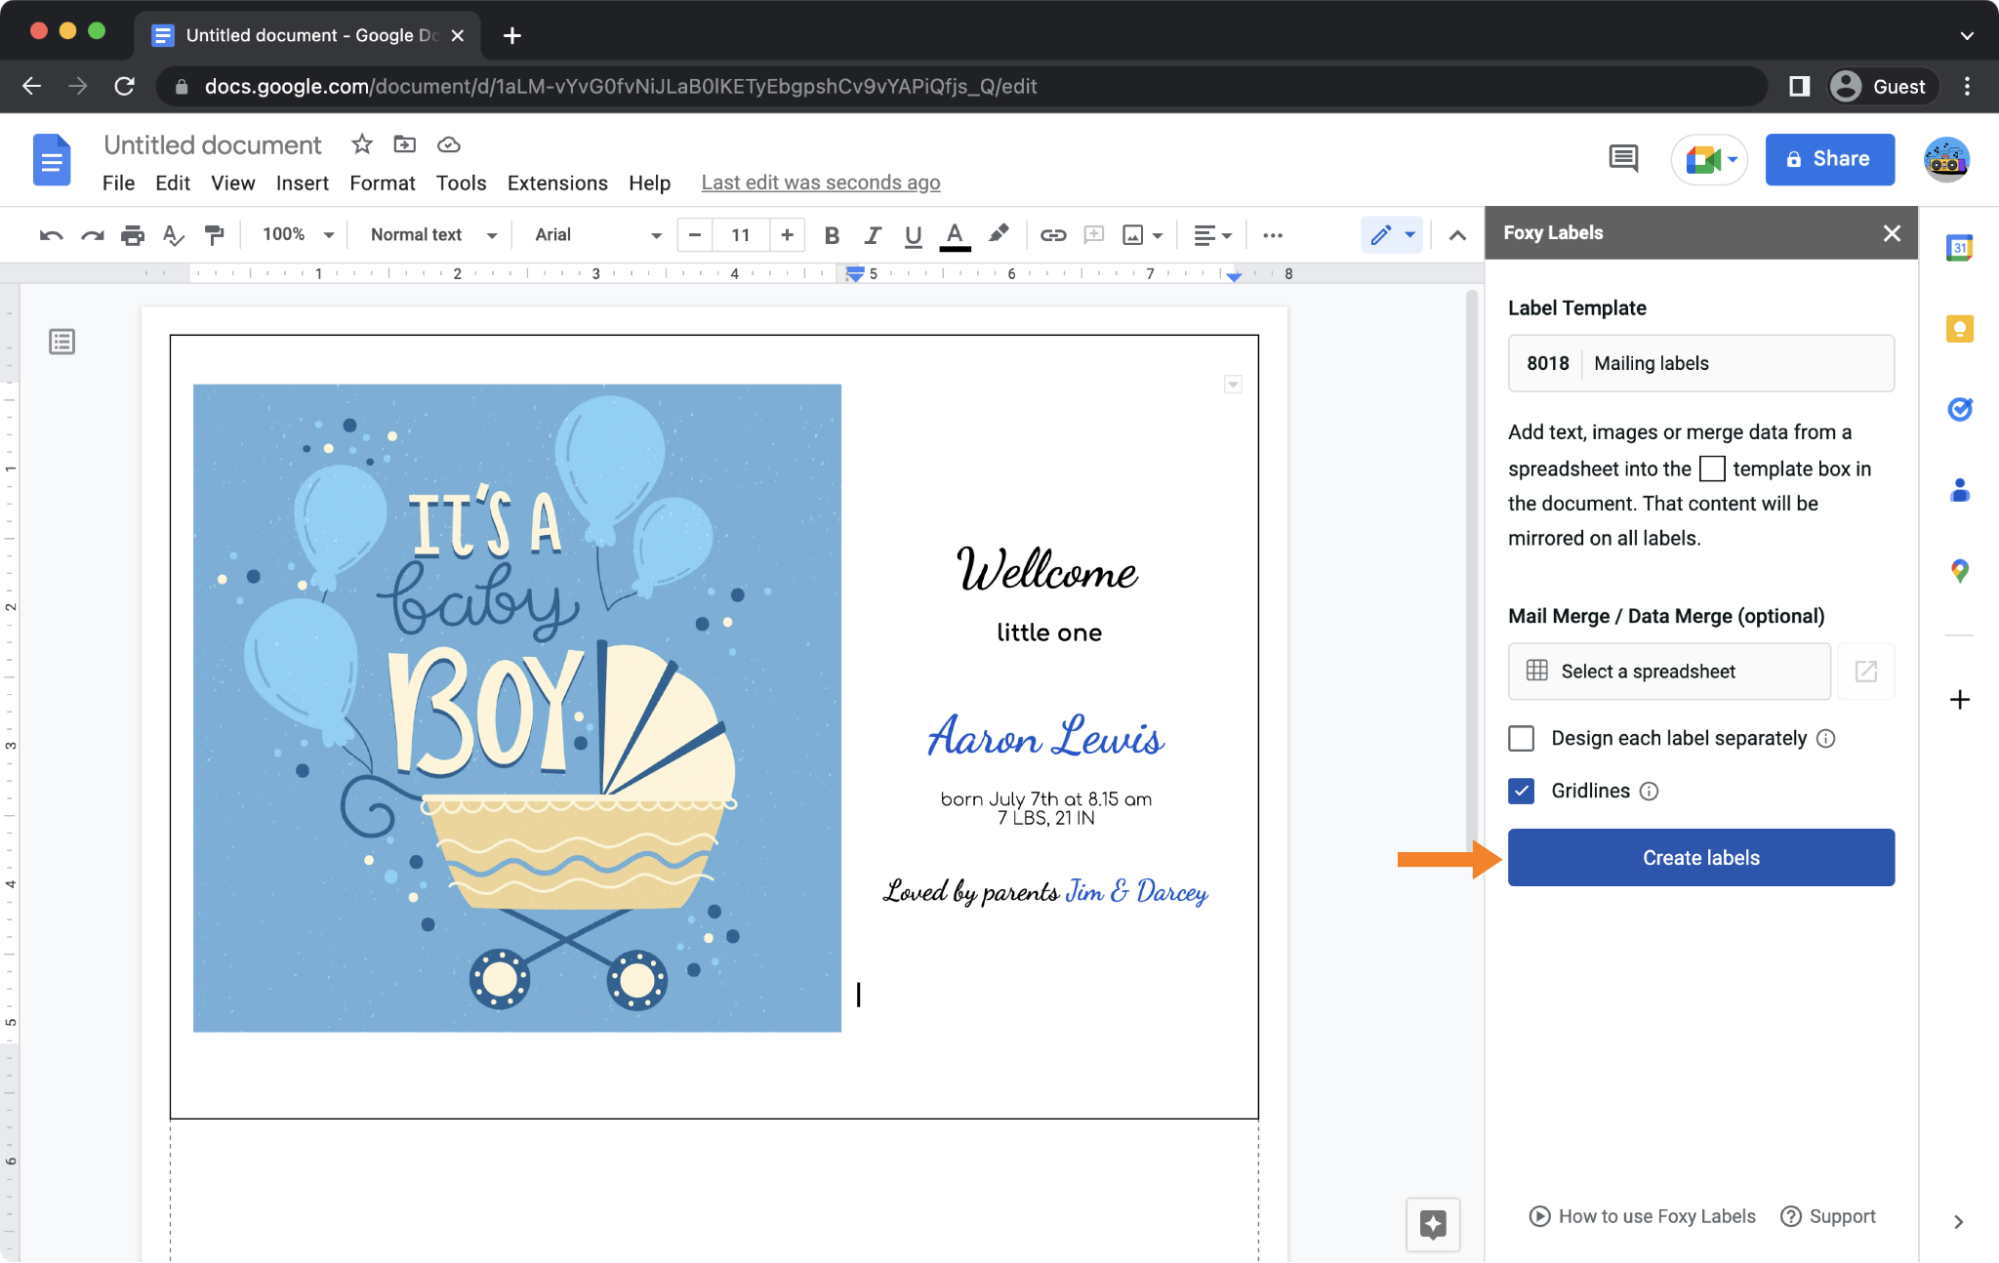
8. Create the cards
Everything looks terrific! All you have to do now is click on "Create labels" and review your project.
9. Open and review the final document
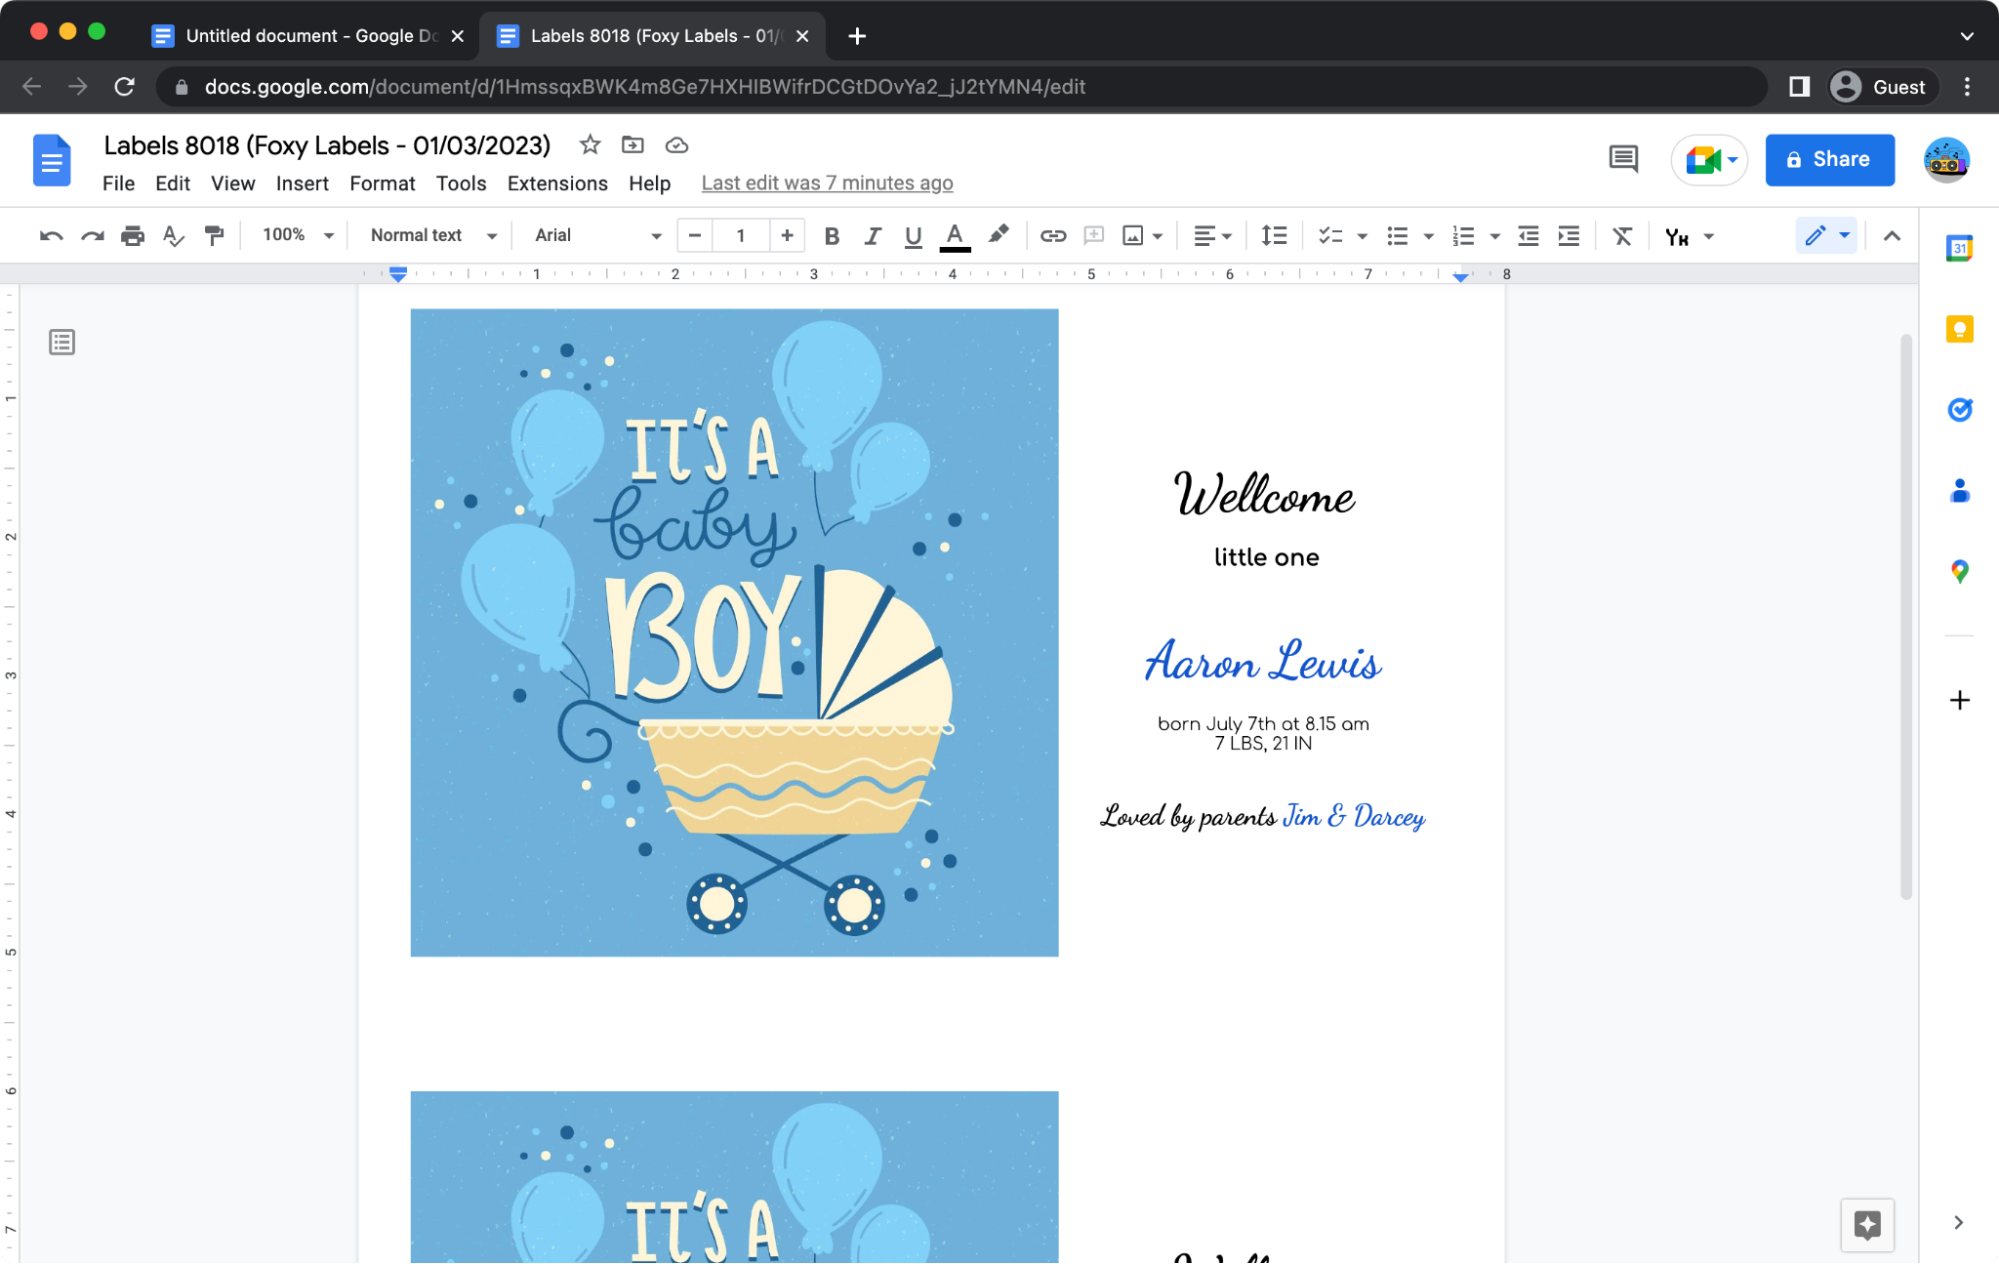
Click "Open" at the bottom of the "Foxy Labels" sidebar. Within seconds, your results will be available.
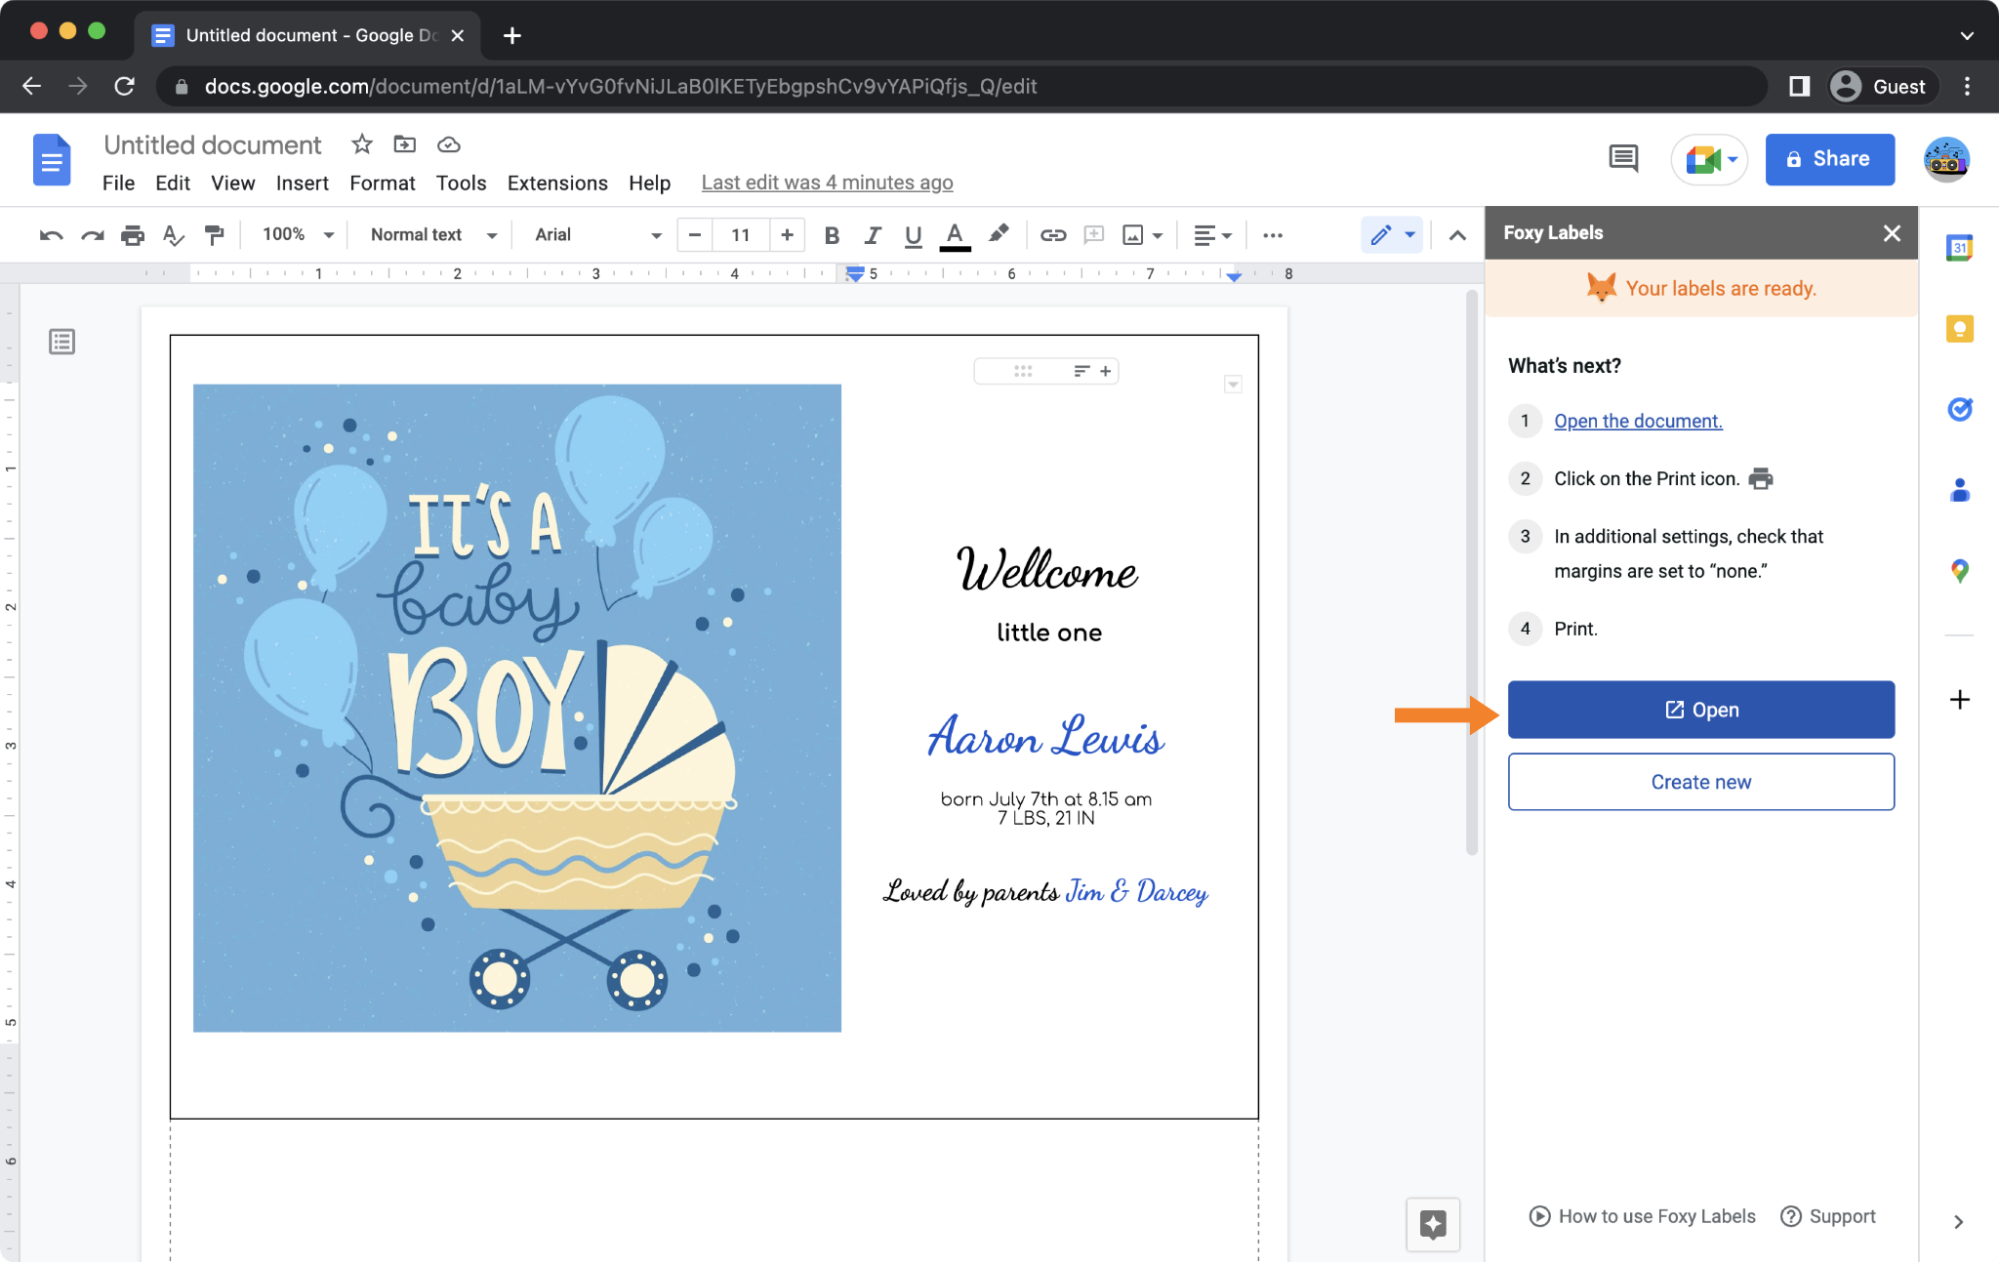
In less than three minutes, you can make amazing personalized labels. Simple as that!
10. Print your Birth Announcement cards
All that’s left to do now is to put your labels to use. Ensure your printer is loaded with the correct size label paper (and you have enough ink!) Before printing, look over your labels and ensure everything is aligned correctly. If anything needs to be fixed, return to the original document to make changes. Then, click “Create labels” once again and open your updated document.
To print your tags, click on "File" and "Print." In the print dialogue, verify that the margin is set to "none" and the scale to 100%. Depending on the label format you chose, you might need to adjust the size of the page.
And that’s it! Getting your creativity on is as easy as installing "Foxy Labels" into your Google Documents.
In the meantime, the “Foxy Labels” plugin is happy to help. And we wish you years of joy with your adorable baby.