Once again, it’s that most wonderful time of the year heralded in with the tempting smell of fresh gingerbread cookies and the melodies of songs you’ve known since childhood drifting up from your subconscious. You can see it now: sweaters embroidered with reindeer. Maybe a festive pudding waiting in the wings. For many, it’s a time of comfort and joy, cheerful reunions with family and friends as they come tumbling into your house with hugs, kisses, and gifts!
So, whether you’re the one hosting this year, or just helping a frazzled host survive the holiday bustle, why not start things off on the right foot with invitations adorned with marvelous Christmas tags? The “Foxy Labels” extension for Google Docs is here to help.
Ready to “jingle all the way” with Foxy Labels? Let’s get started!
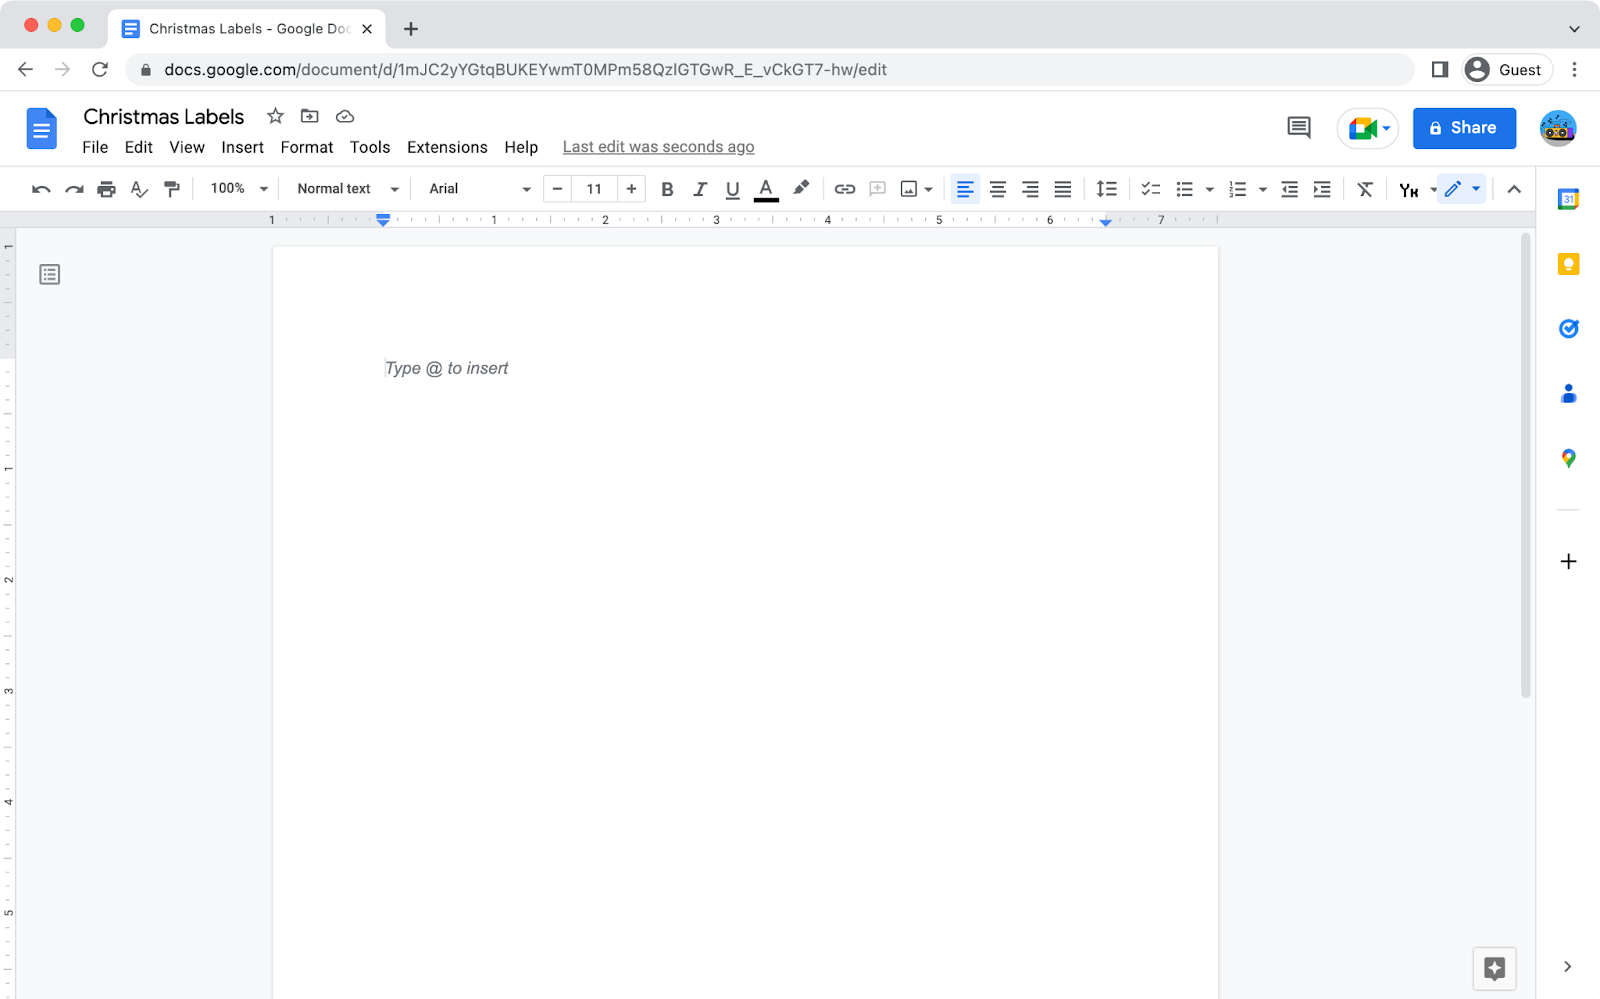
1. Create a new Google Document
Before you can create a masterpiece, you need a canvas – in this case, a blank Google Document. If you have a Google account, click on https://docs.new to start a new file.
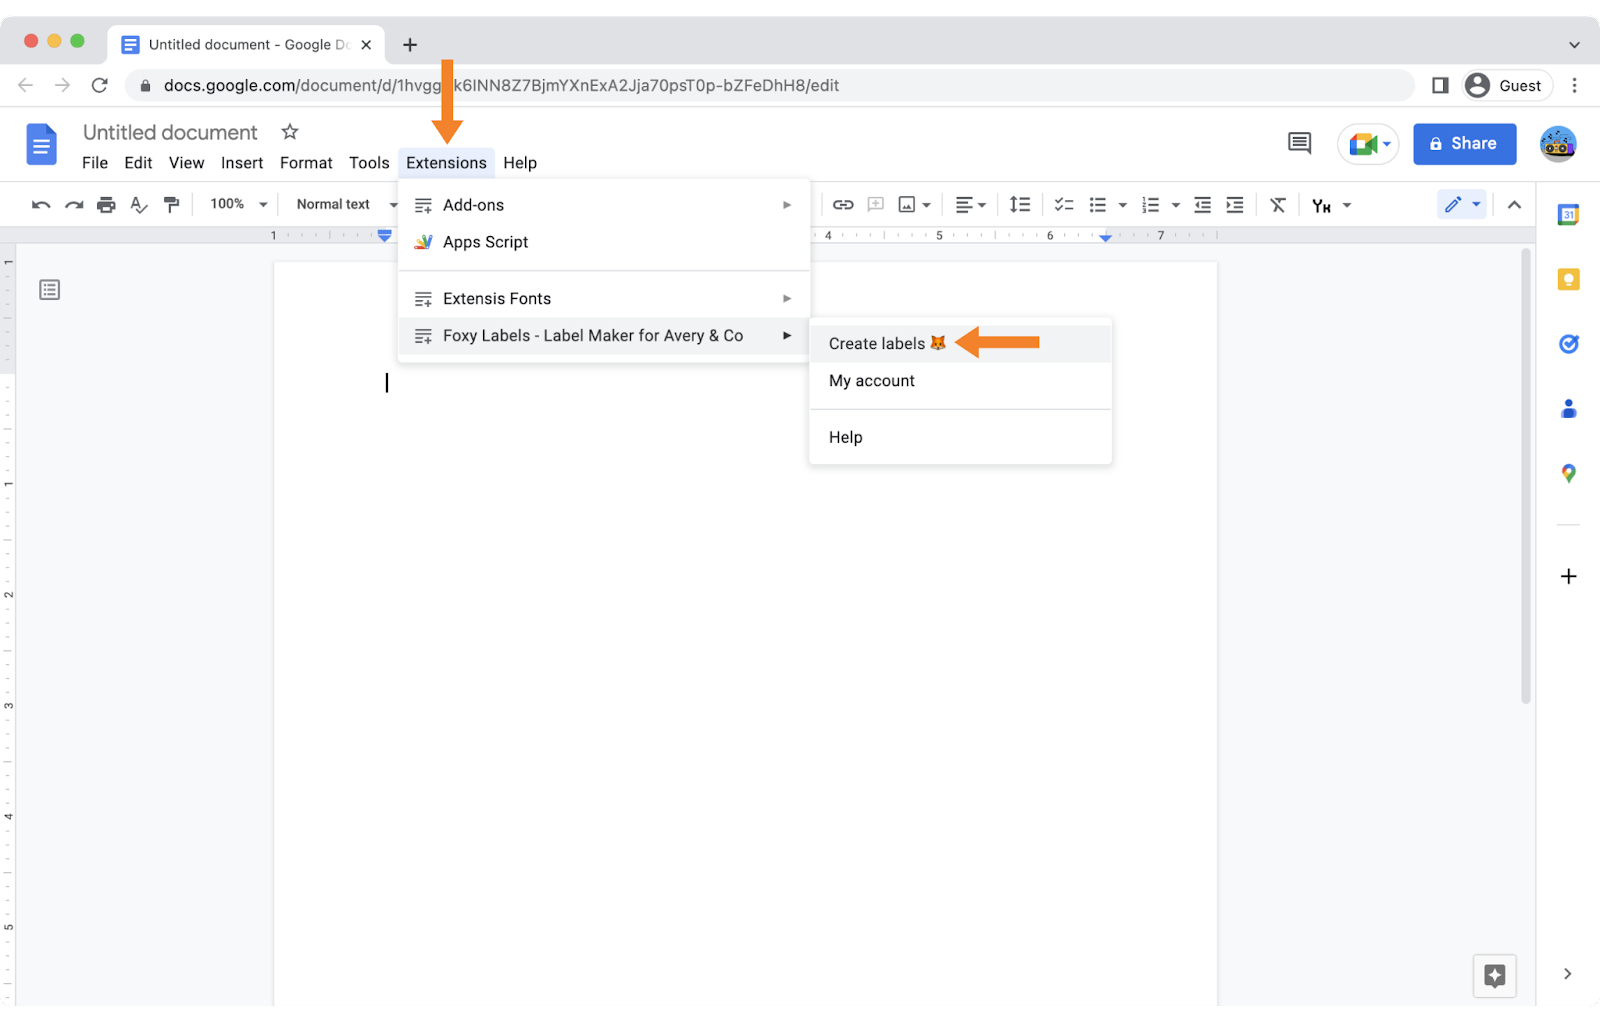
2. Launch Foxy Labels
If you haven’t done so already, install the extension and refresh your document. Then, in your document, click on “Extensions,” open the “Foxy Labels - Label Maker for Avery & Co” menu, and select “Create labels.”
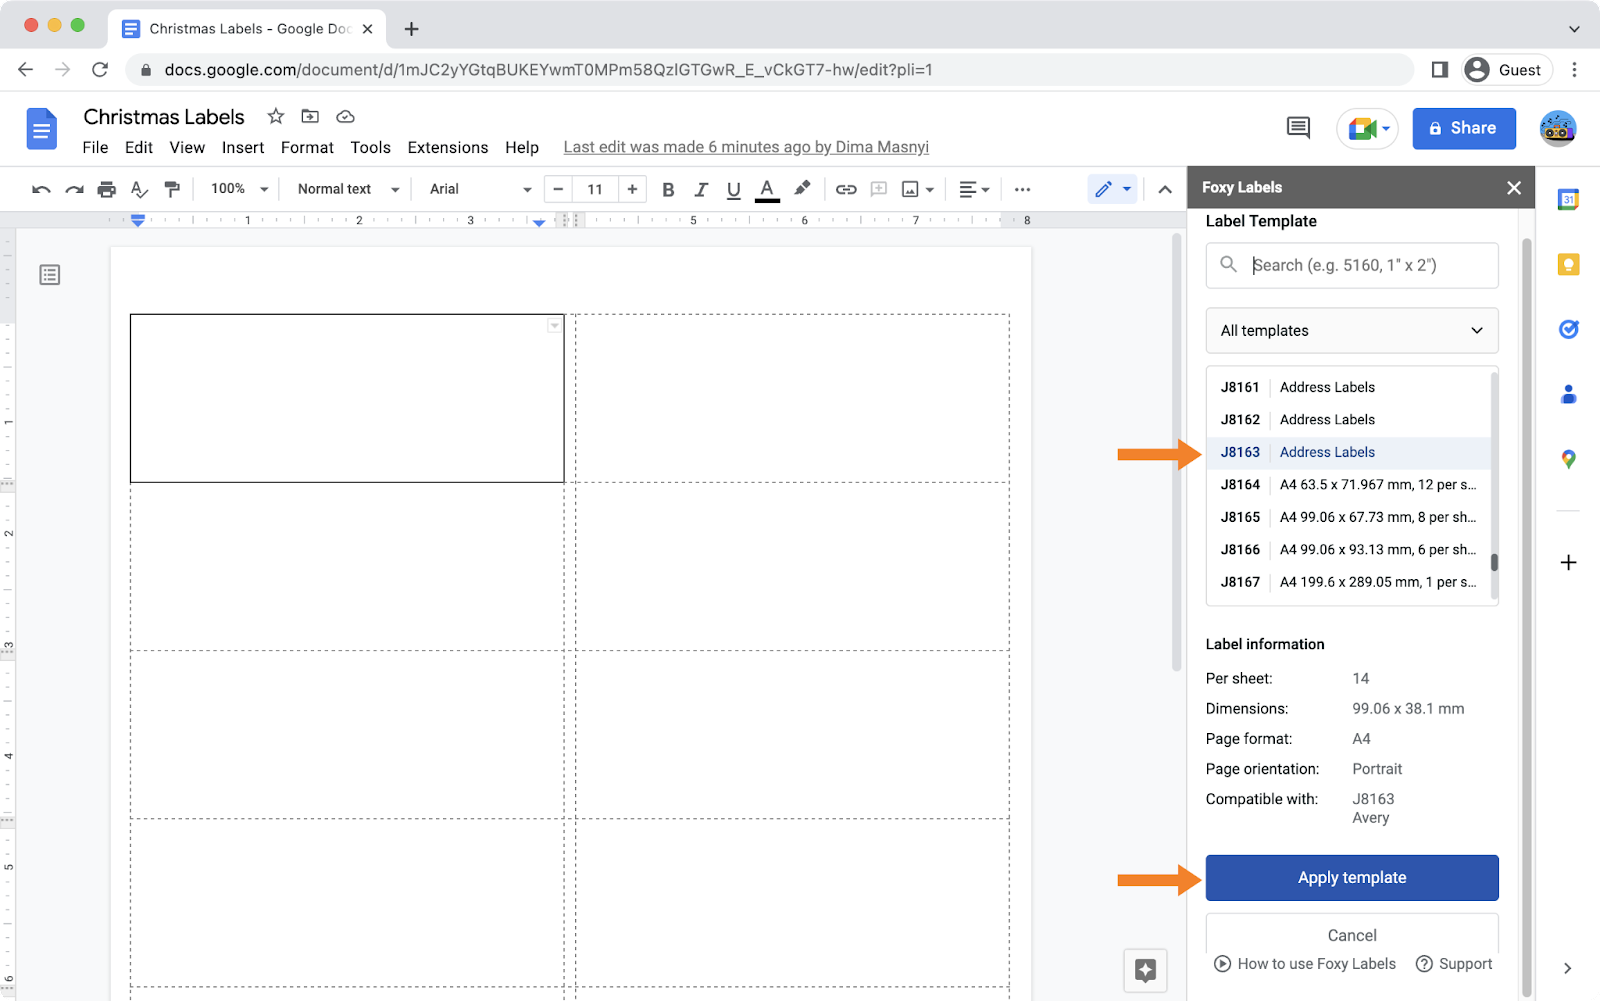
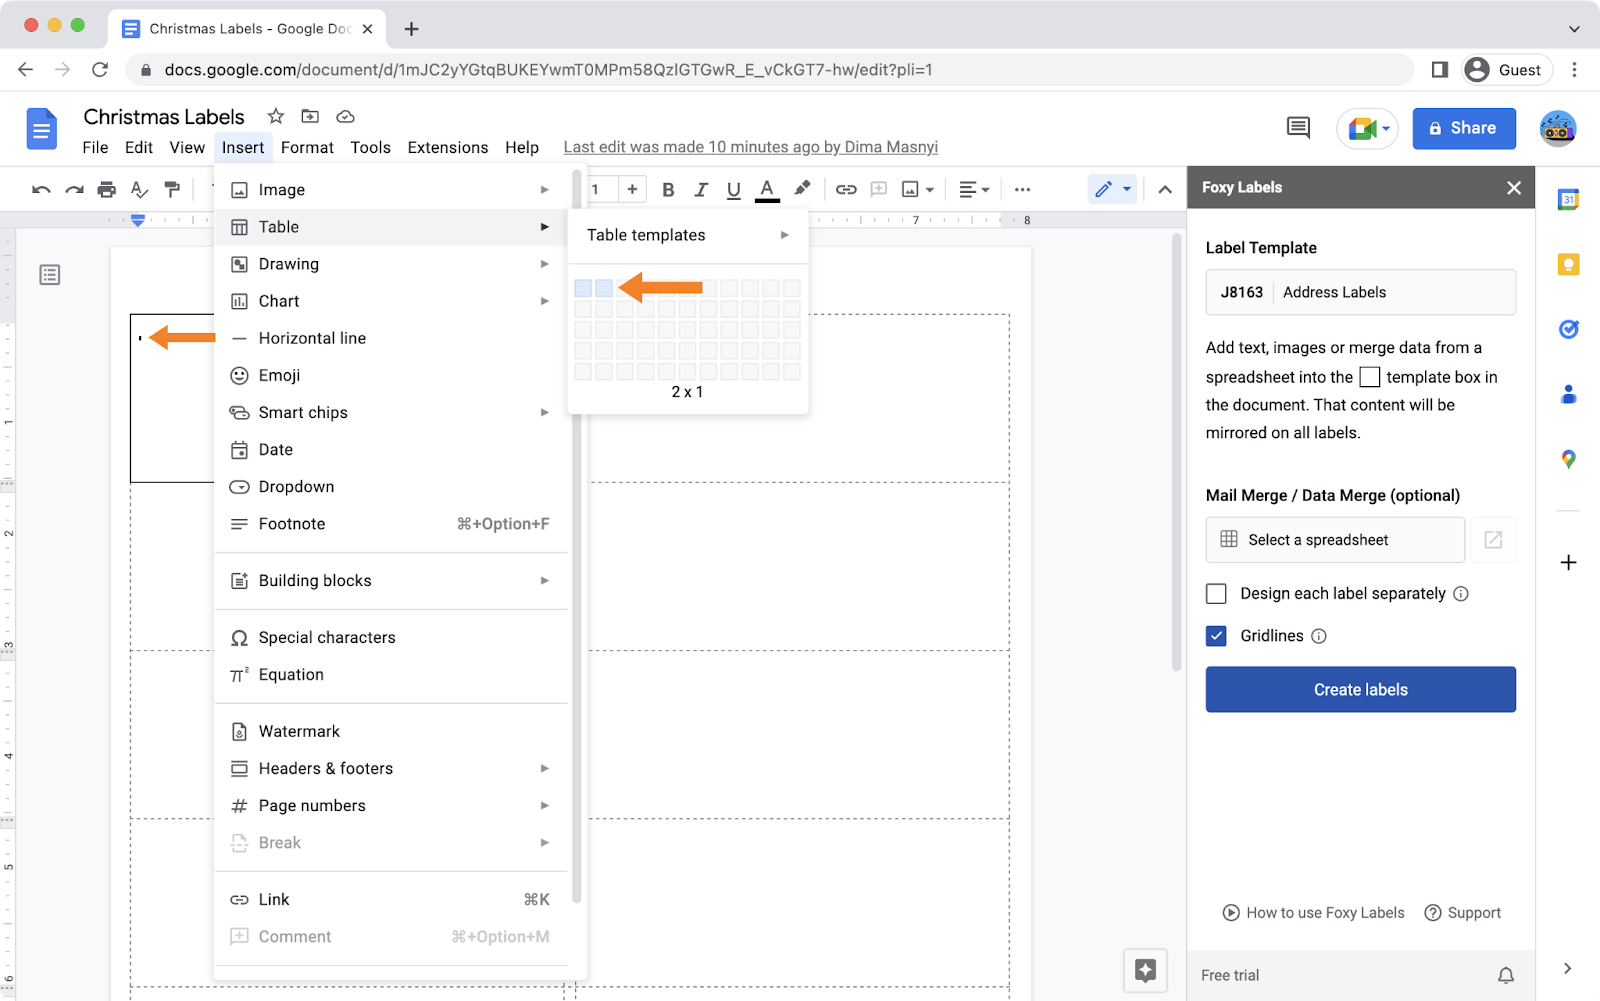
3. Select a template
Now, it’s time to find a template that matches your needs. The Foxy Labels sidebar shows all the available options. For this tutorial, we’ll use J8163 - a commonly-used address label size. Once you’ve chosen a template, click “Apply template.”
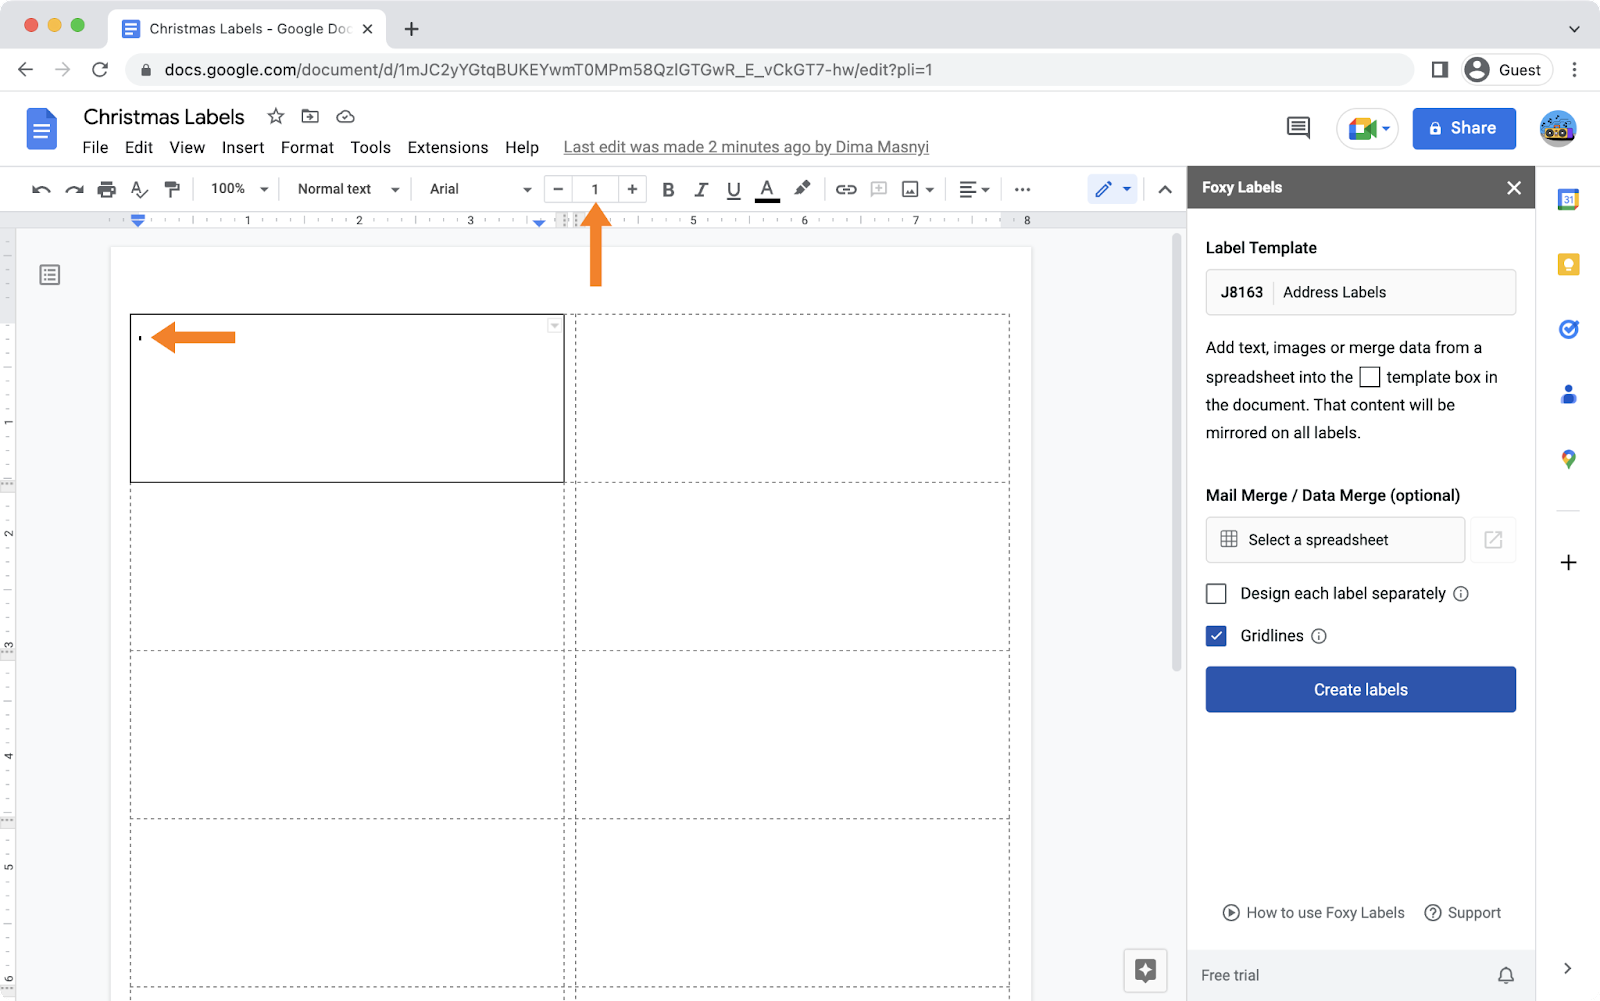
4. Insert a table
Now, it’s time to start creating your fantastic Christmas address labels. Needless to say, you probably want your labels to be eye-catching for a special occasion like this. A great way to make your labels special is to use an image. Here’s how to do it:
- Click inside the first cell of the grid and minimize the font size to "1."
- Insert a table into the first cell of the grid. Using this internal table, you can align the image and text perfectly within the cell. Place the cursor inside the first cell, go up to the "Insert" menu, click on "Table," and select 2x1 squares.
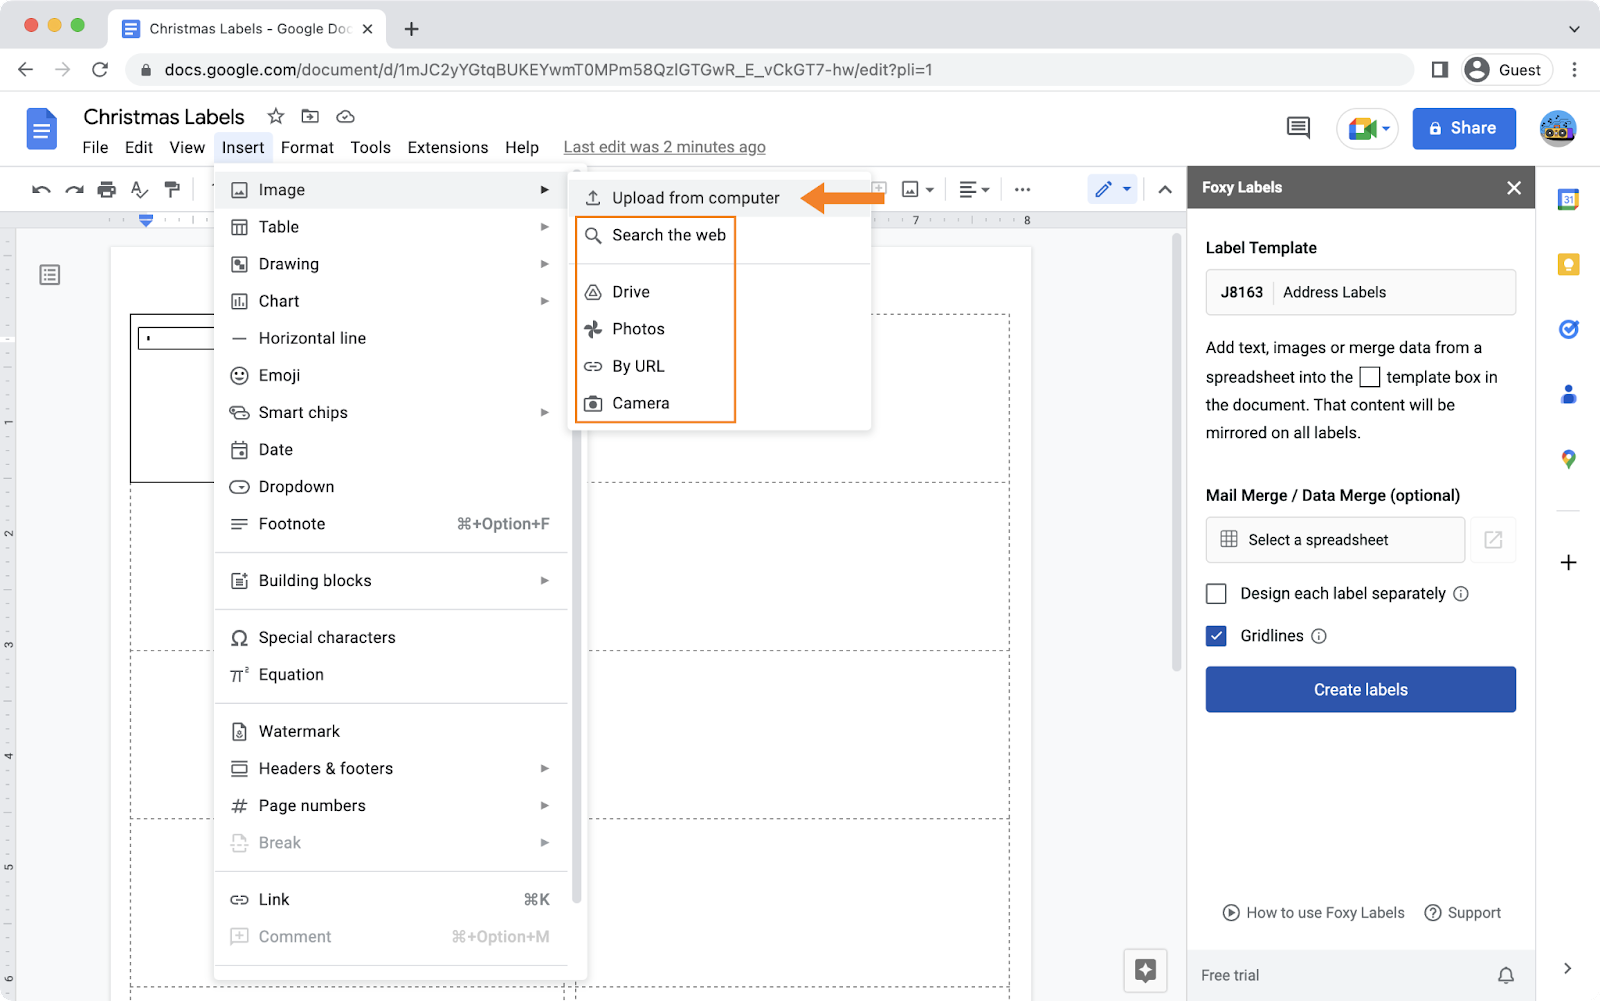
5. Add an image
- To add an image, place the cursor into the left-hand column of your newly-created table, and go to the "Insert" menu once again. Select "Image" and "Upload from computer." There are other sources available if you prefer to store your images elsewhere.
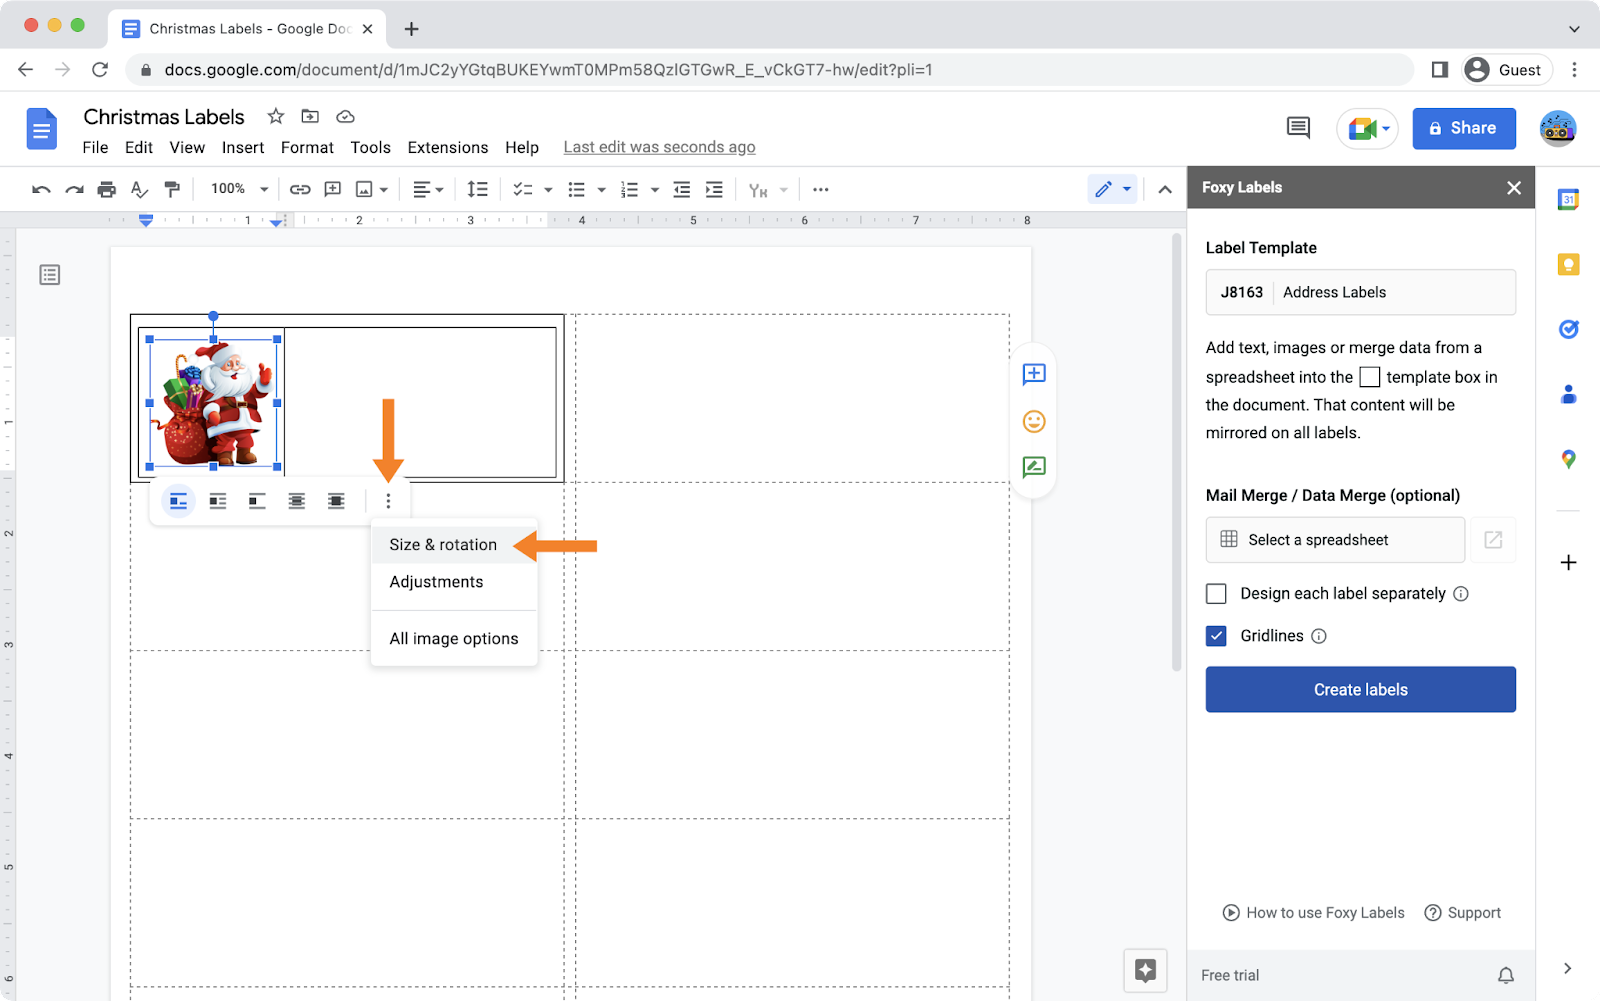
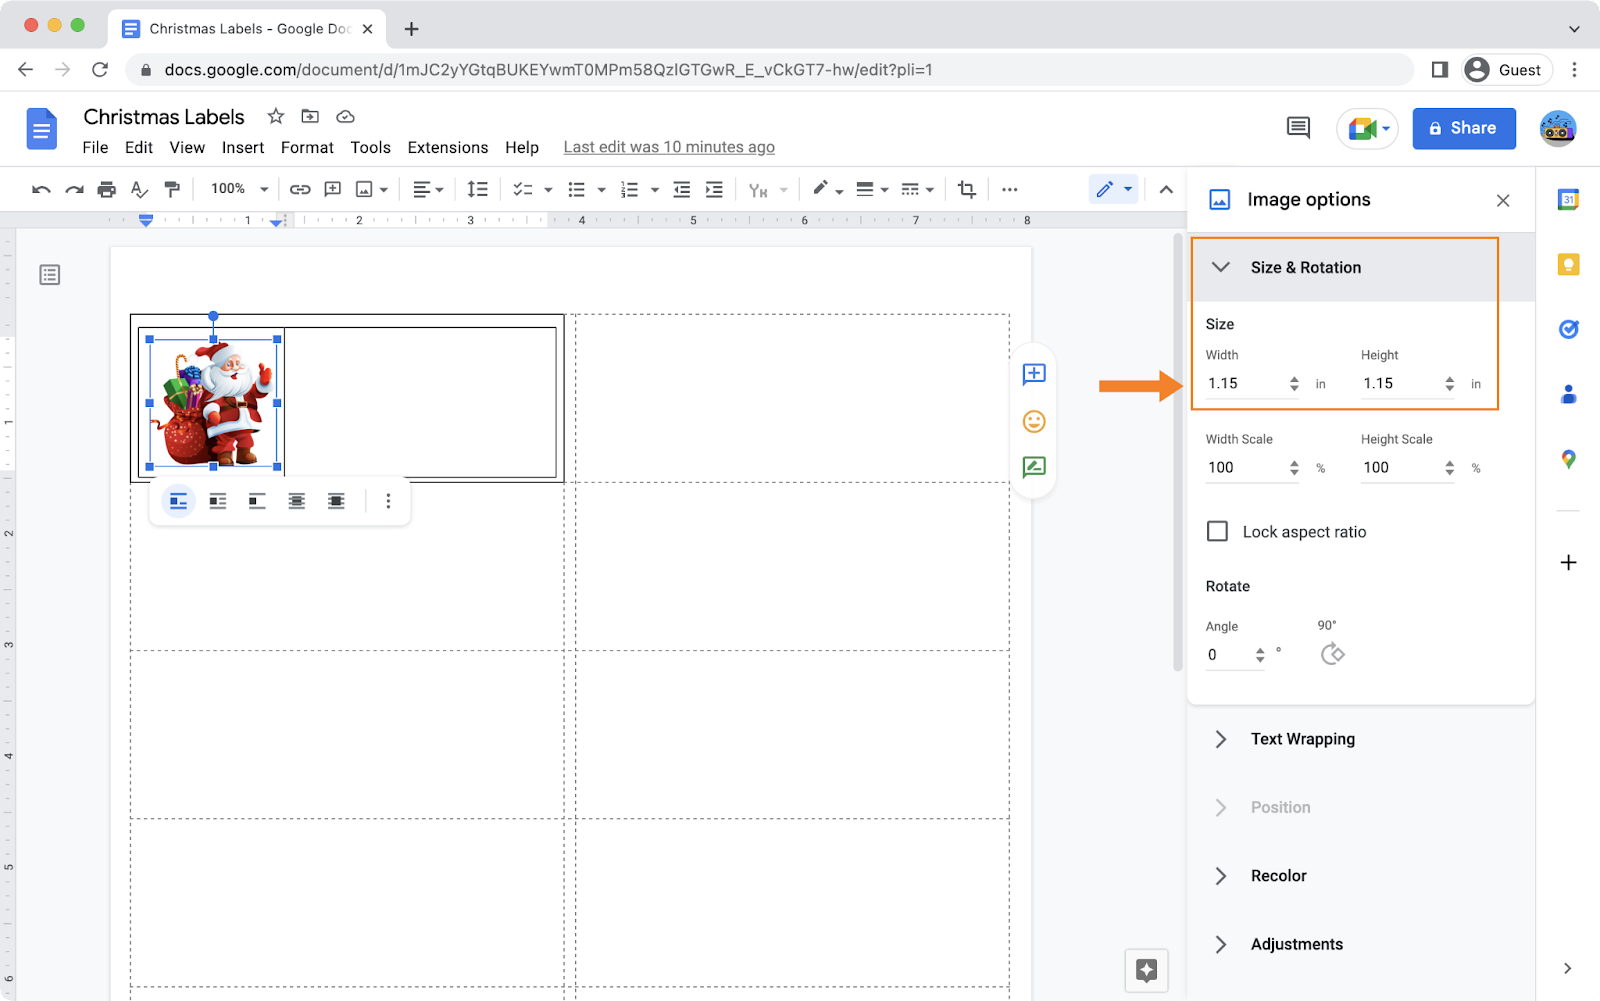
- Resize the image. The image you select will likely be larger than is allowed by a given template. In this case, you’ll need to resize the image by zooming it in and out. You can do it by clicking on one of the image's corners and dragging it until it fits nicely into the cell. Remember, the size of the image must not alter the dimensions of the external frame of the cell. For this particular template, the appropriate image size is 1.15”x1.15”. You can also set the image size manually. Click on the image, proceed to the “More options” menu (three dots), and click on “Size and rotation”.
Adjust the width and height of the image to the required values in the “Size and rotation” section of the “Image options” menu of the Google Document.
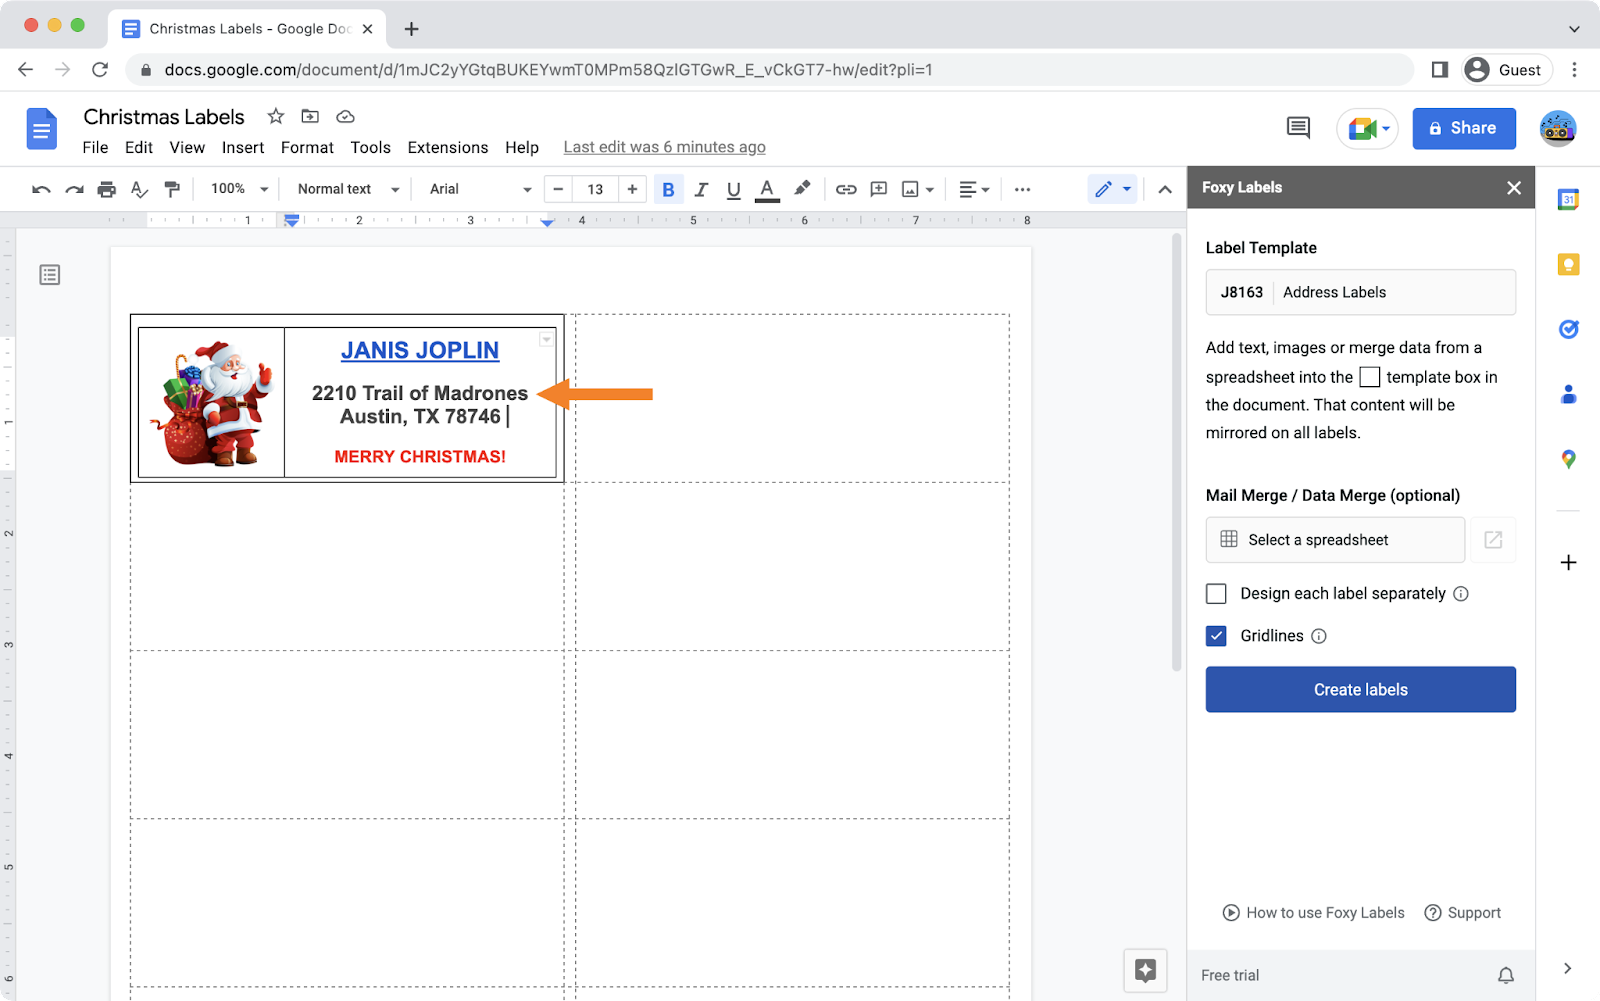
6. Add and edit text
Now, it’s time to personalize your special Christmas address label by adding text to the right-hand column of the table. Depending on the size of your image, table dividers can be moved left or right to give you enough space to place your text. You can use all the available word-processing tools – color, size, and alignment. Remember: as mentioned in step 5, it’s critical that the original height of the external frame of the cell remains the same!
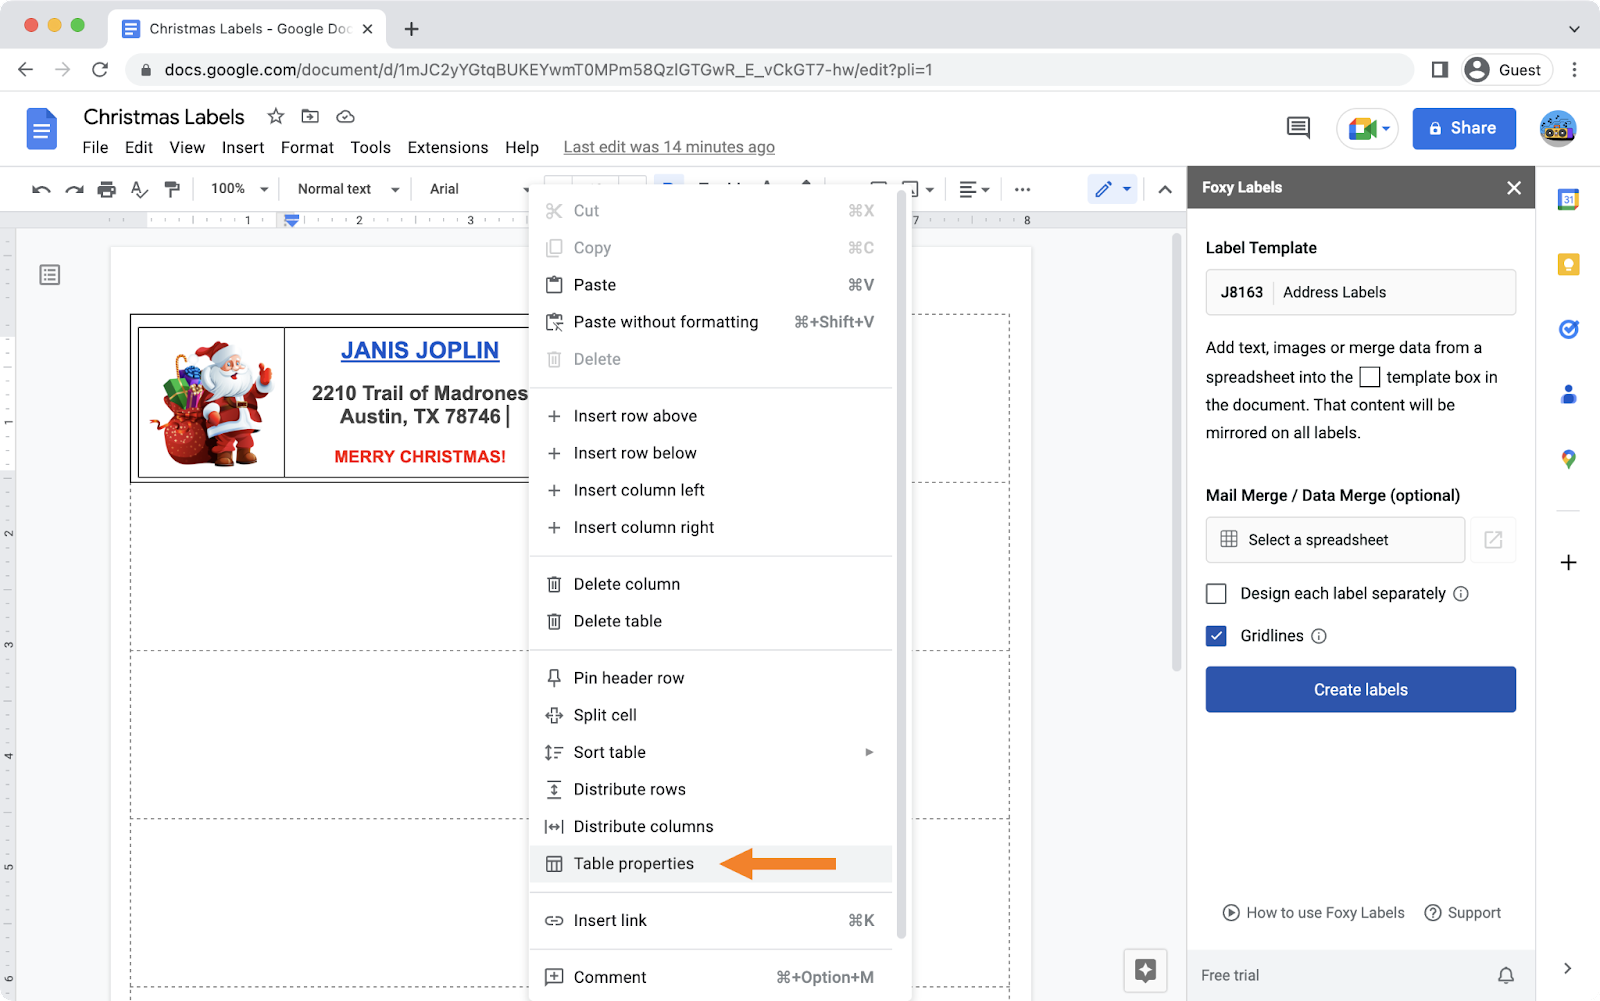
7. Remove the borders
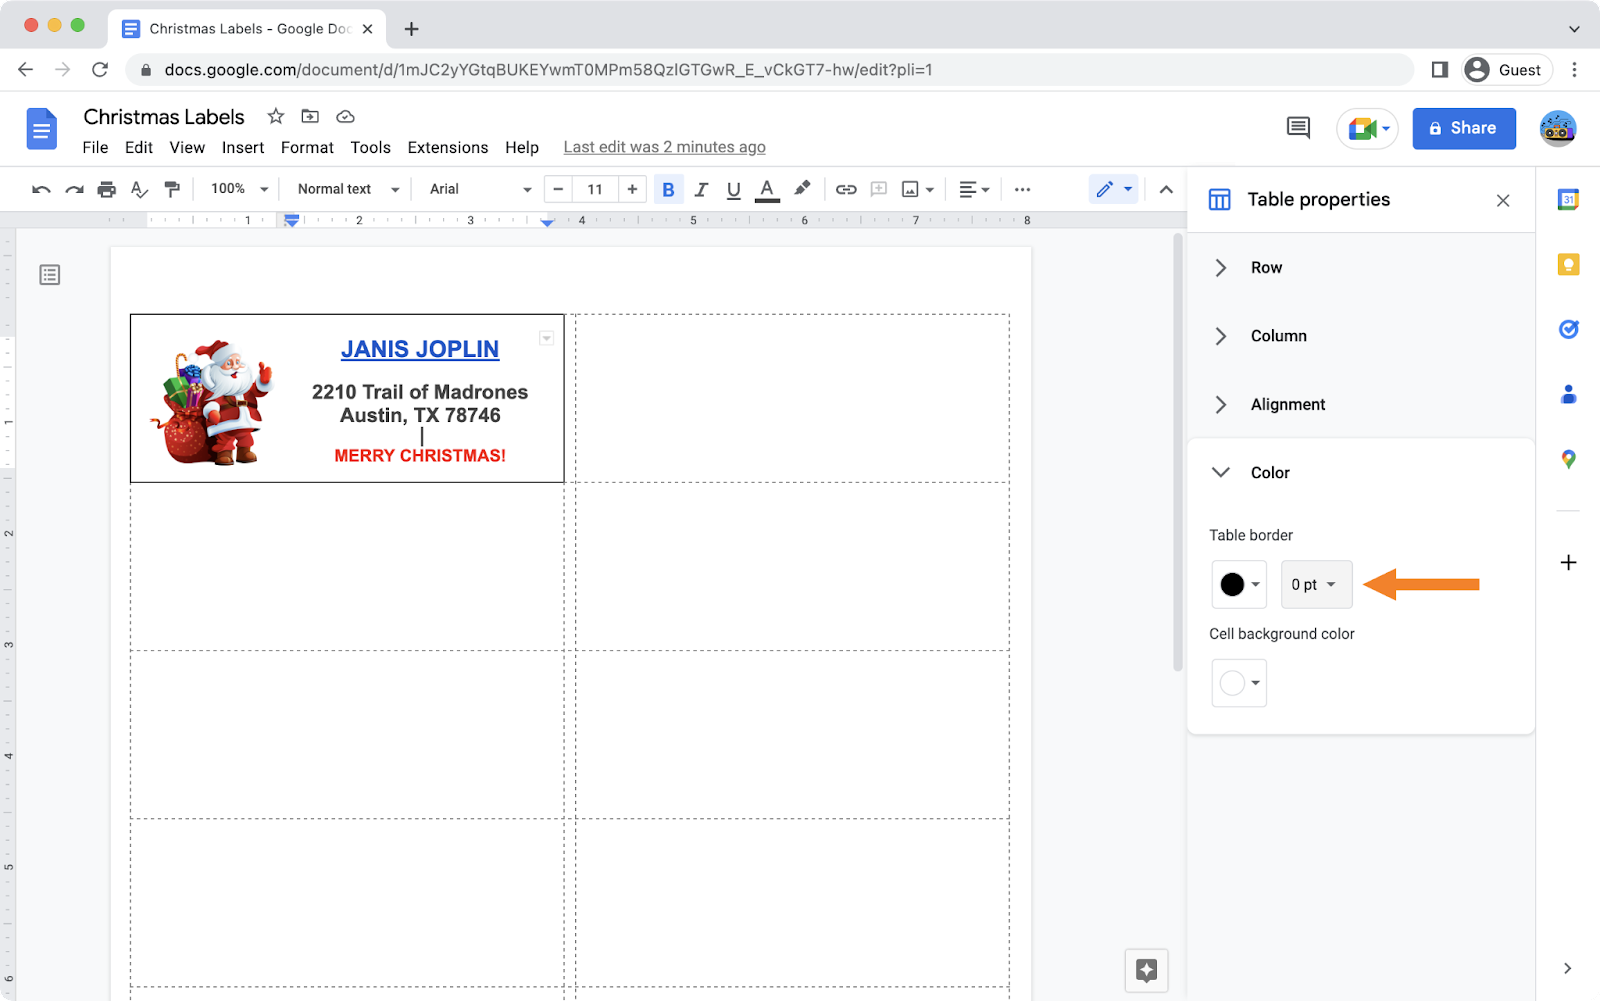
To put the finishing touches on your labels, you’ll need to remove the black borders from the outside of your label design so they won’t appear on your printed labels. Right-click on the inner table and select “Table properties.”
In the “Table border” section under the “Color” menu, change the value to “0 pt.”
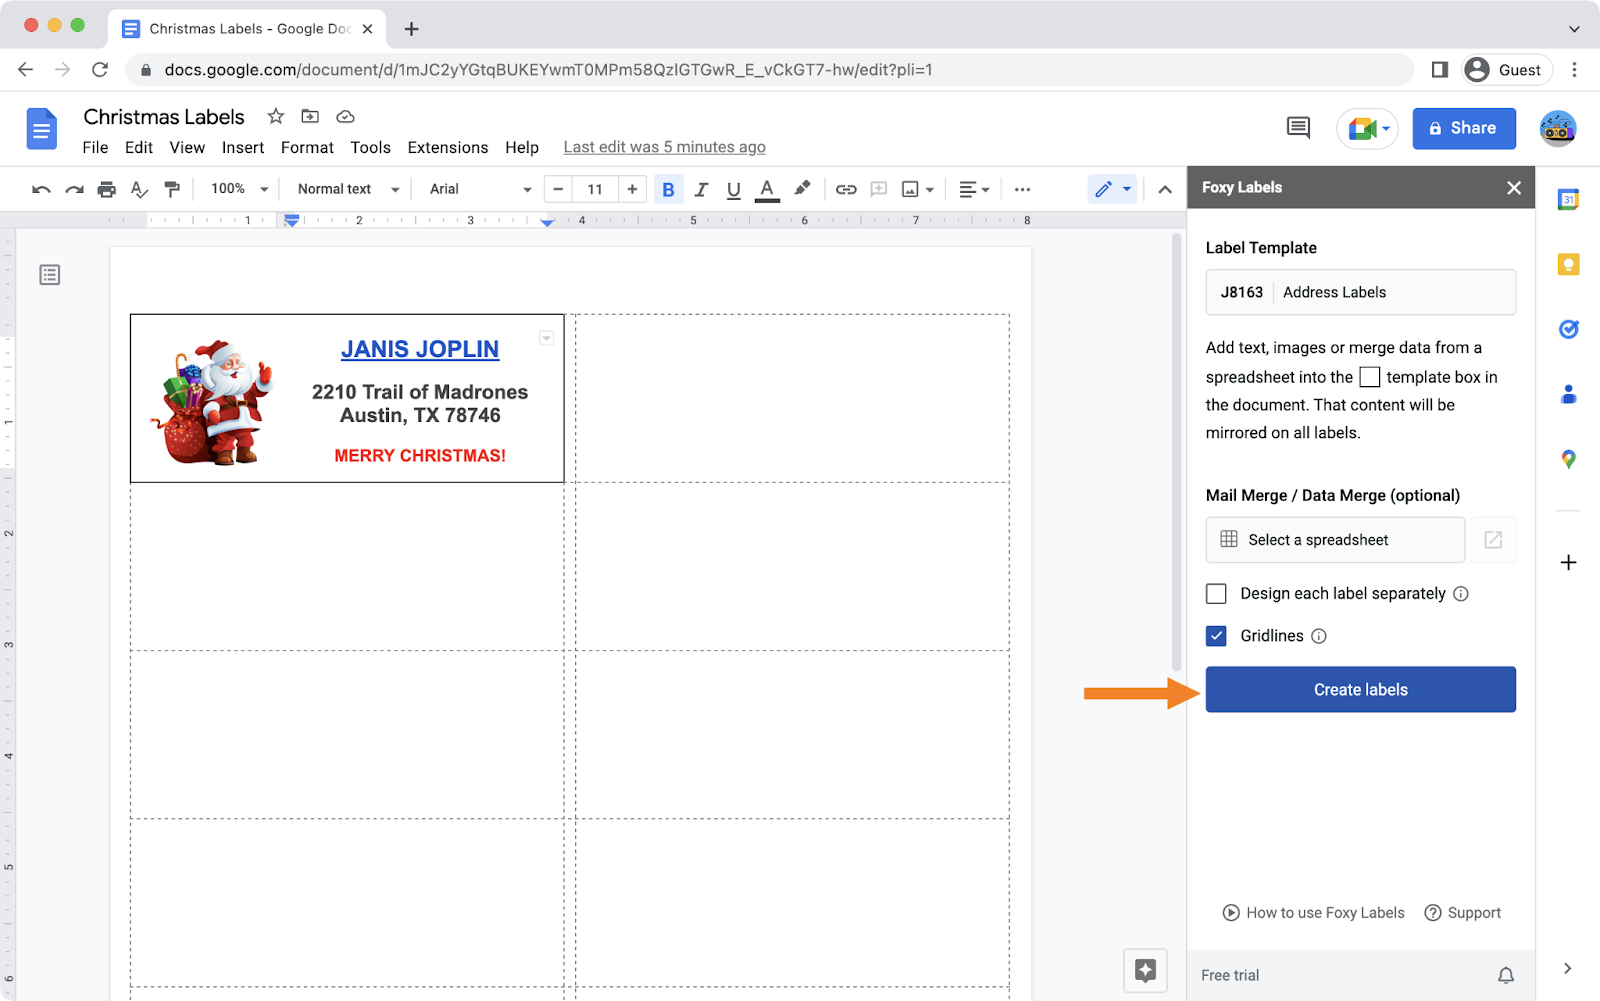
8. Create the labels
Everything looks great! All you have to do now is click on "Create labels" and review your project.
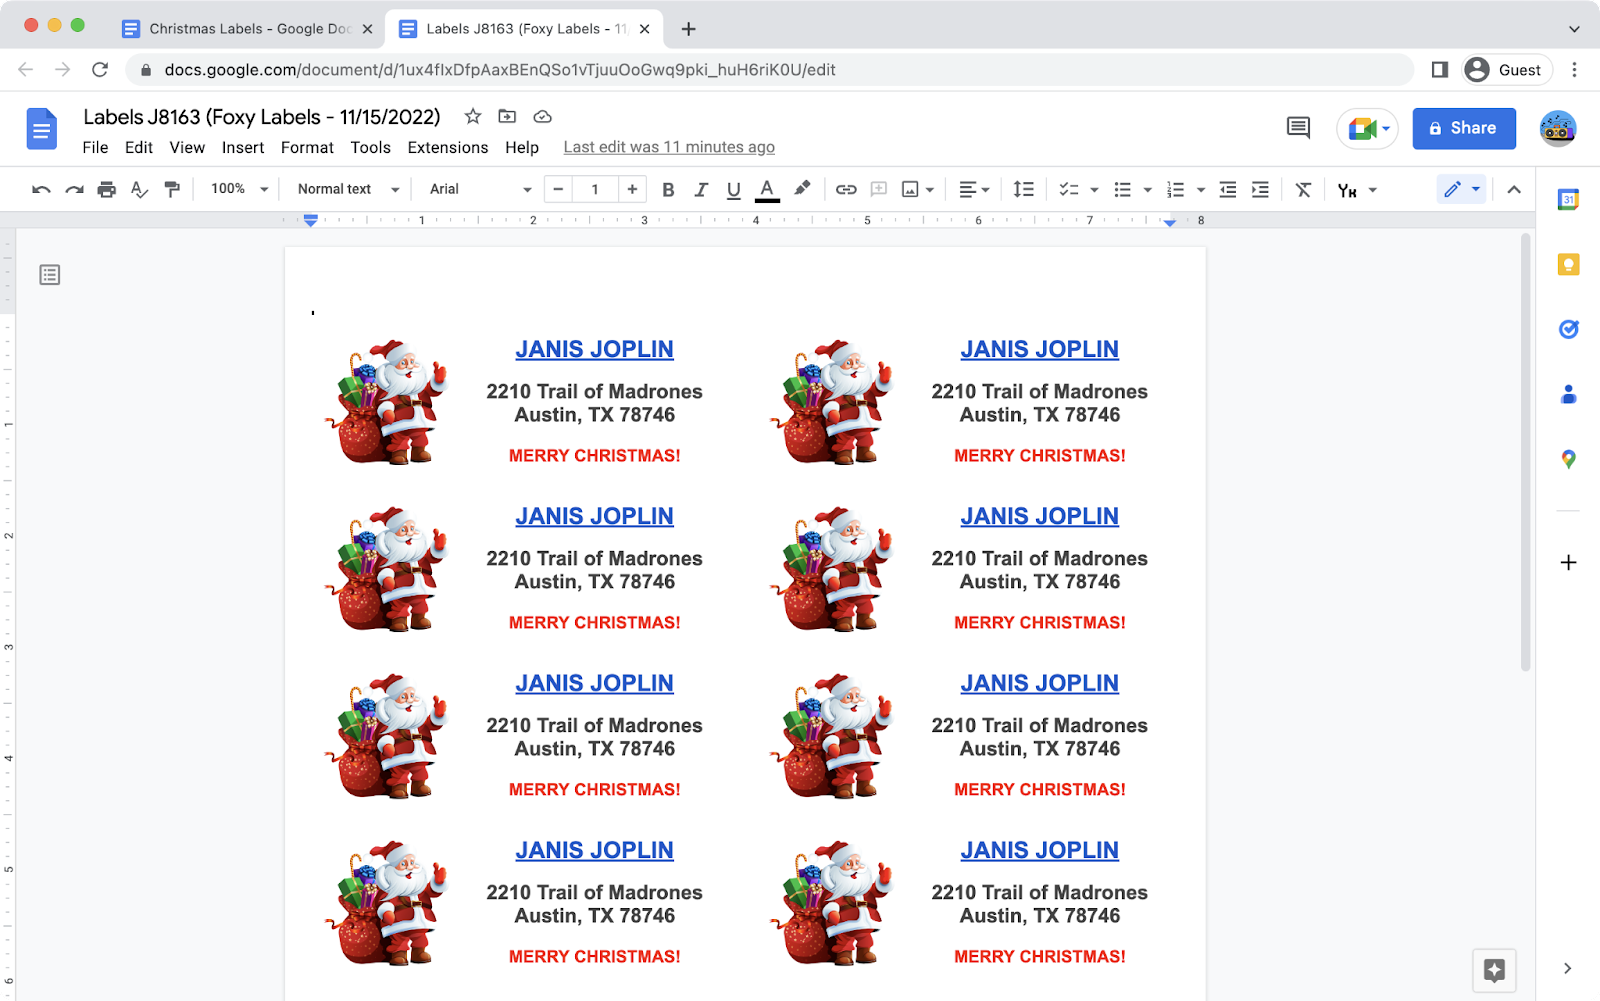
9. Review the final document
Next, click “Open” at the bottom of the “Foxy Labels” sidebar. The results of your work will be available within just a few seconds.
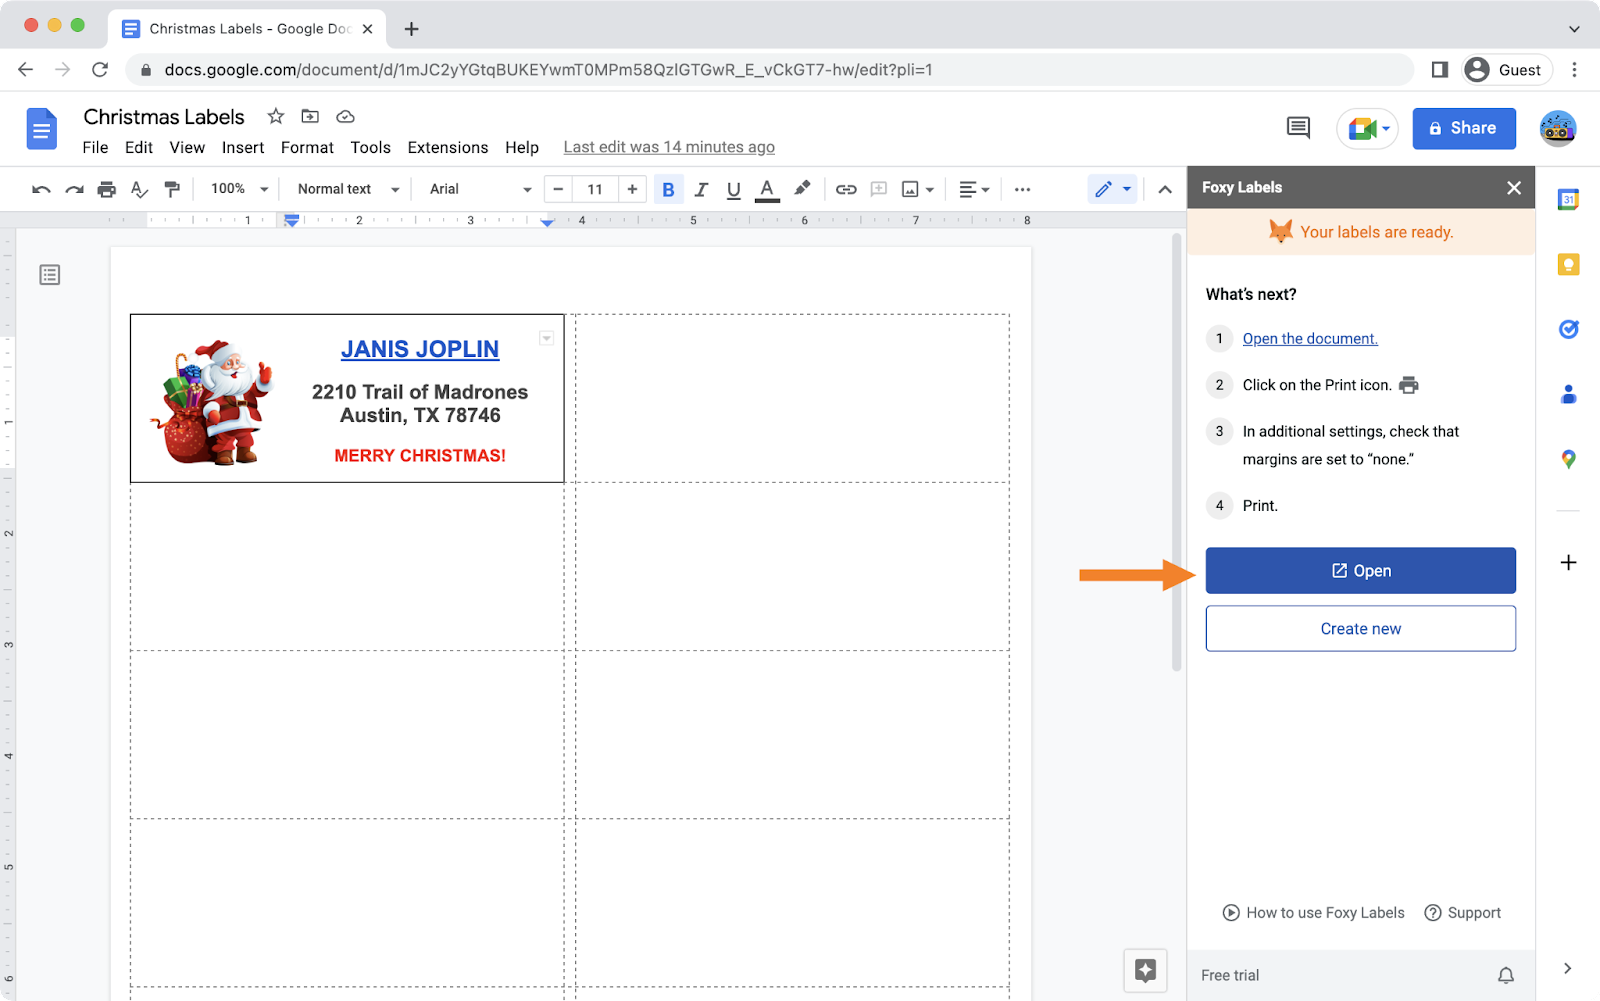
And there you have it! In less than three minutes, you’ve made amazing, customized labels. It couldn’t be easier!
10. Print your Christmas labels
All that’s left to do now is to put your labels to use. Load your printer with the appropriate size label paper (and make sure you’ve got enough ink!) Before you print, look over your labels and make sure everything is aligned properly. If anything needs to be fixed, return to the original document to make your changes. Then, click on “Create labels” once again, and open your updated document.
To print your tags, click on "File" and "Print." In the print dialogue, verify that the margin is set to "none" and the scale to 100%. Depending on the label format you chose, you might need to adjust the size of the page.
And that’s it! Now it’s time to install “Foxy Labels” to your Google Documents, and unleash your creativity. Christmas is the time of wonders, and you can make them happen with the “Foxy Labels” plugin. We are always here to help.
In the meantime, let’s cherish what’s really important in our lives: the cookies and pudding! Merry Christmas, ho-ho-ho!